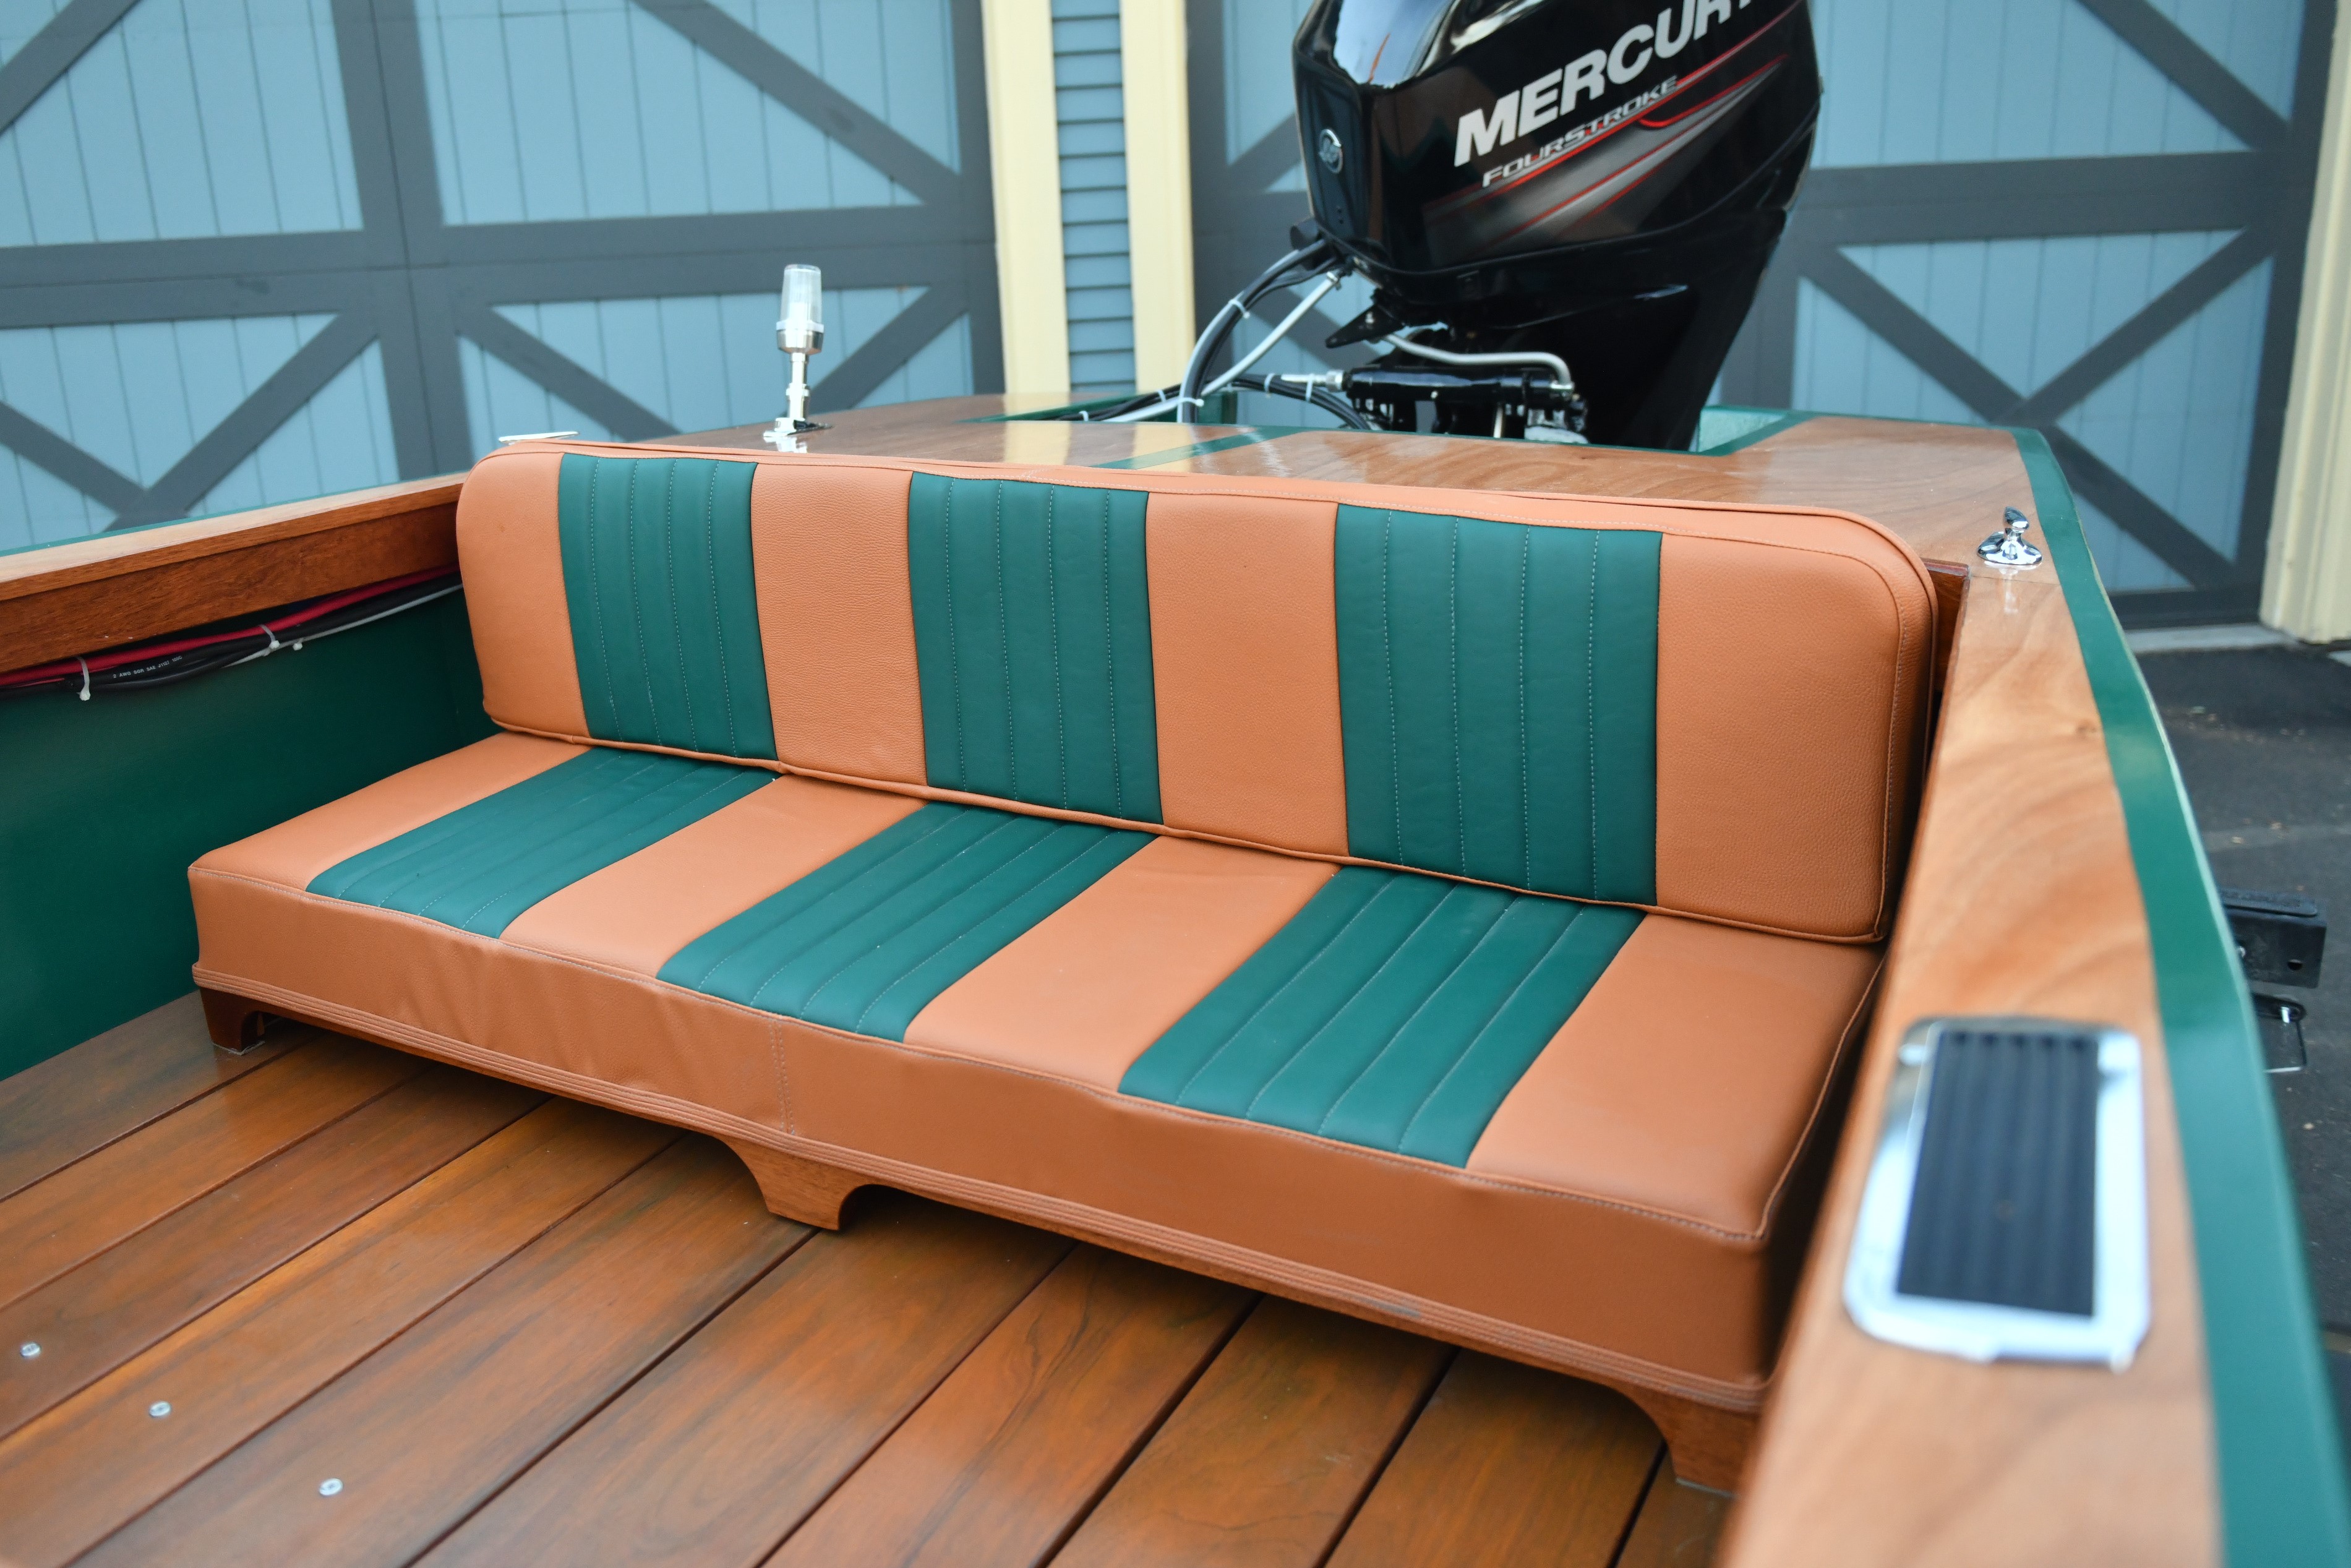
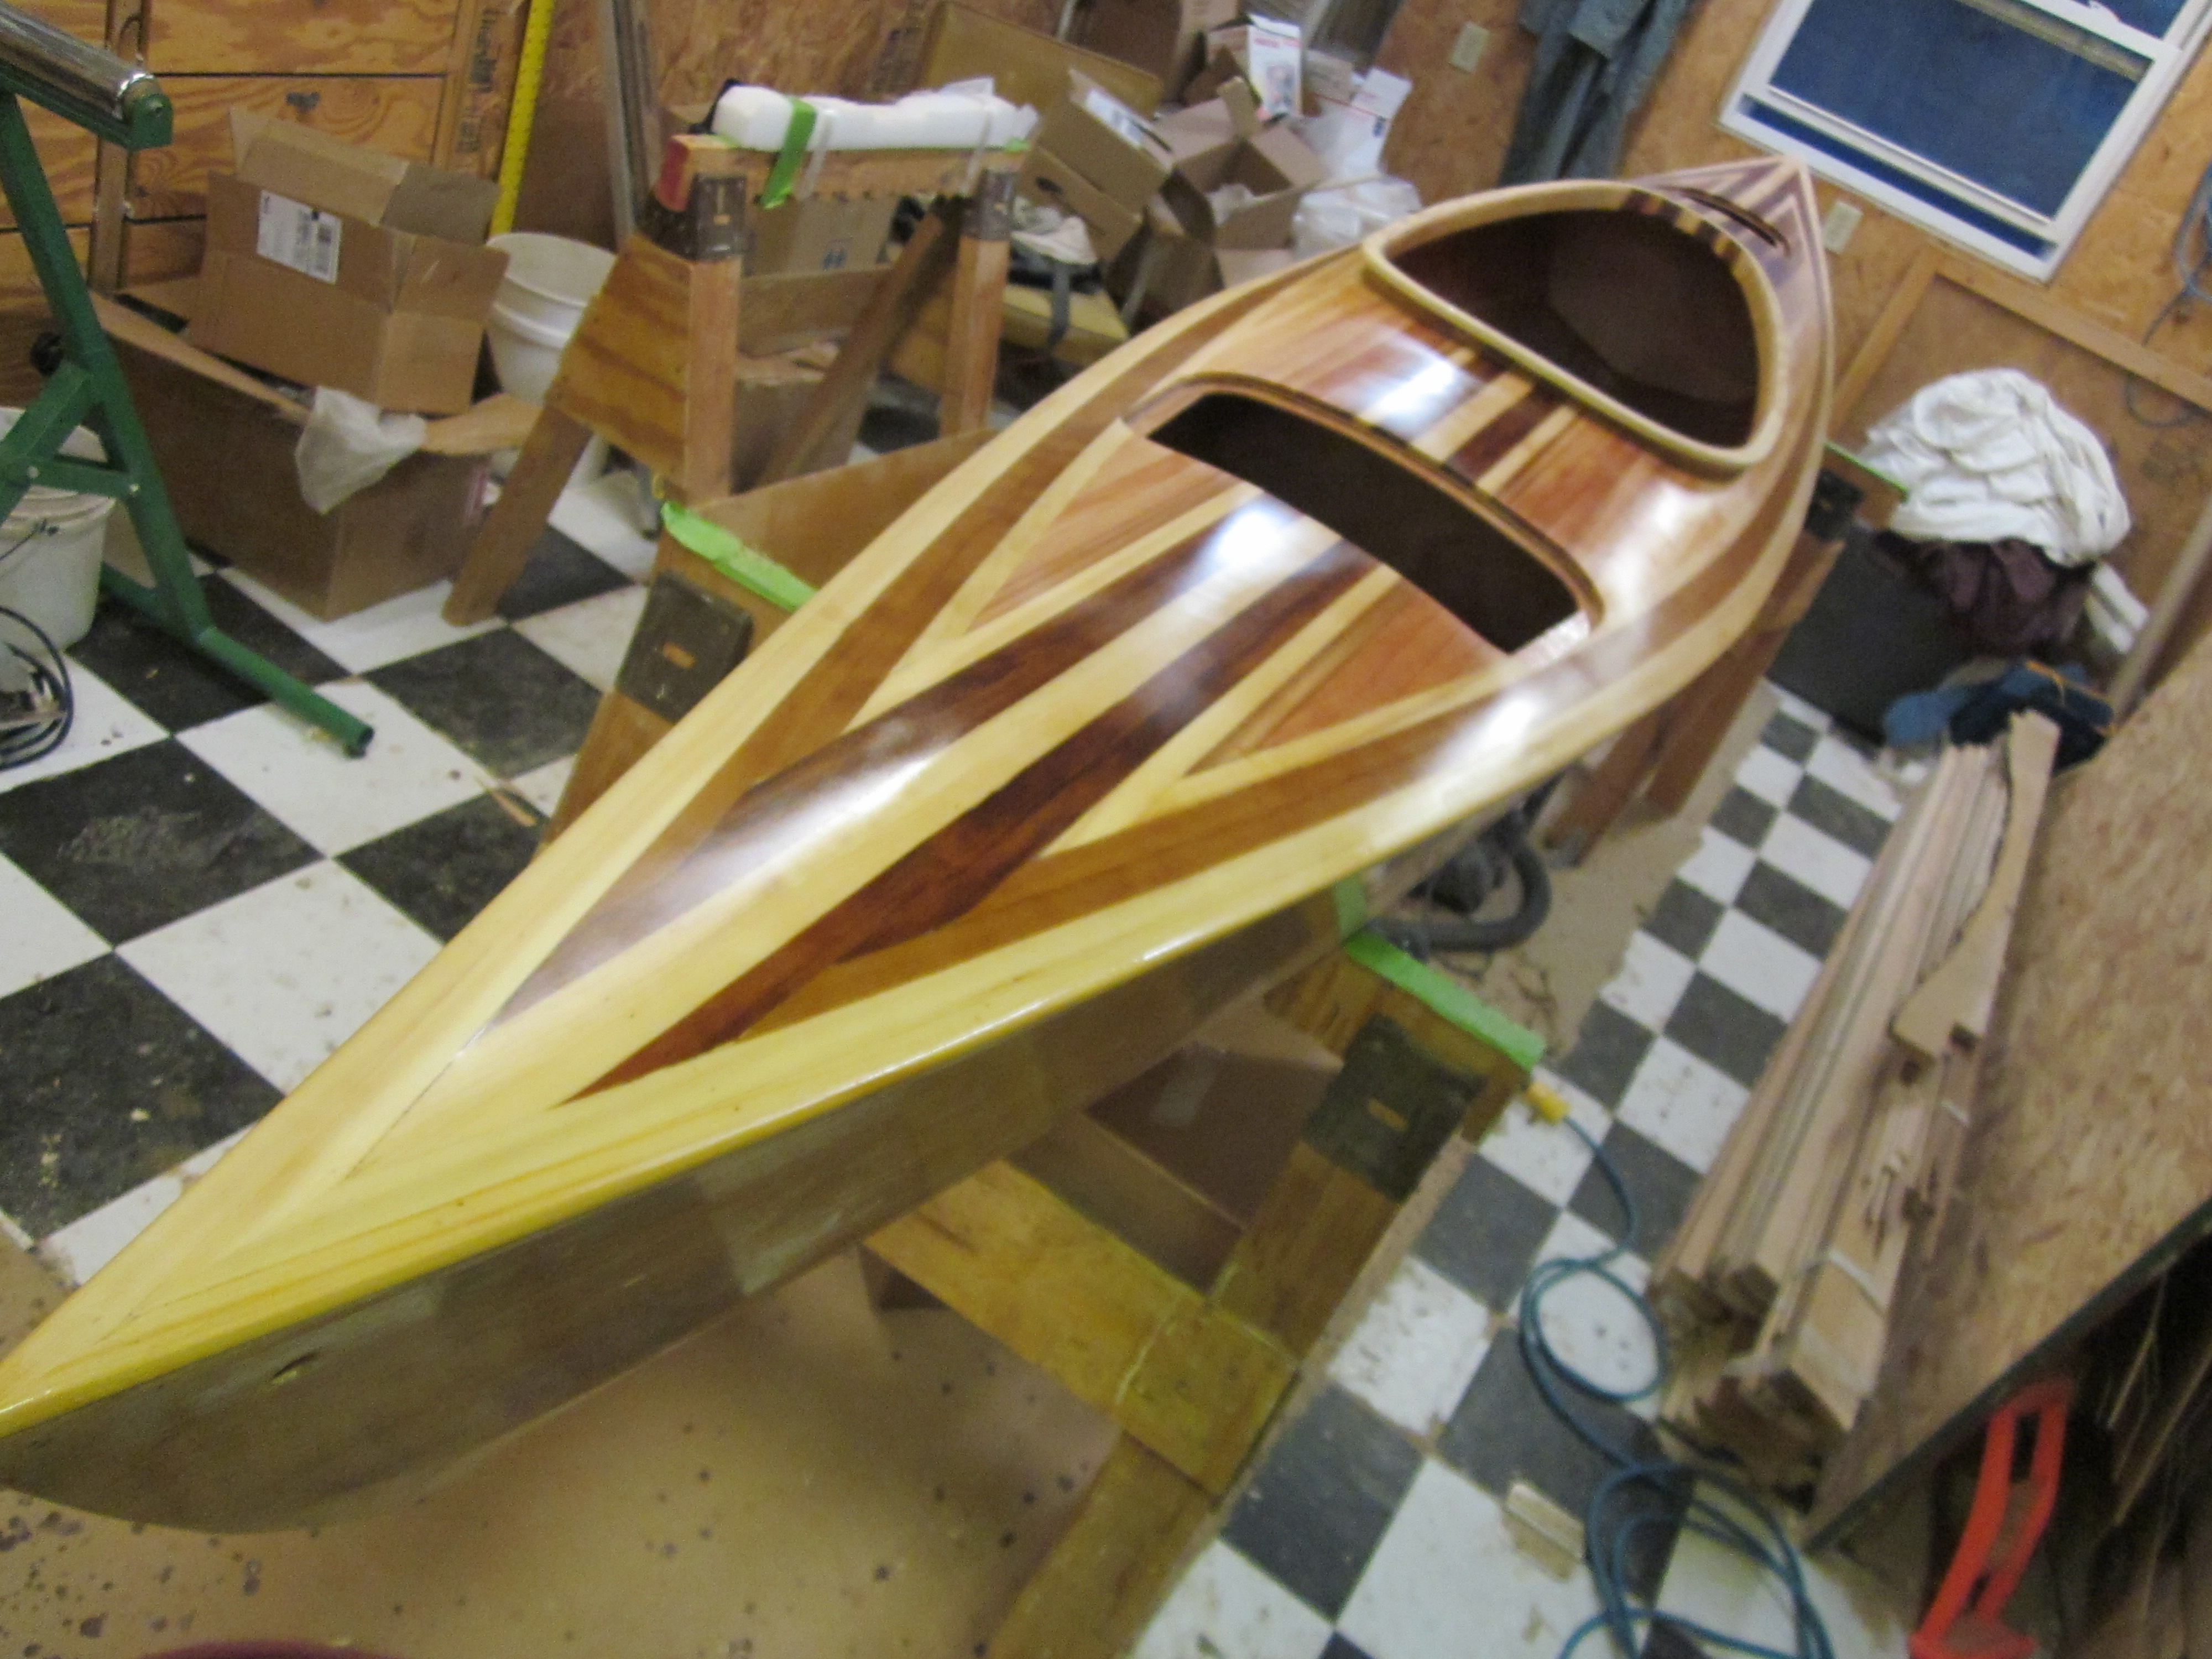
Handmade doesn’t have to look homemade. Every boat is a unique work of art, and no two are exactly the same.
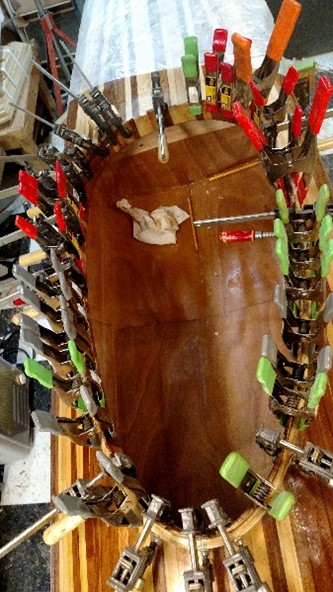
There are really only two rules that you can’t break in building wooden boats: Your shop can NEVER be too big, and you can’t EVER have too many clamps!
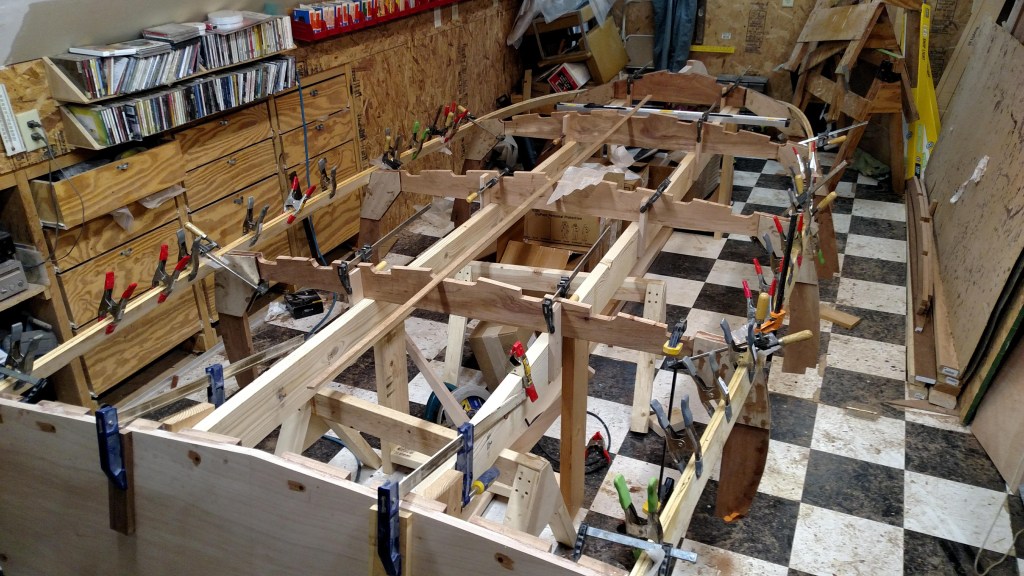
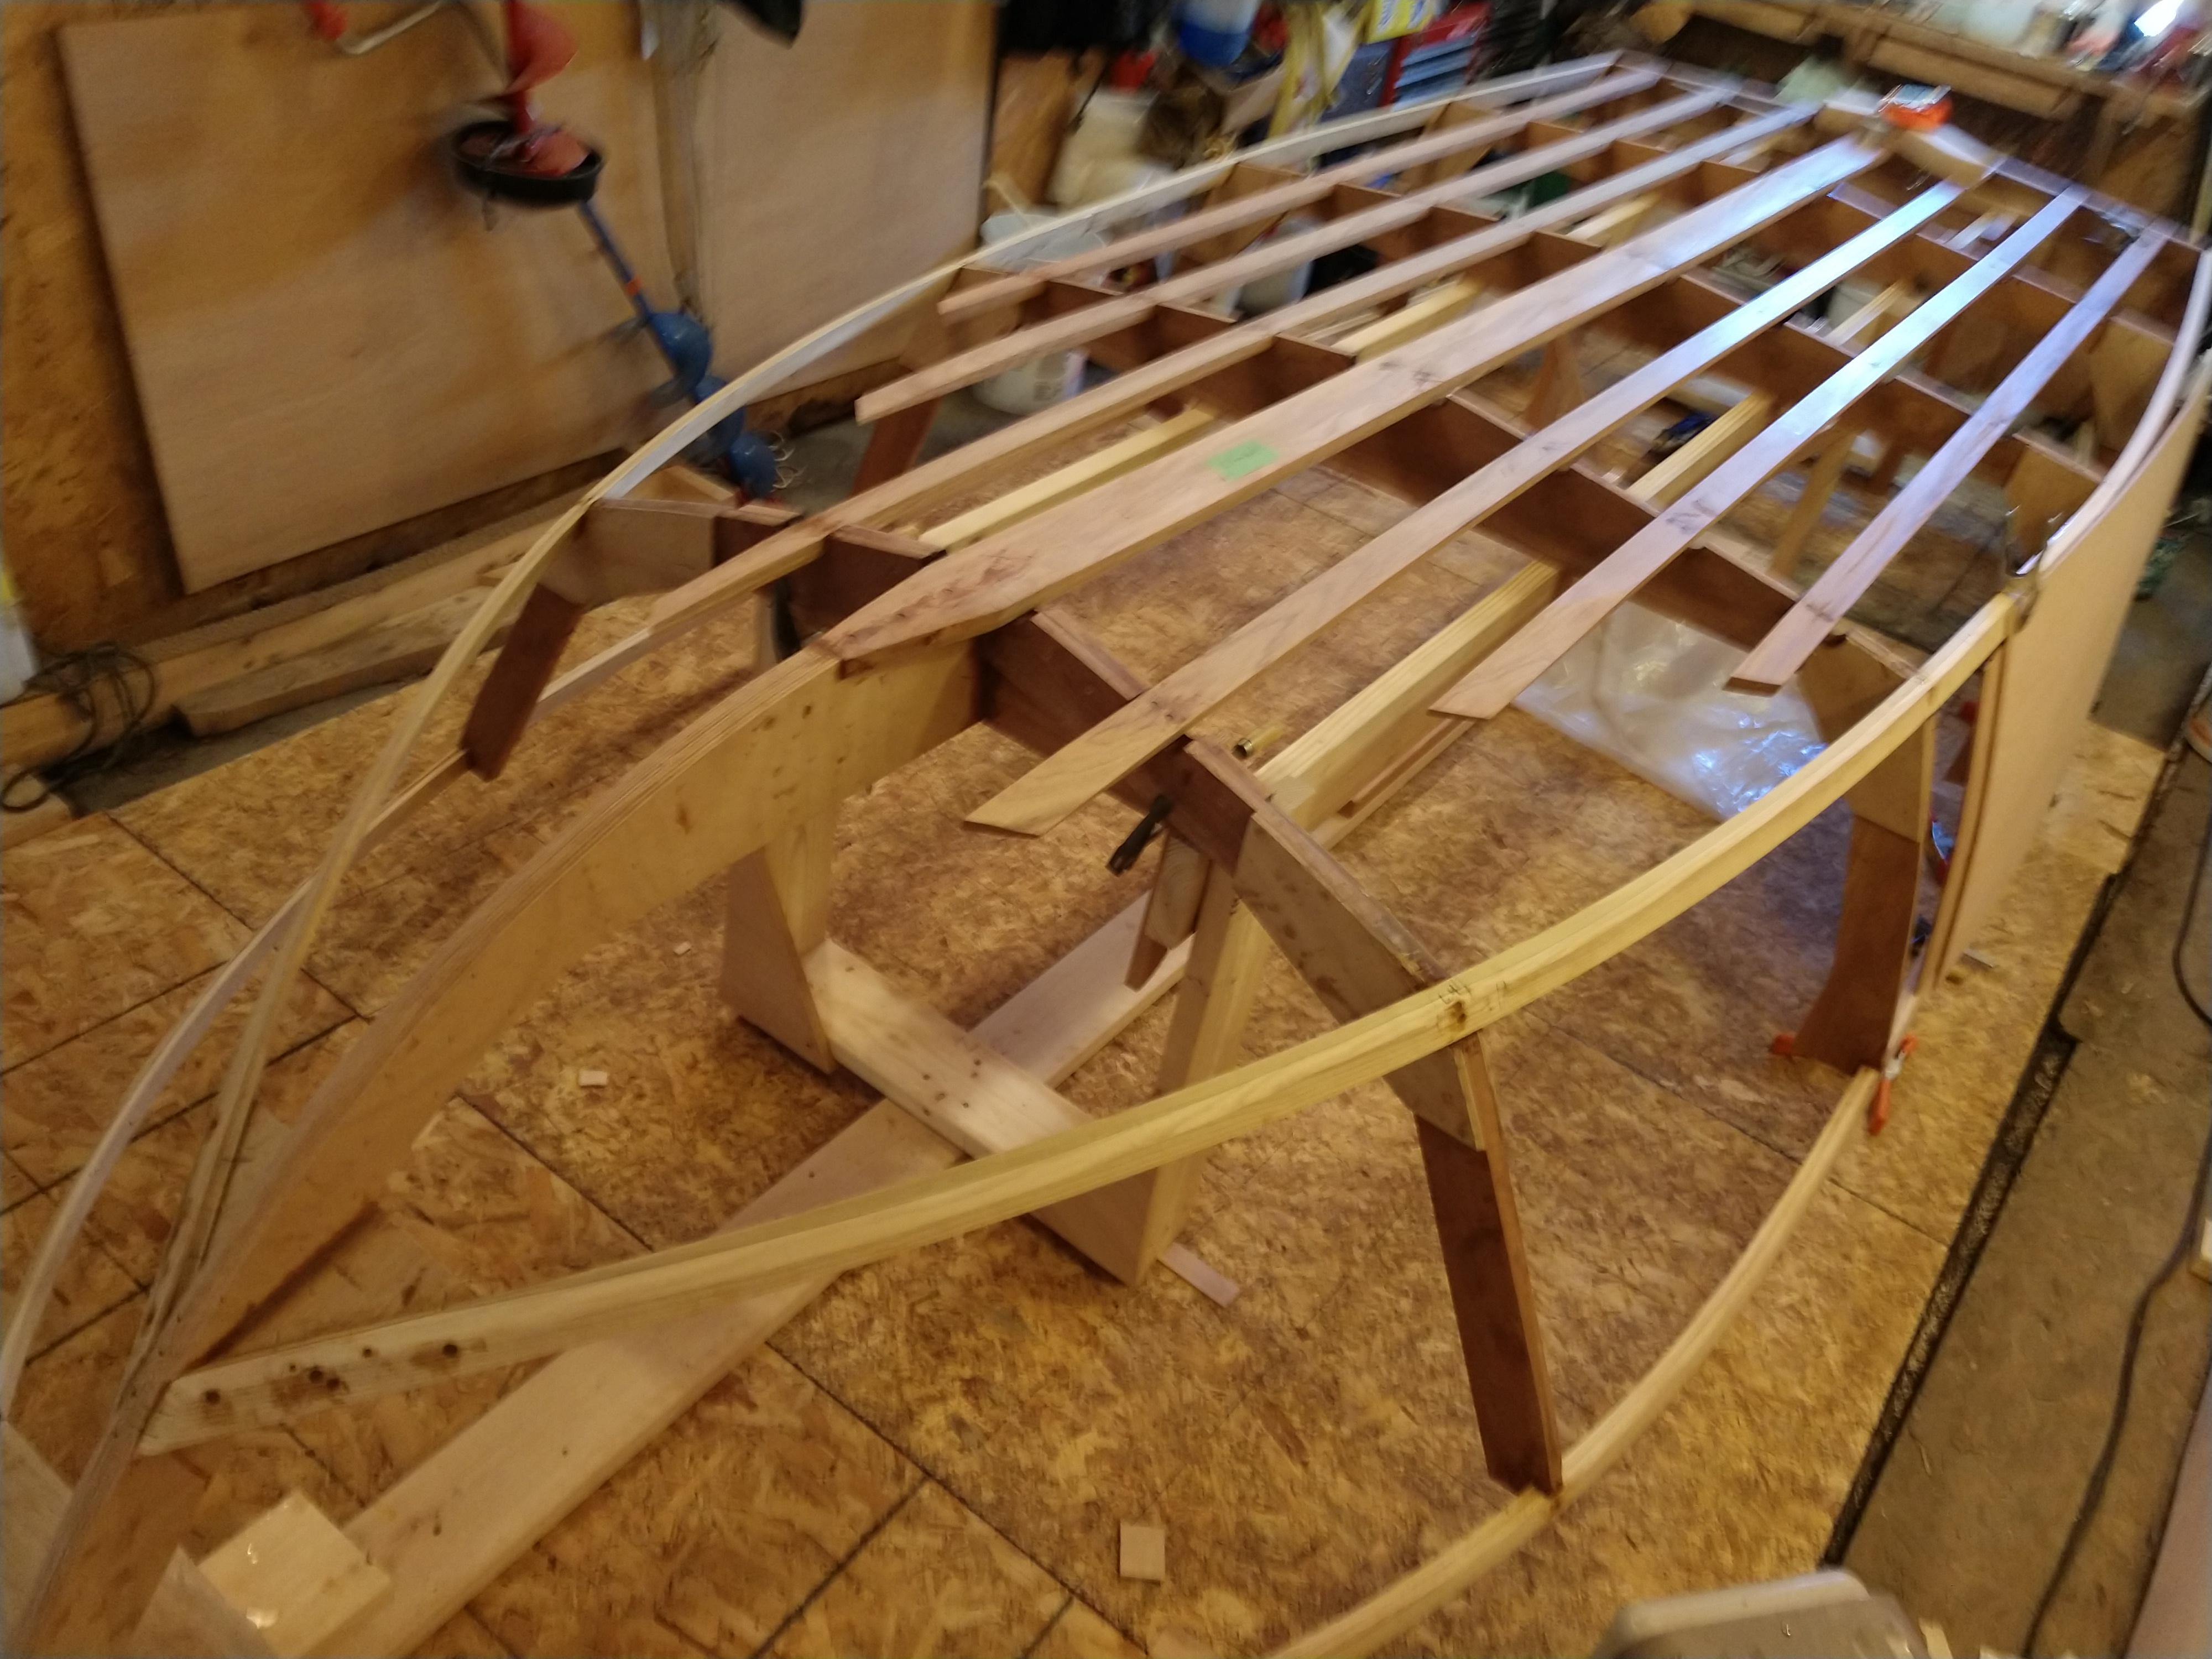
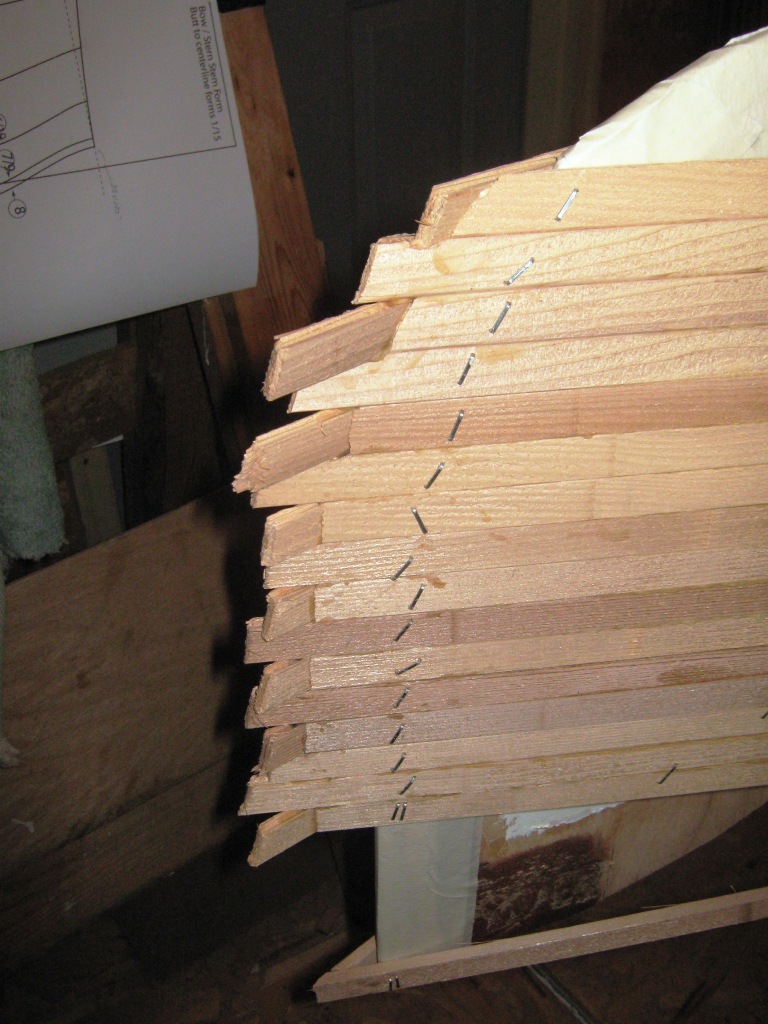
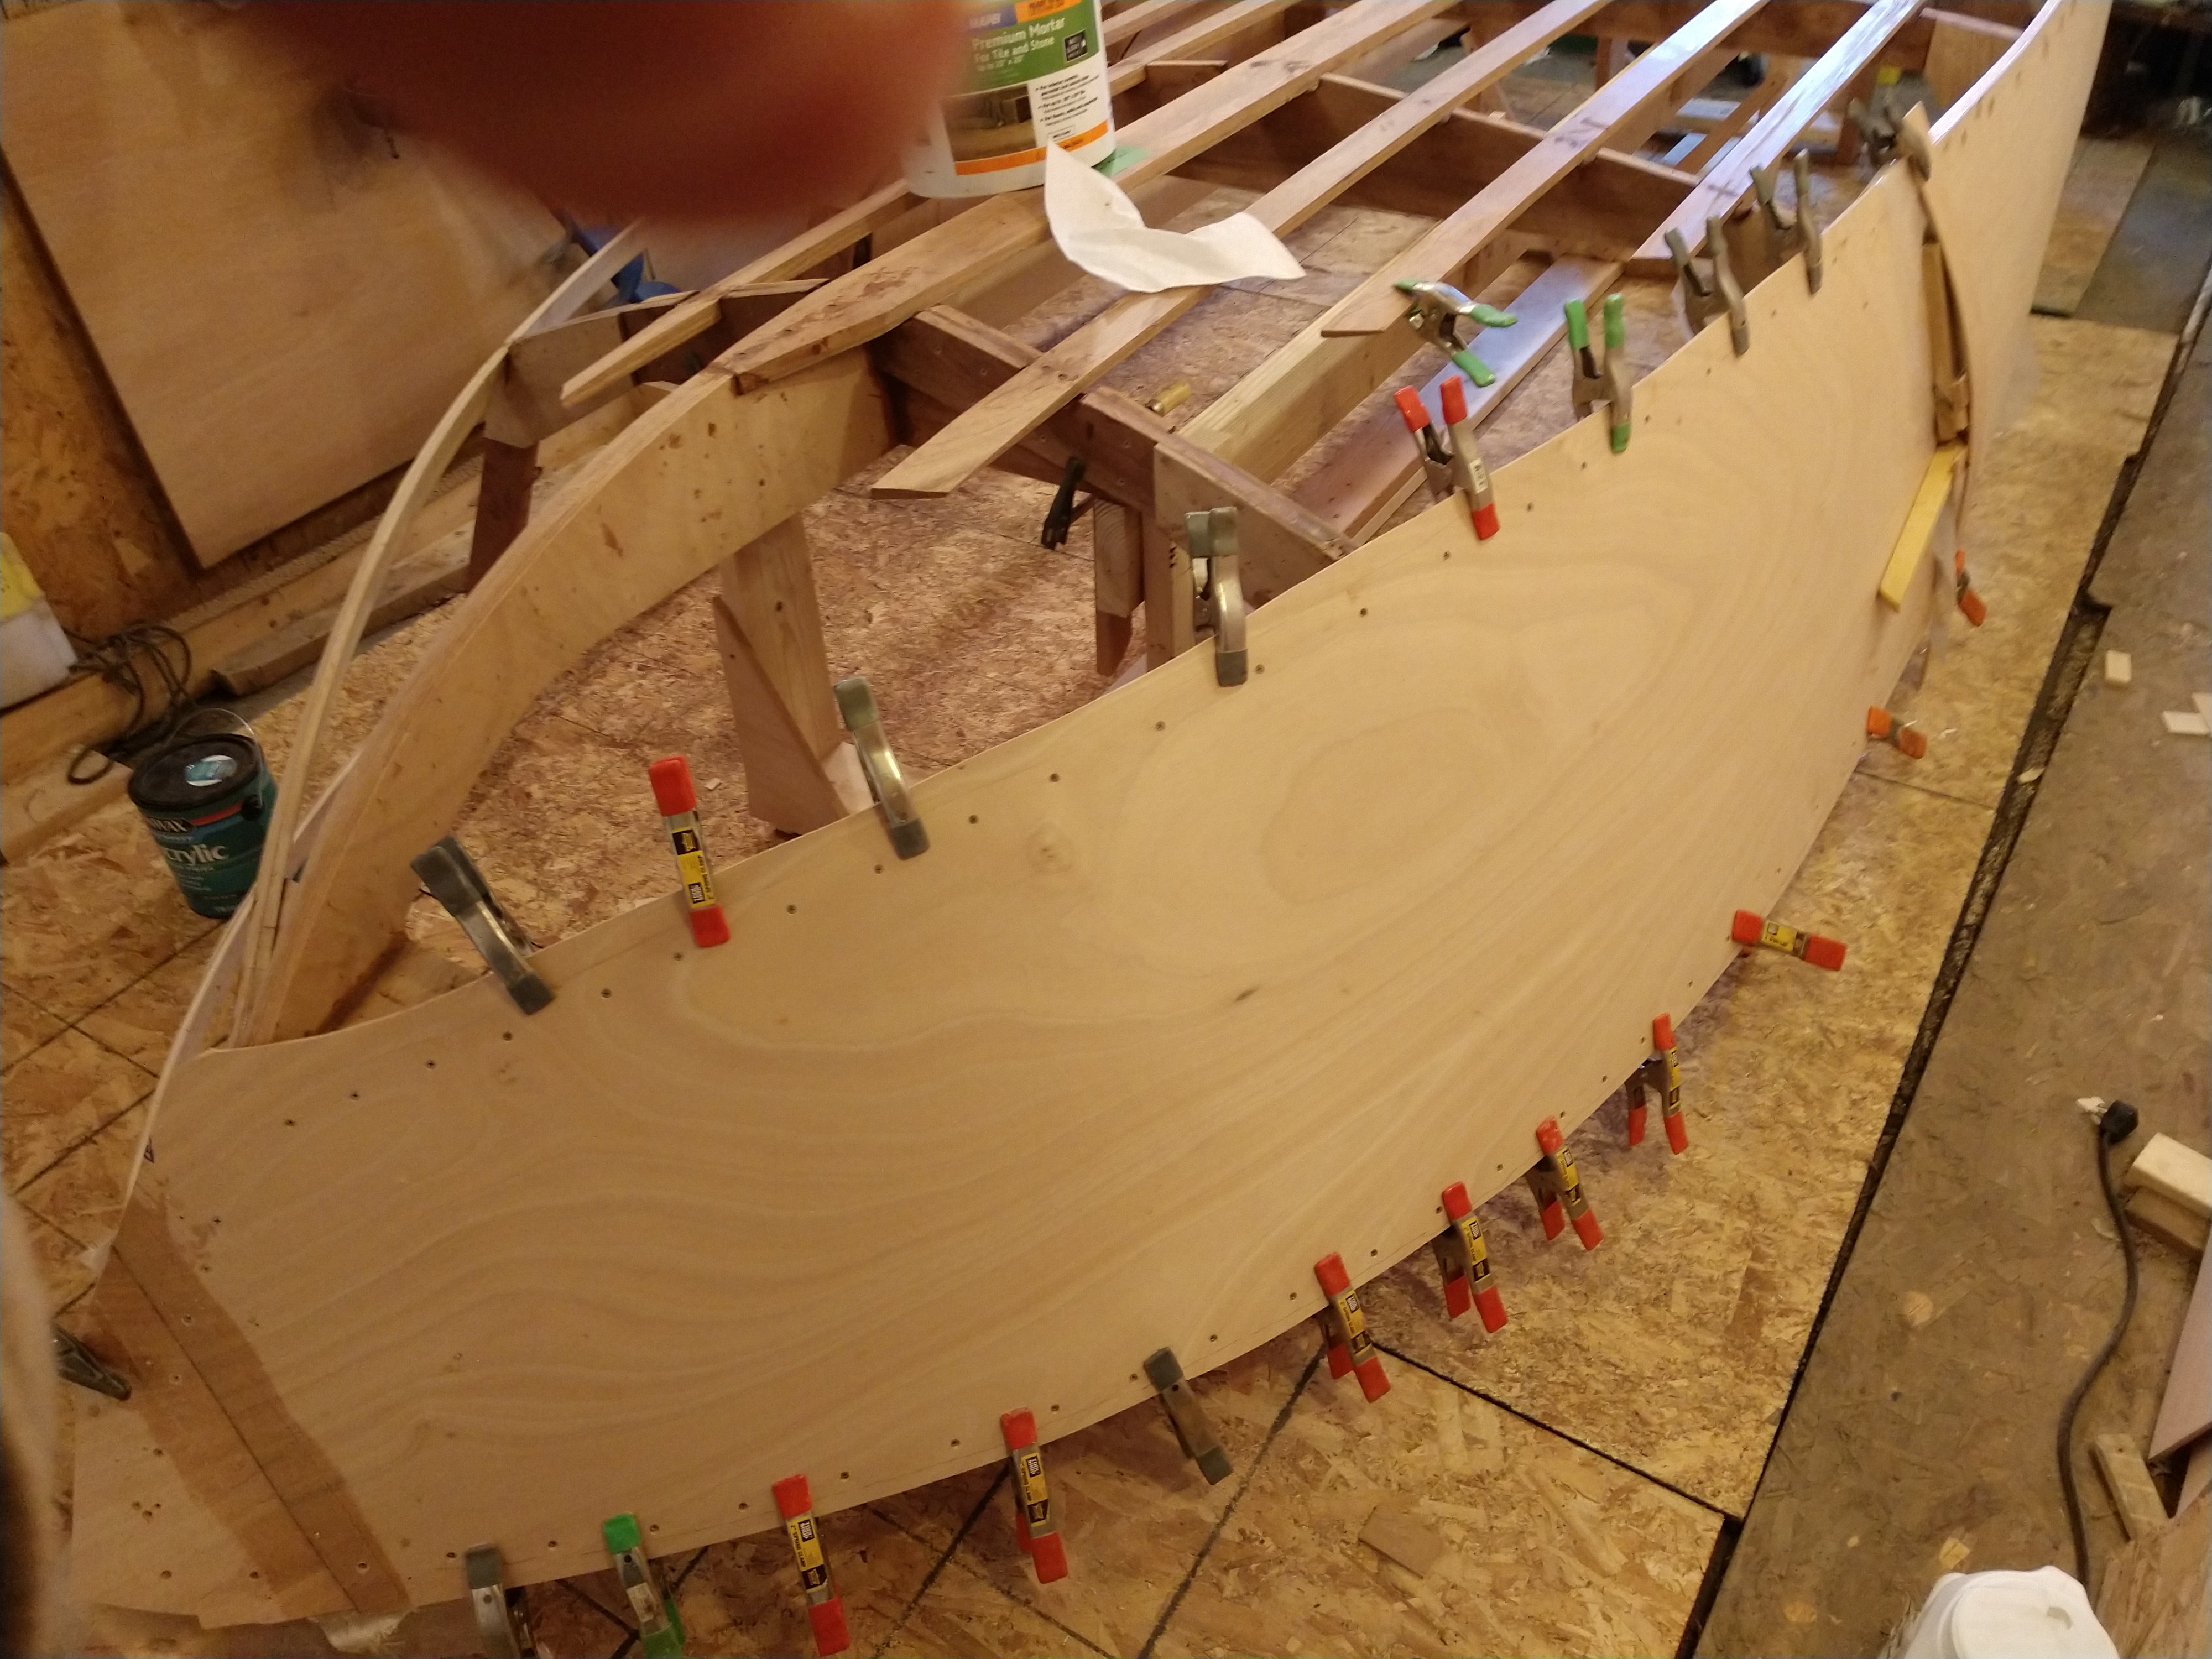
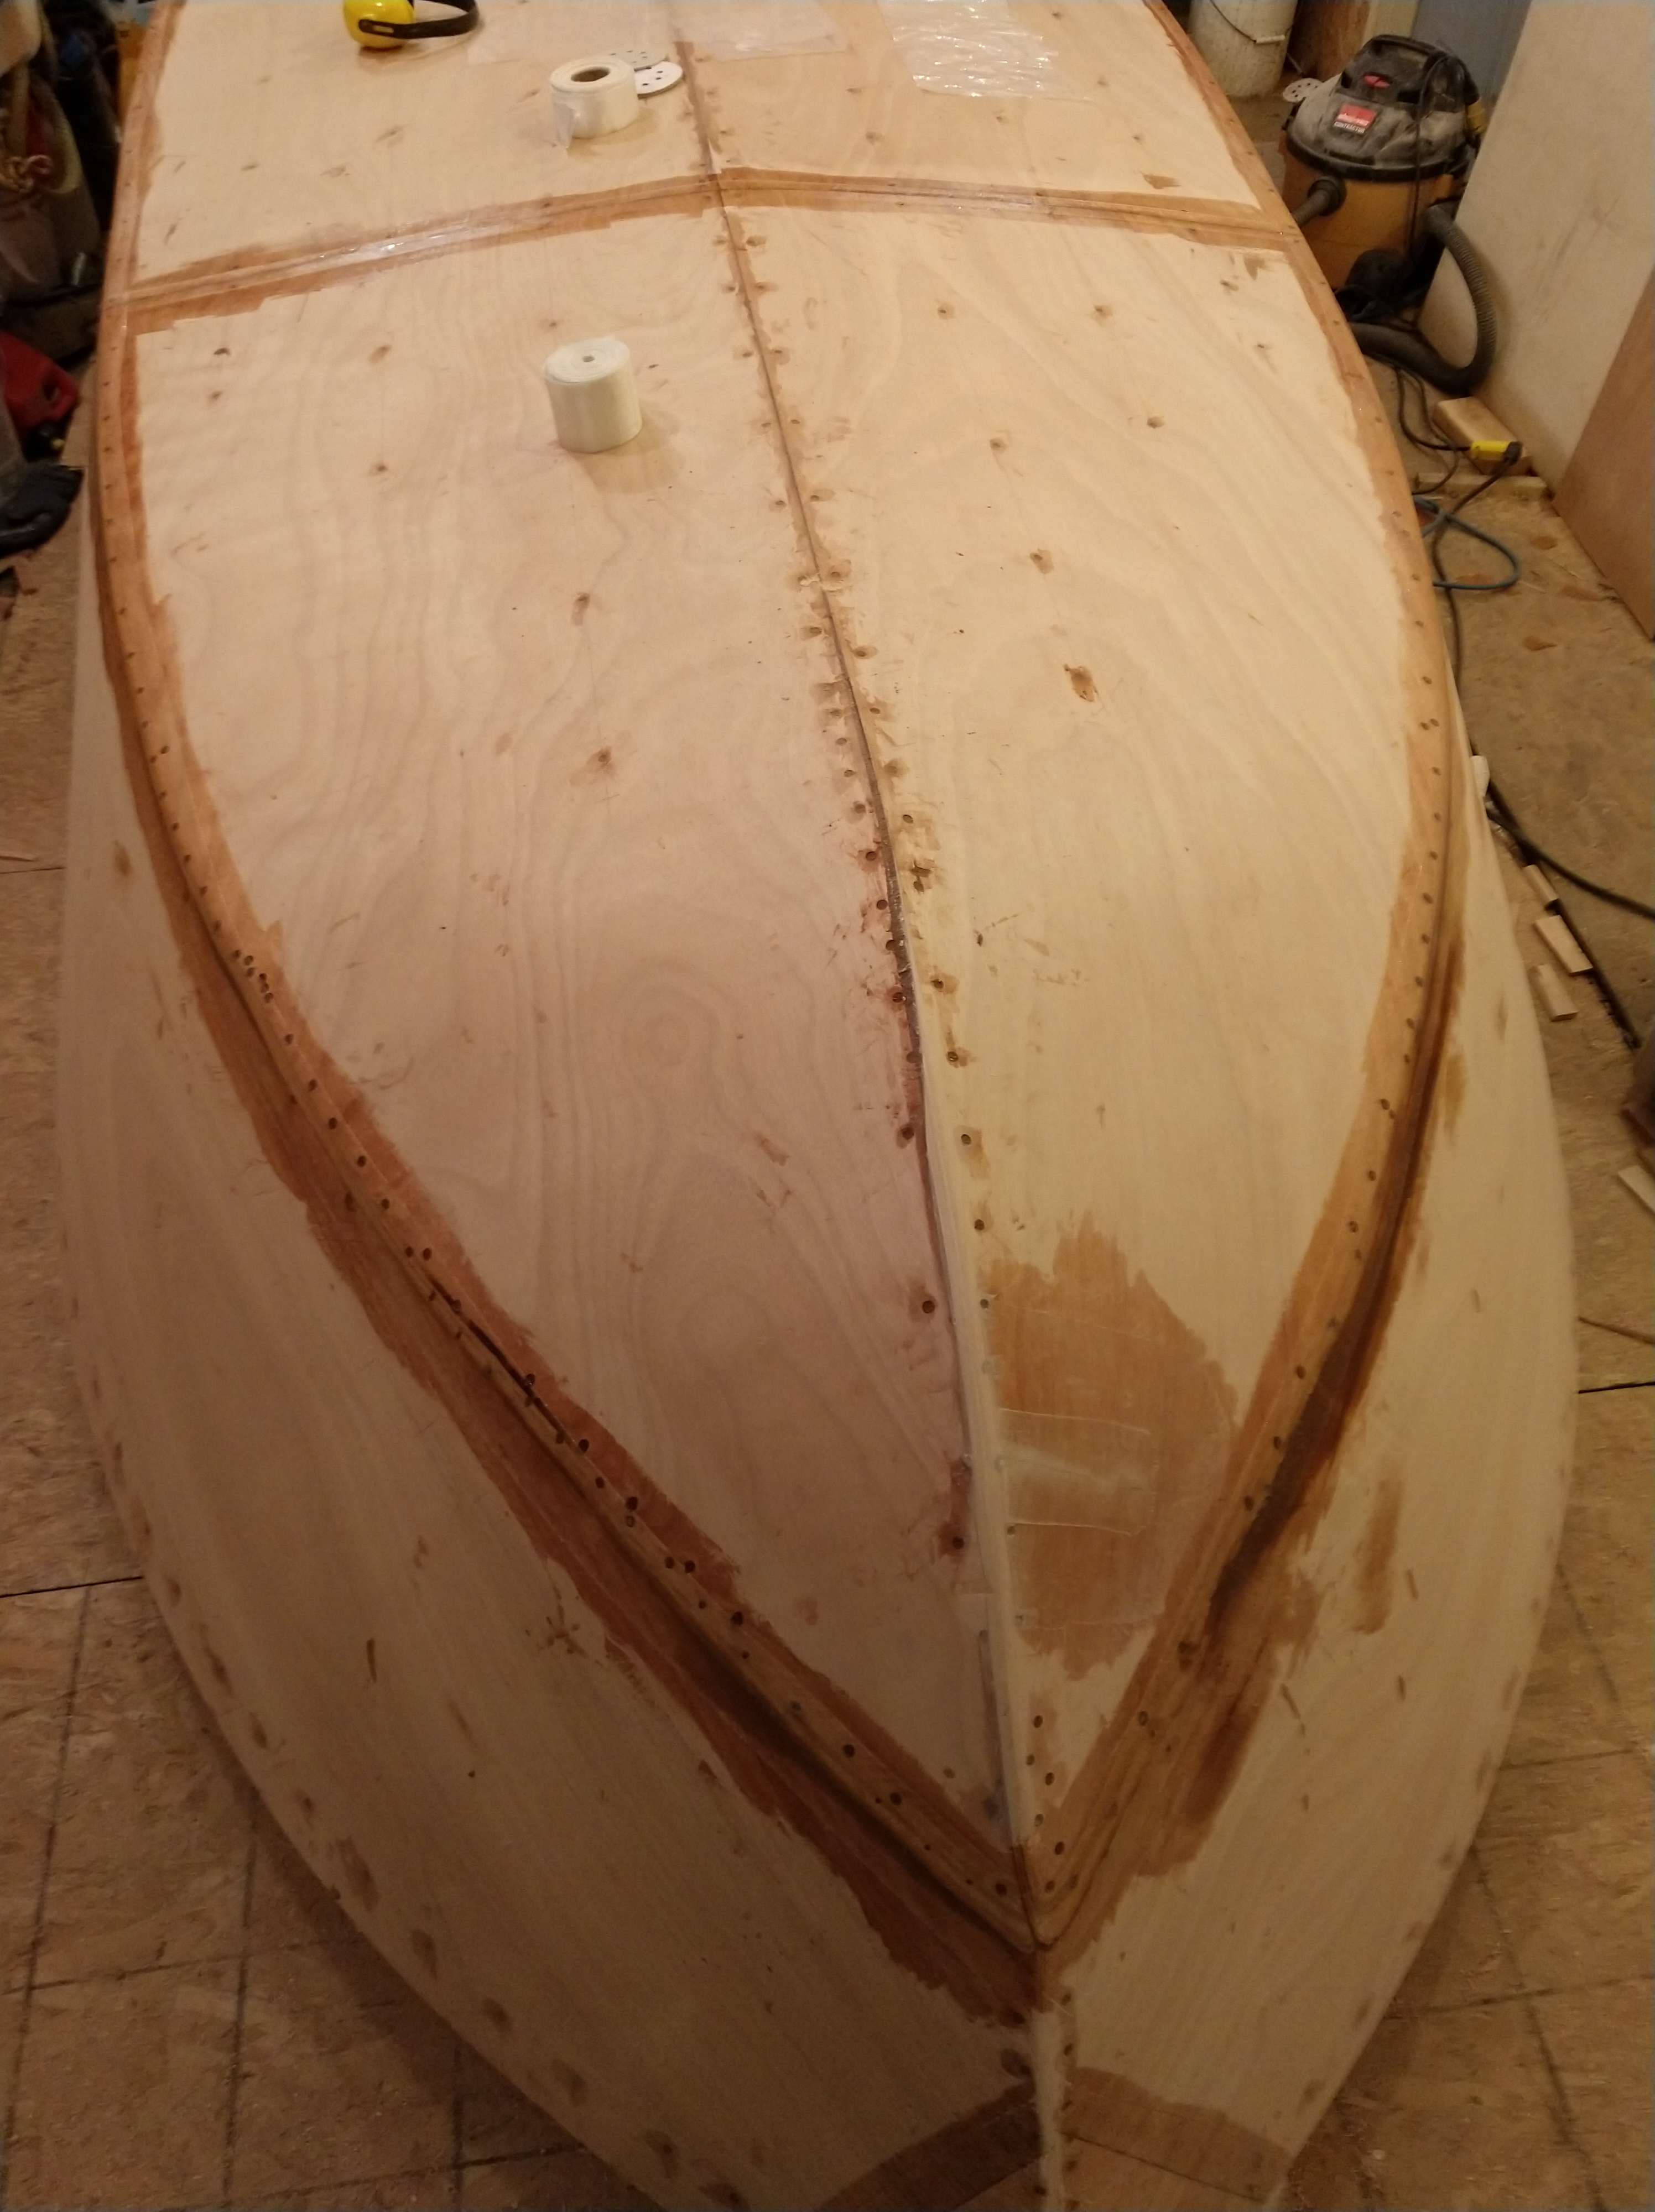
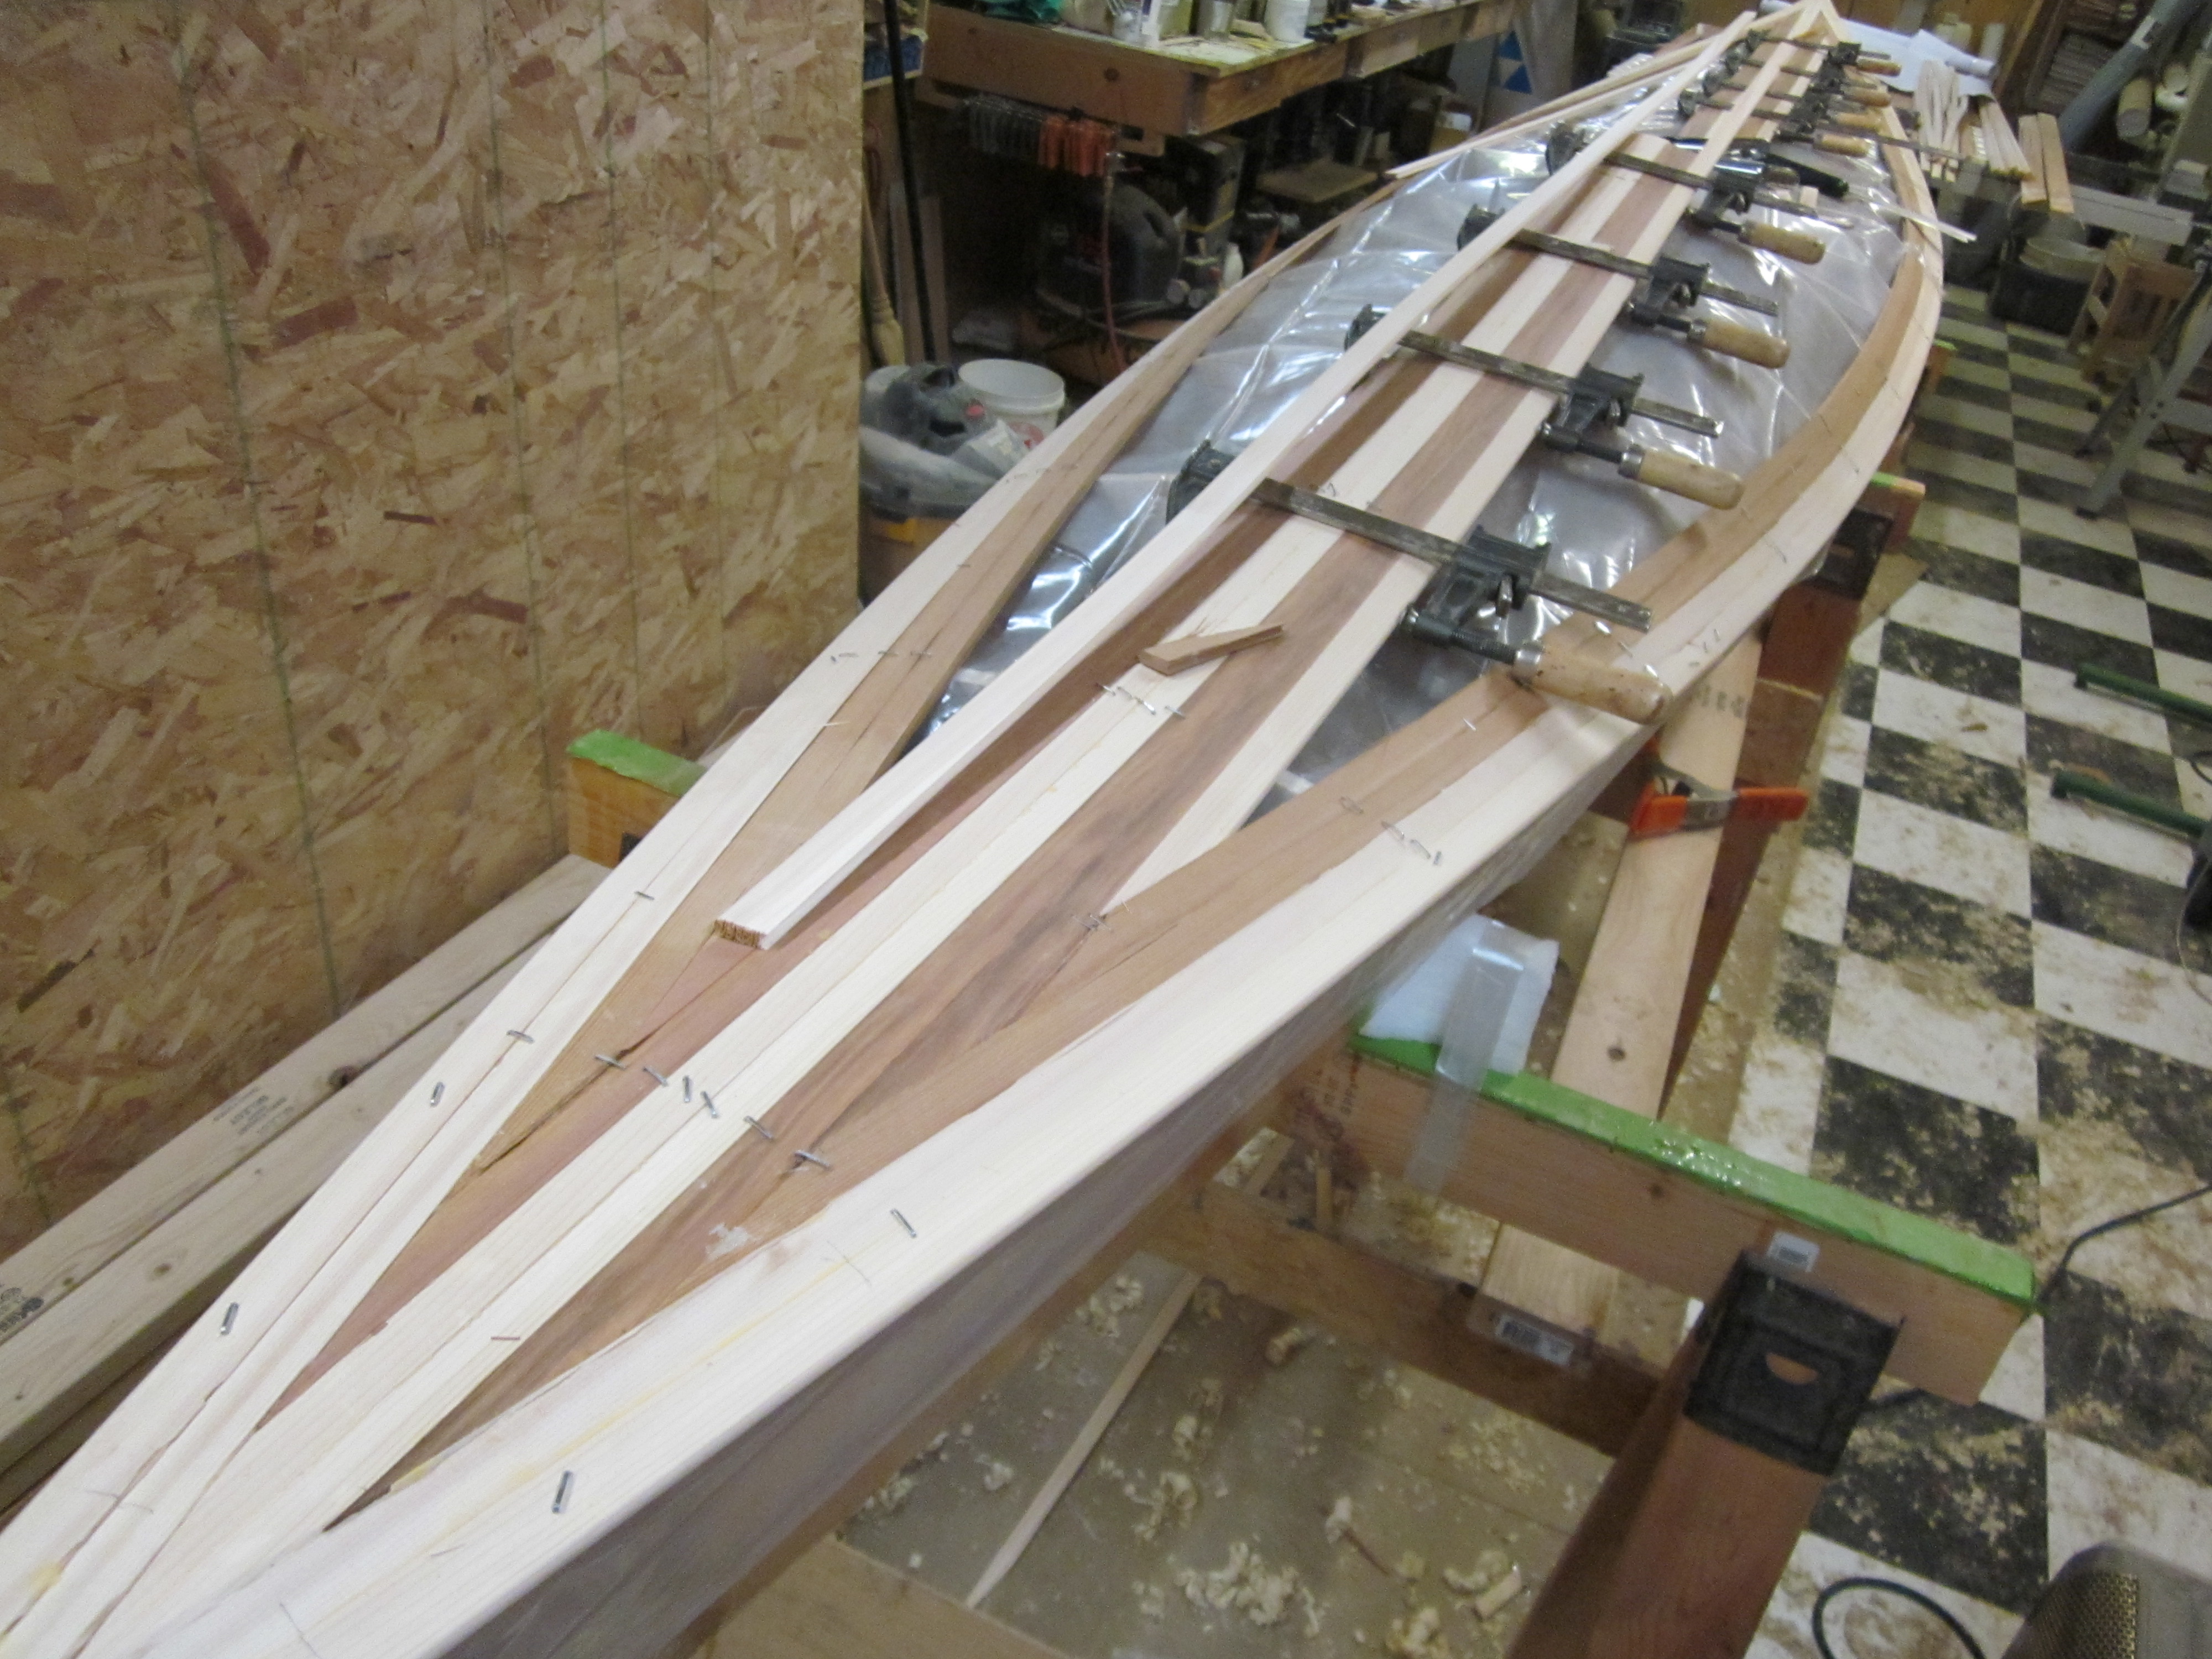
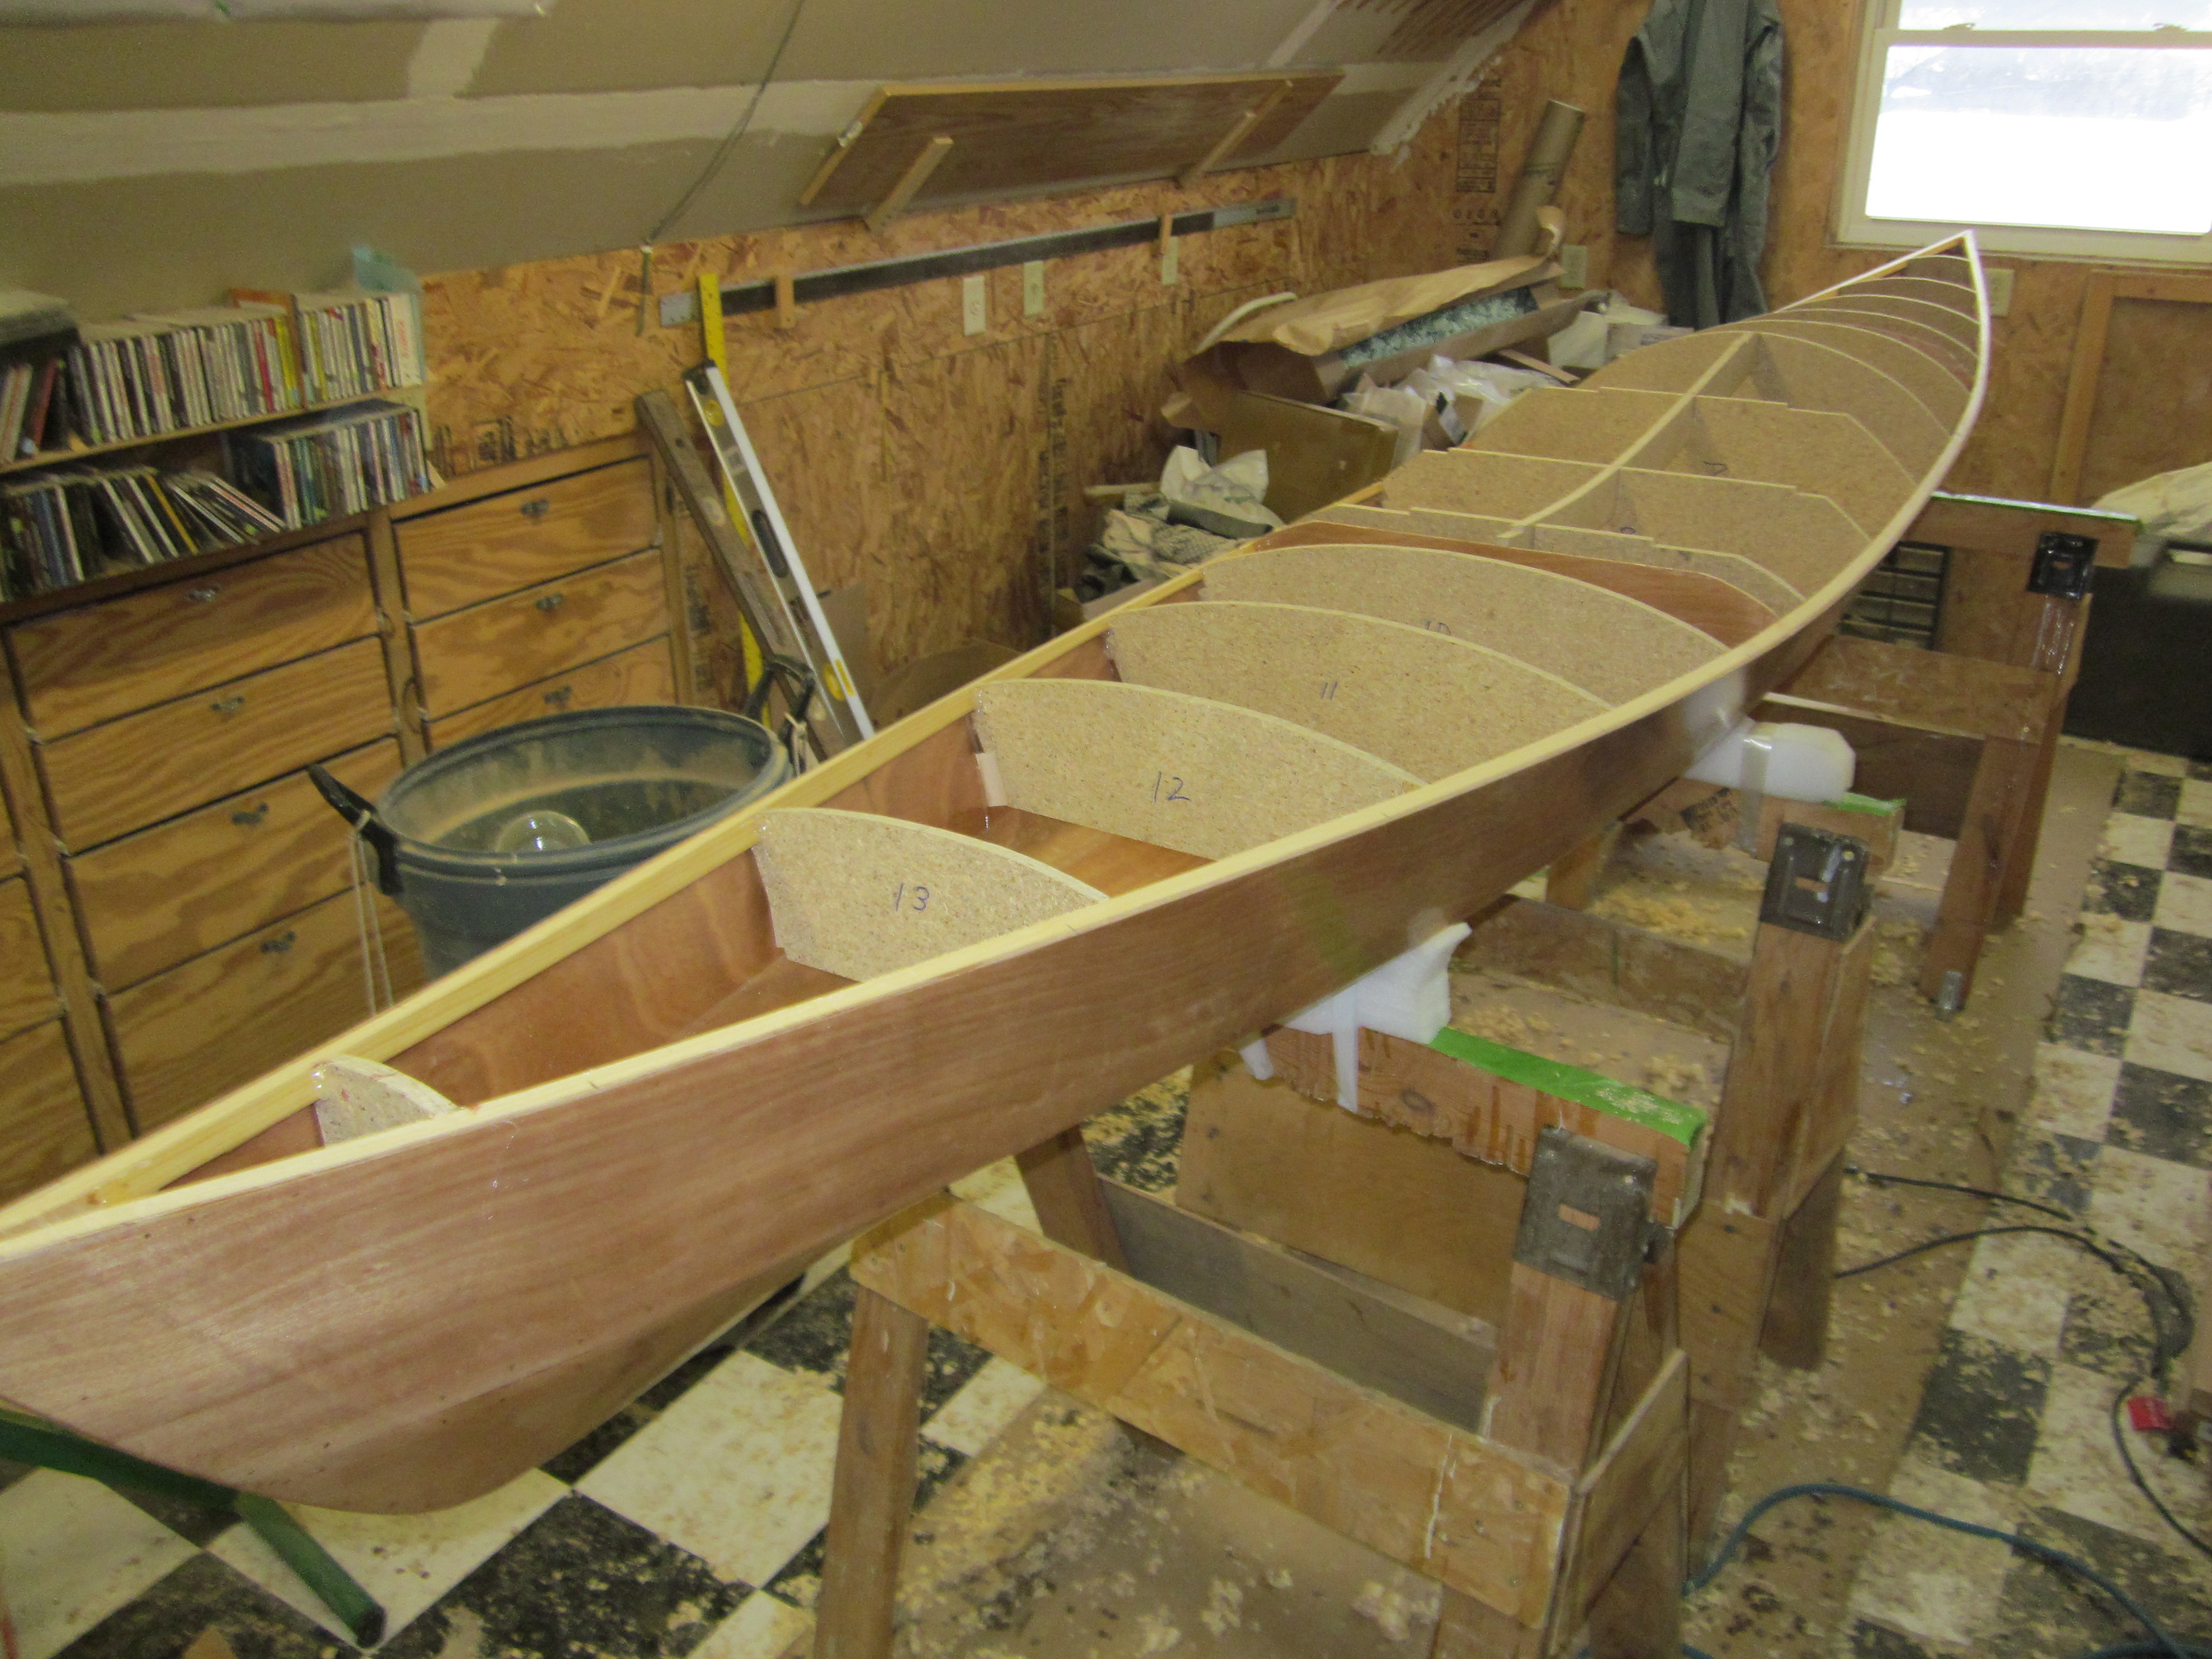
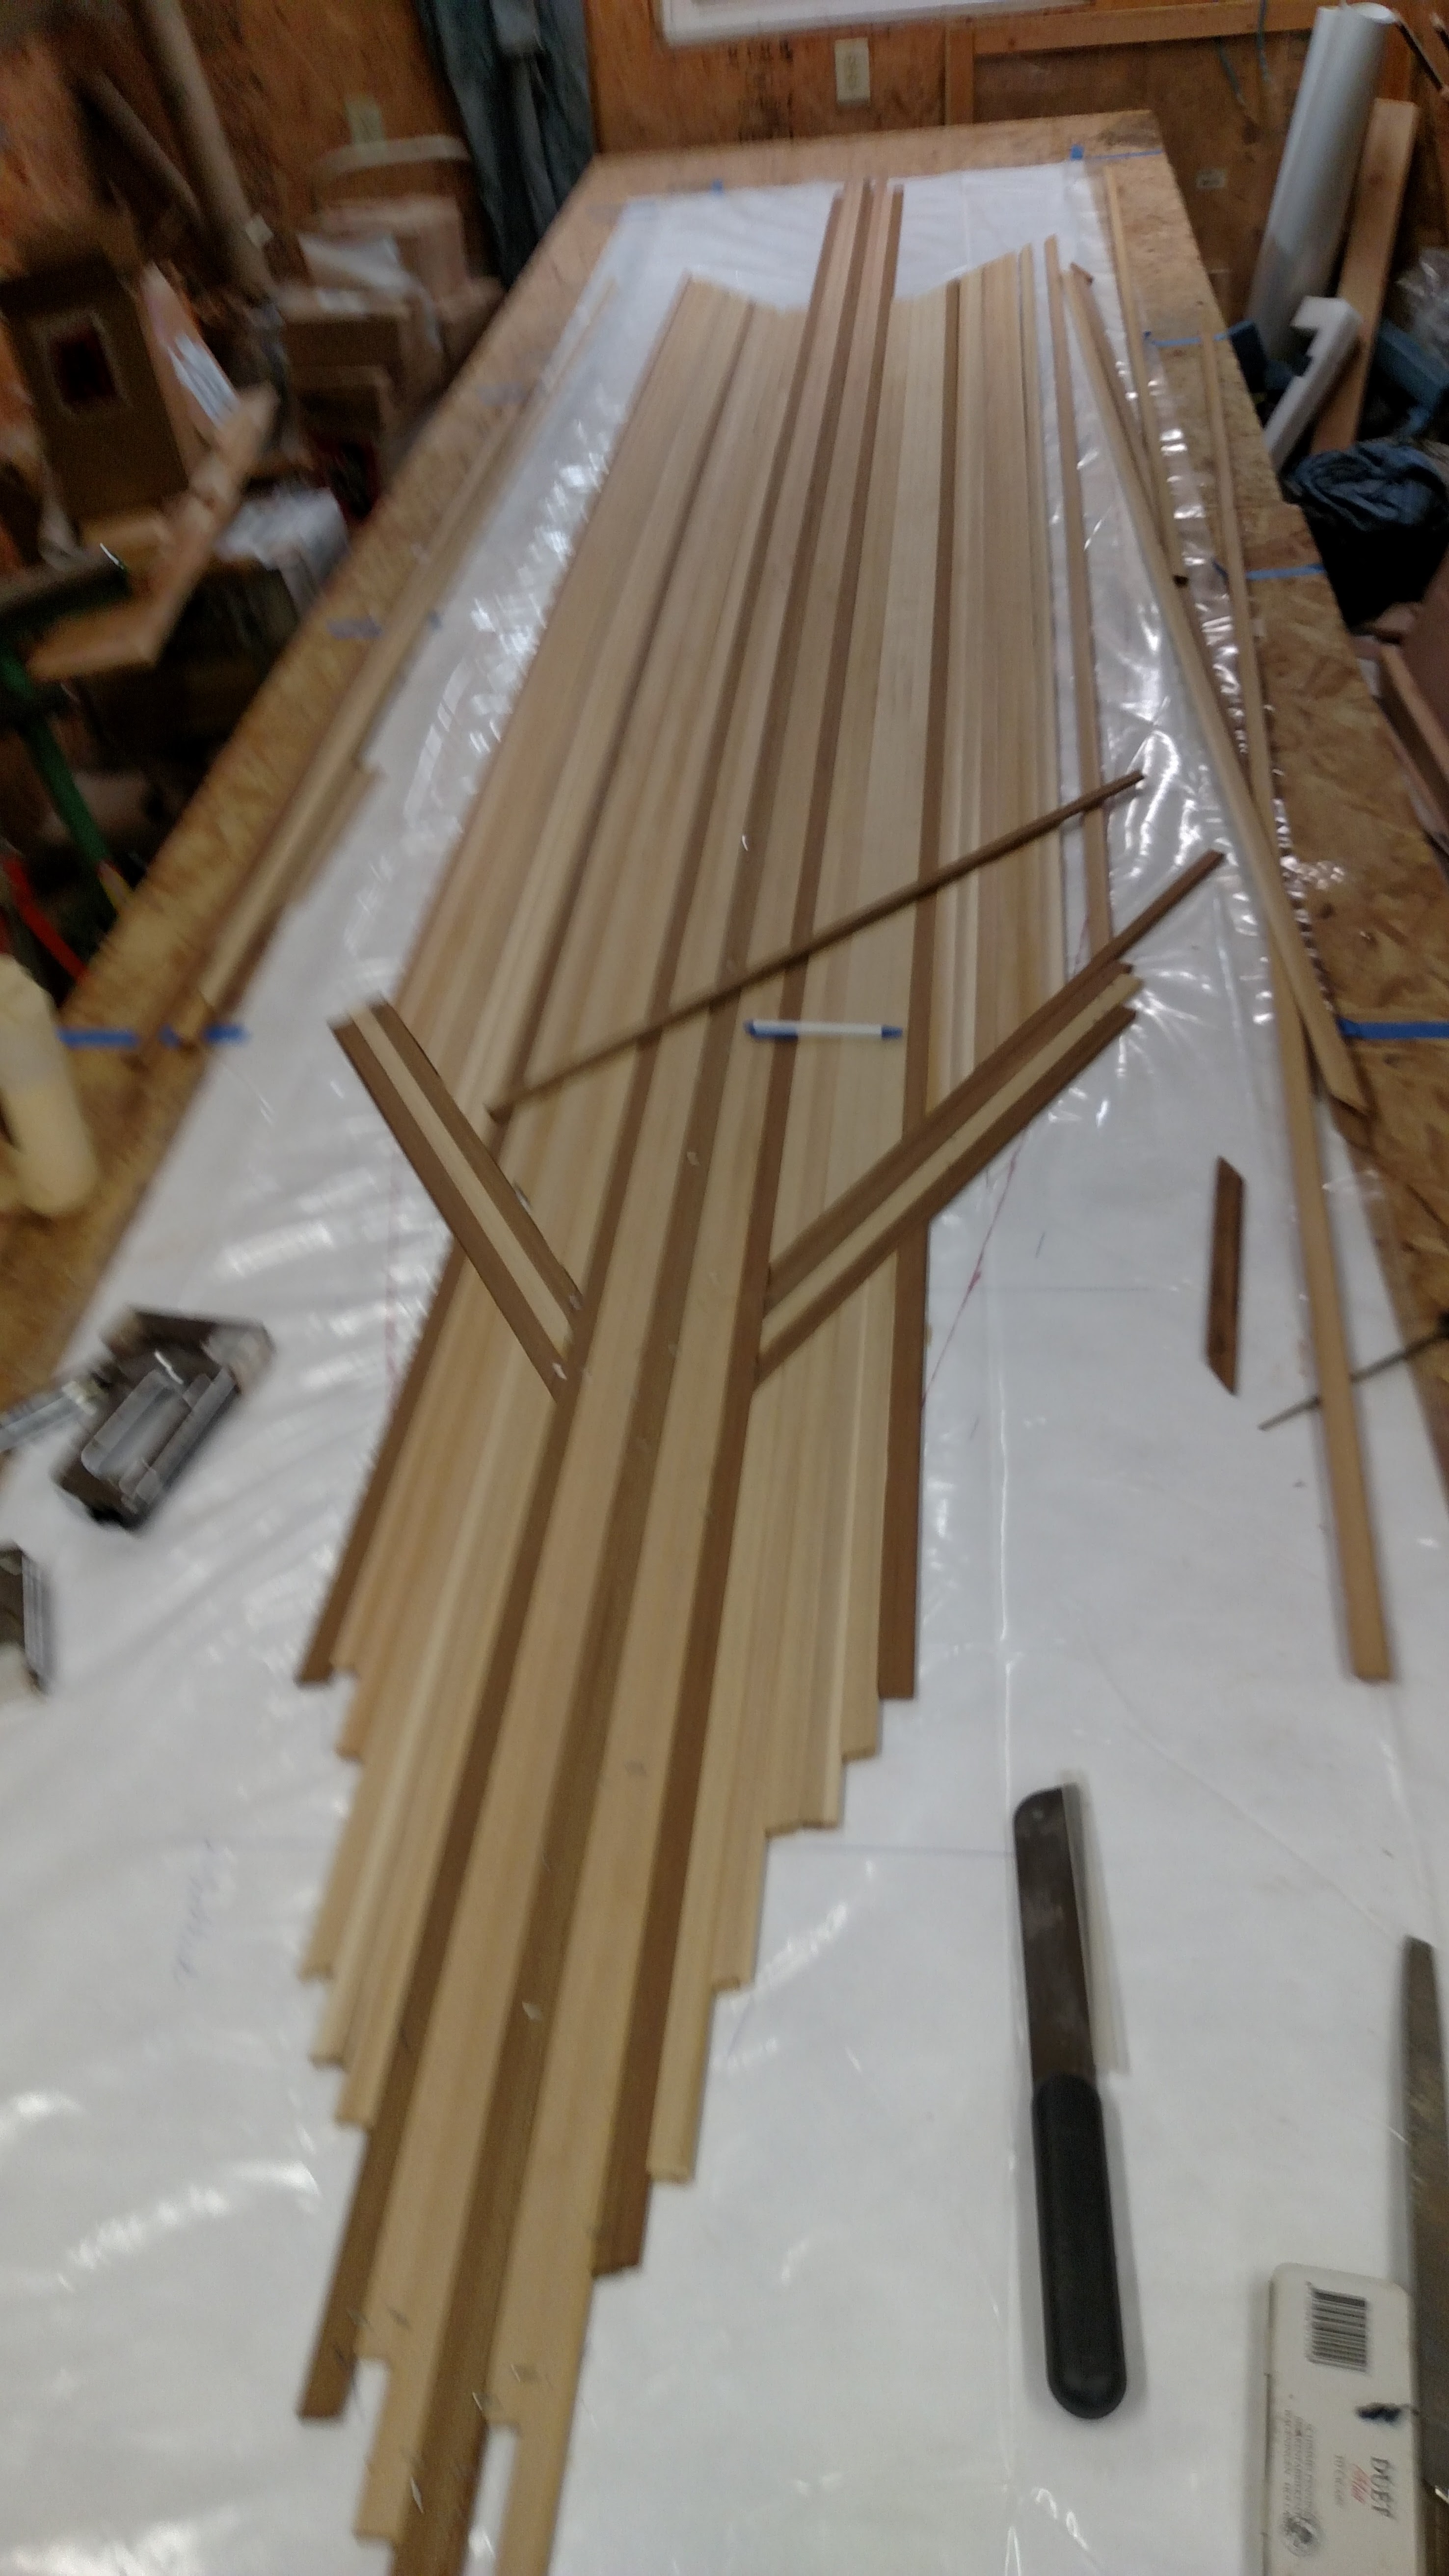
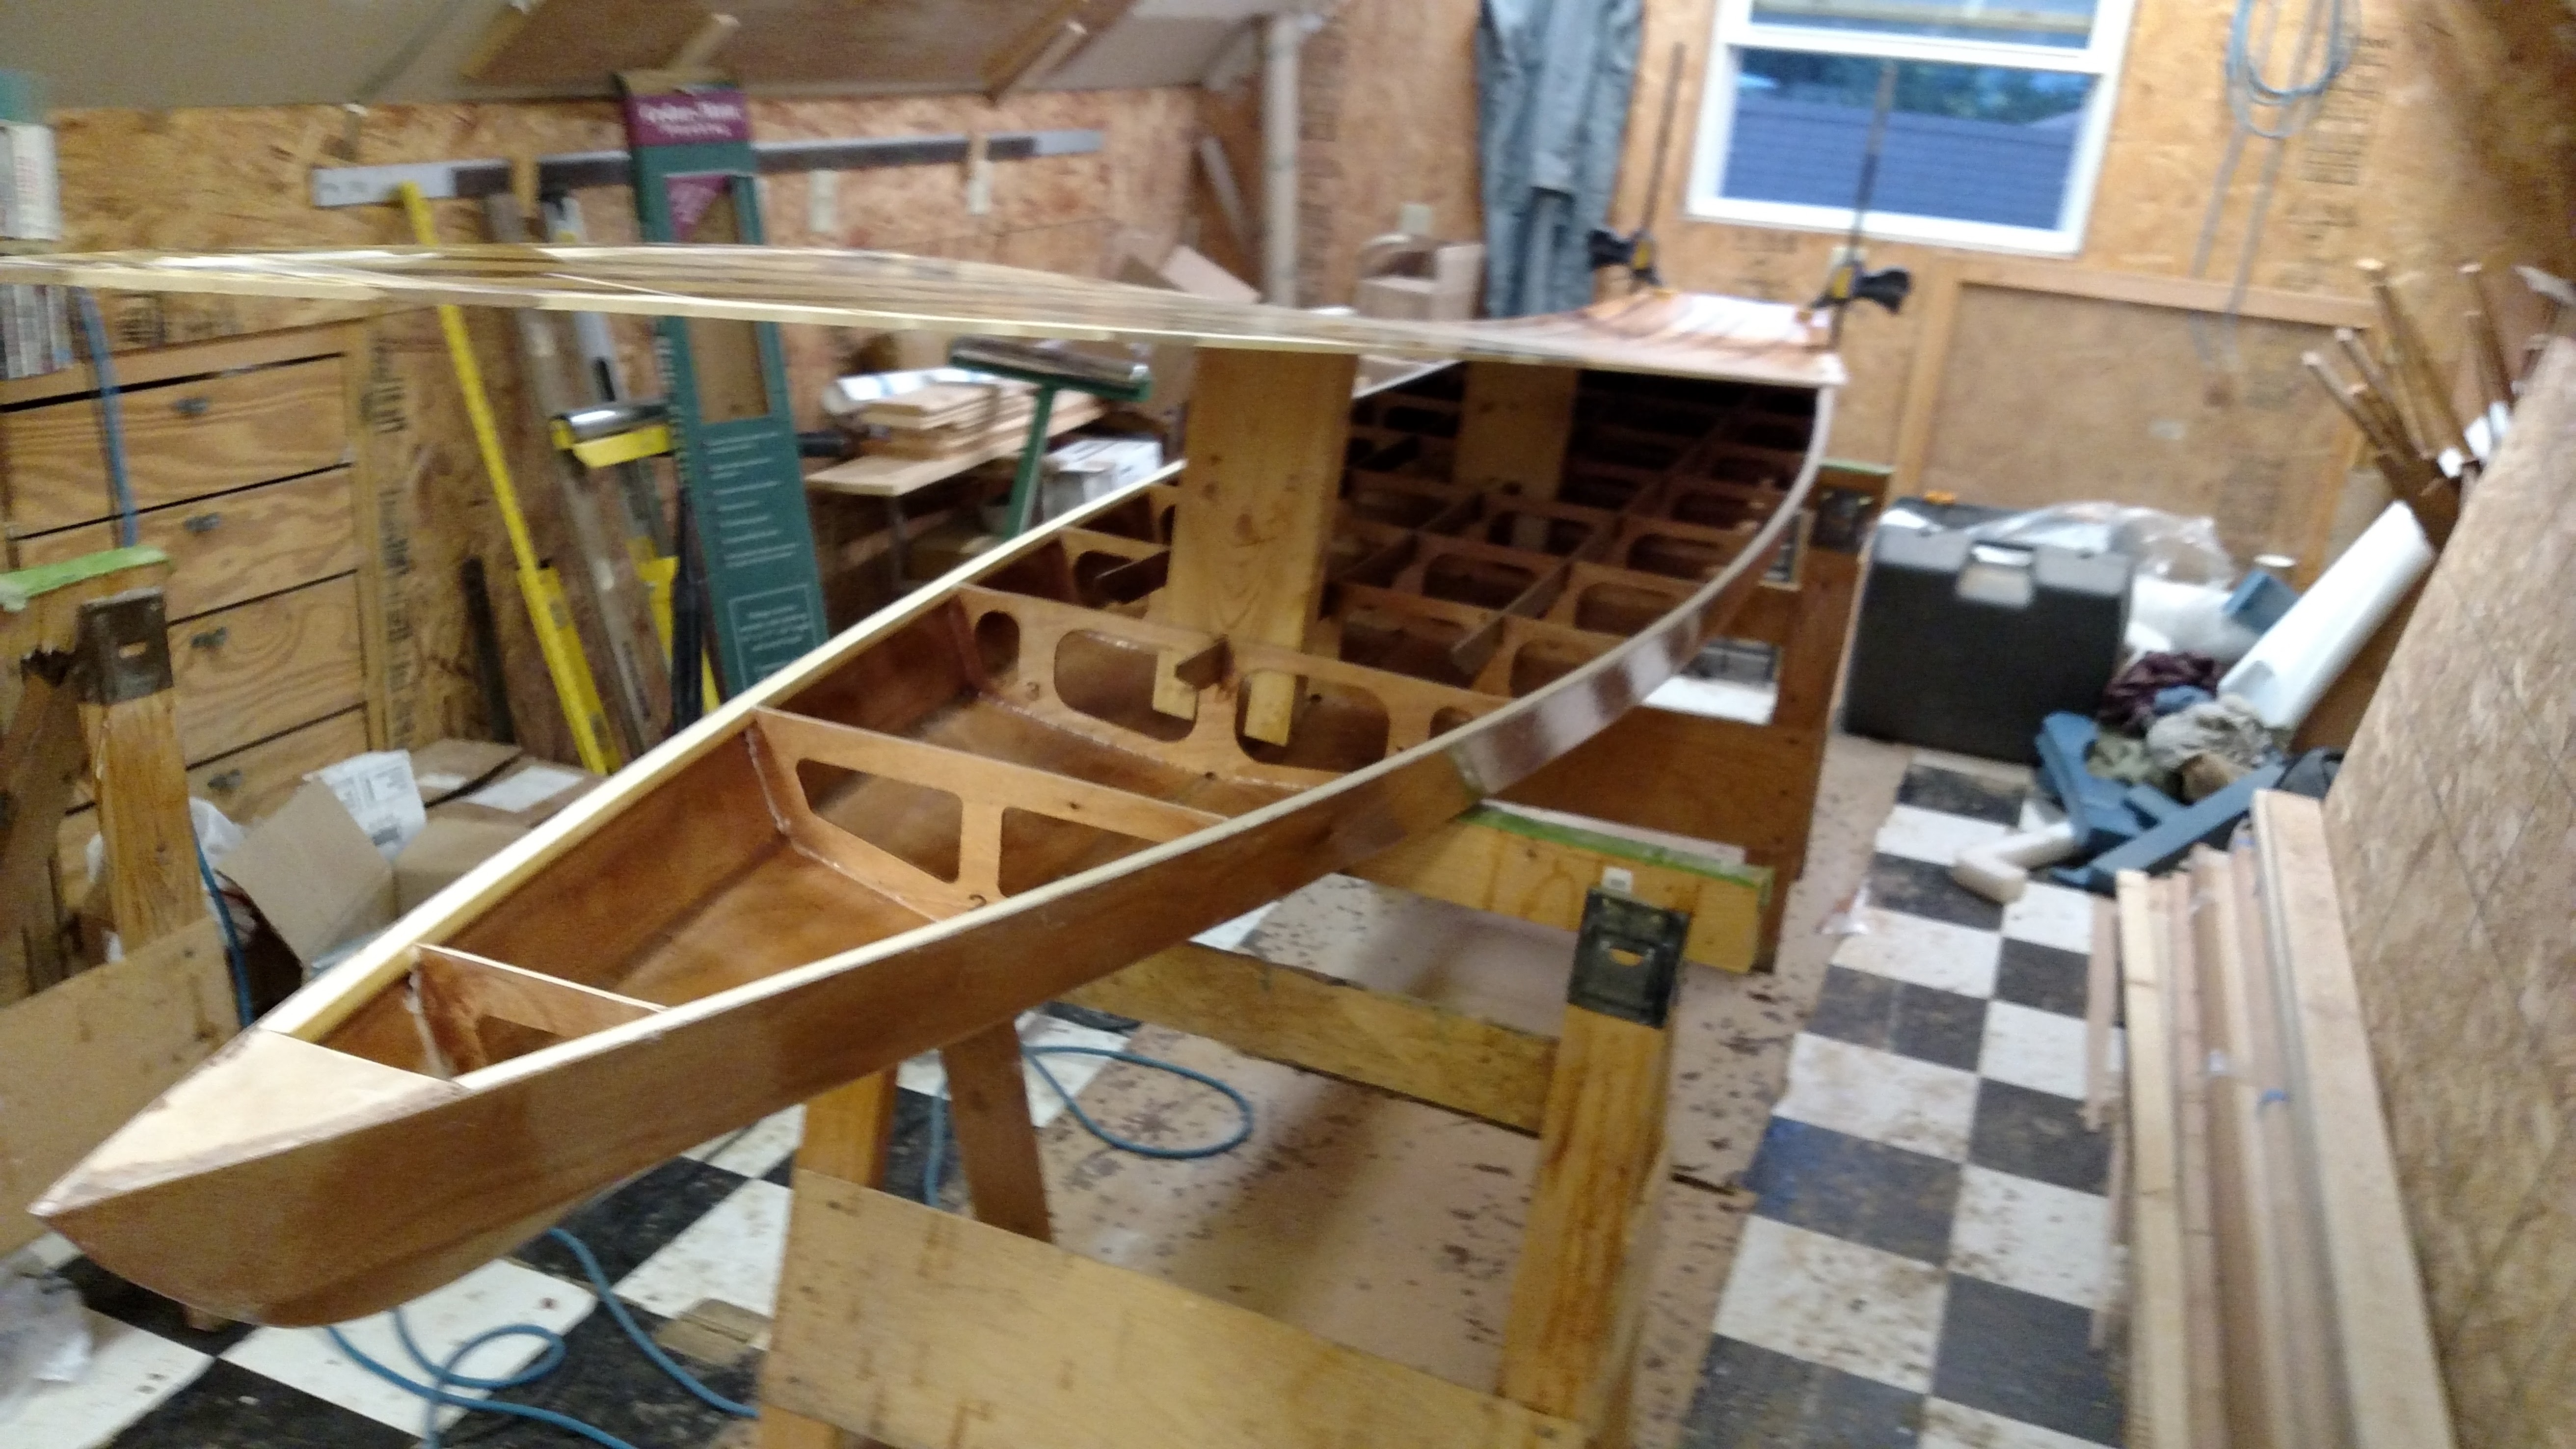
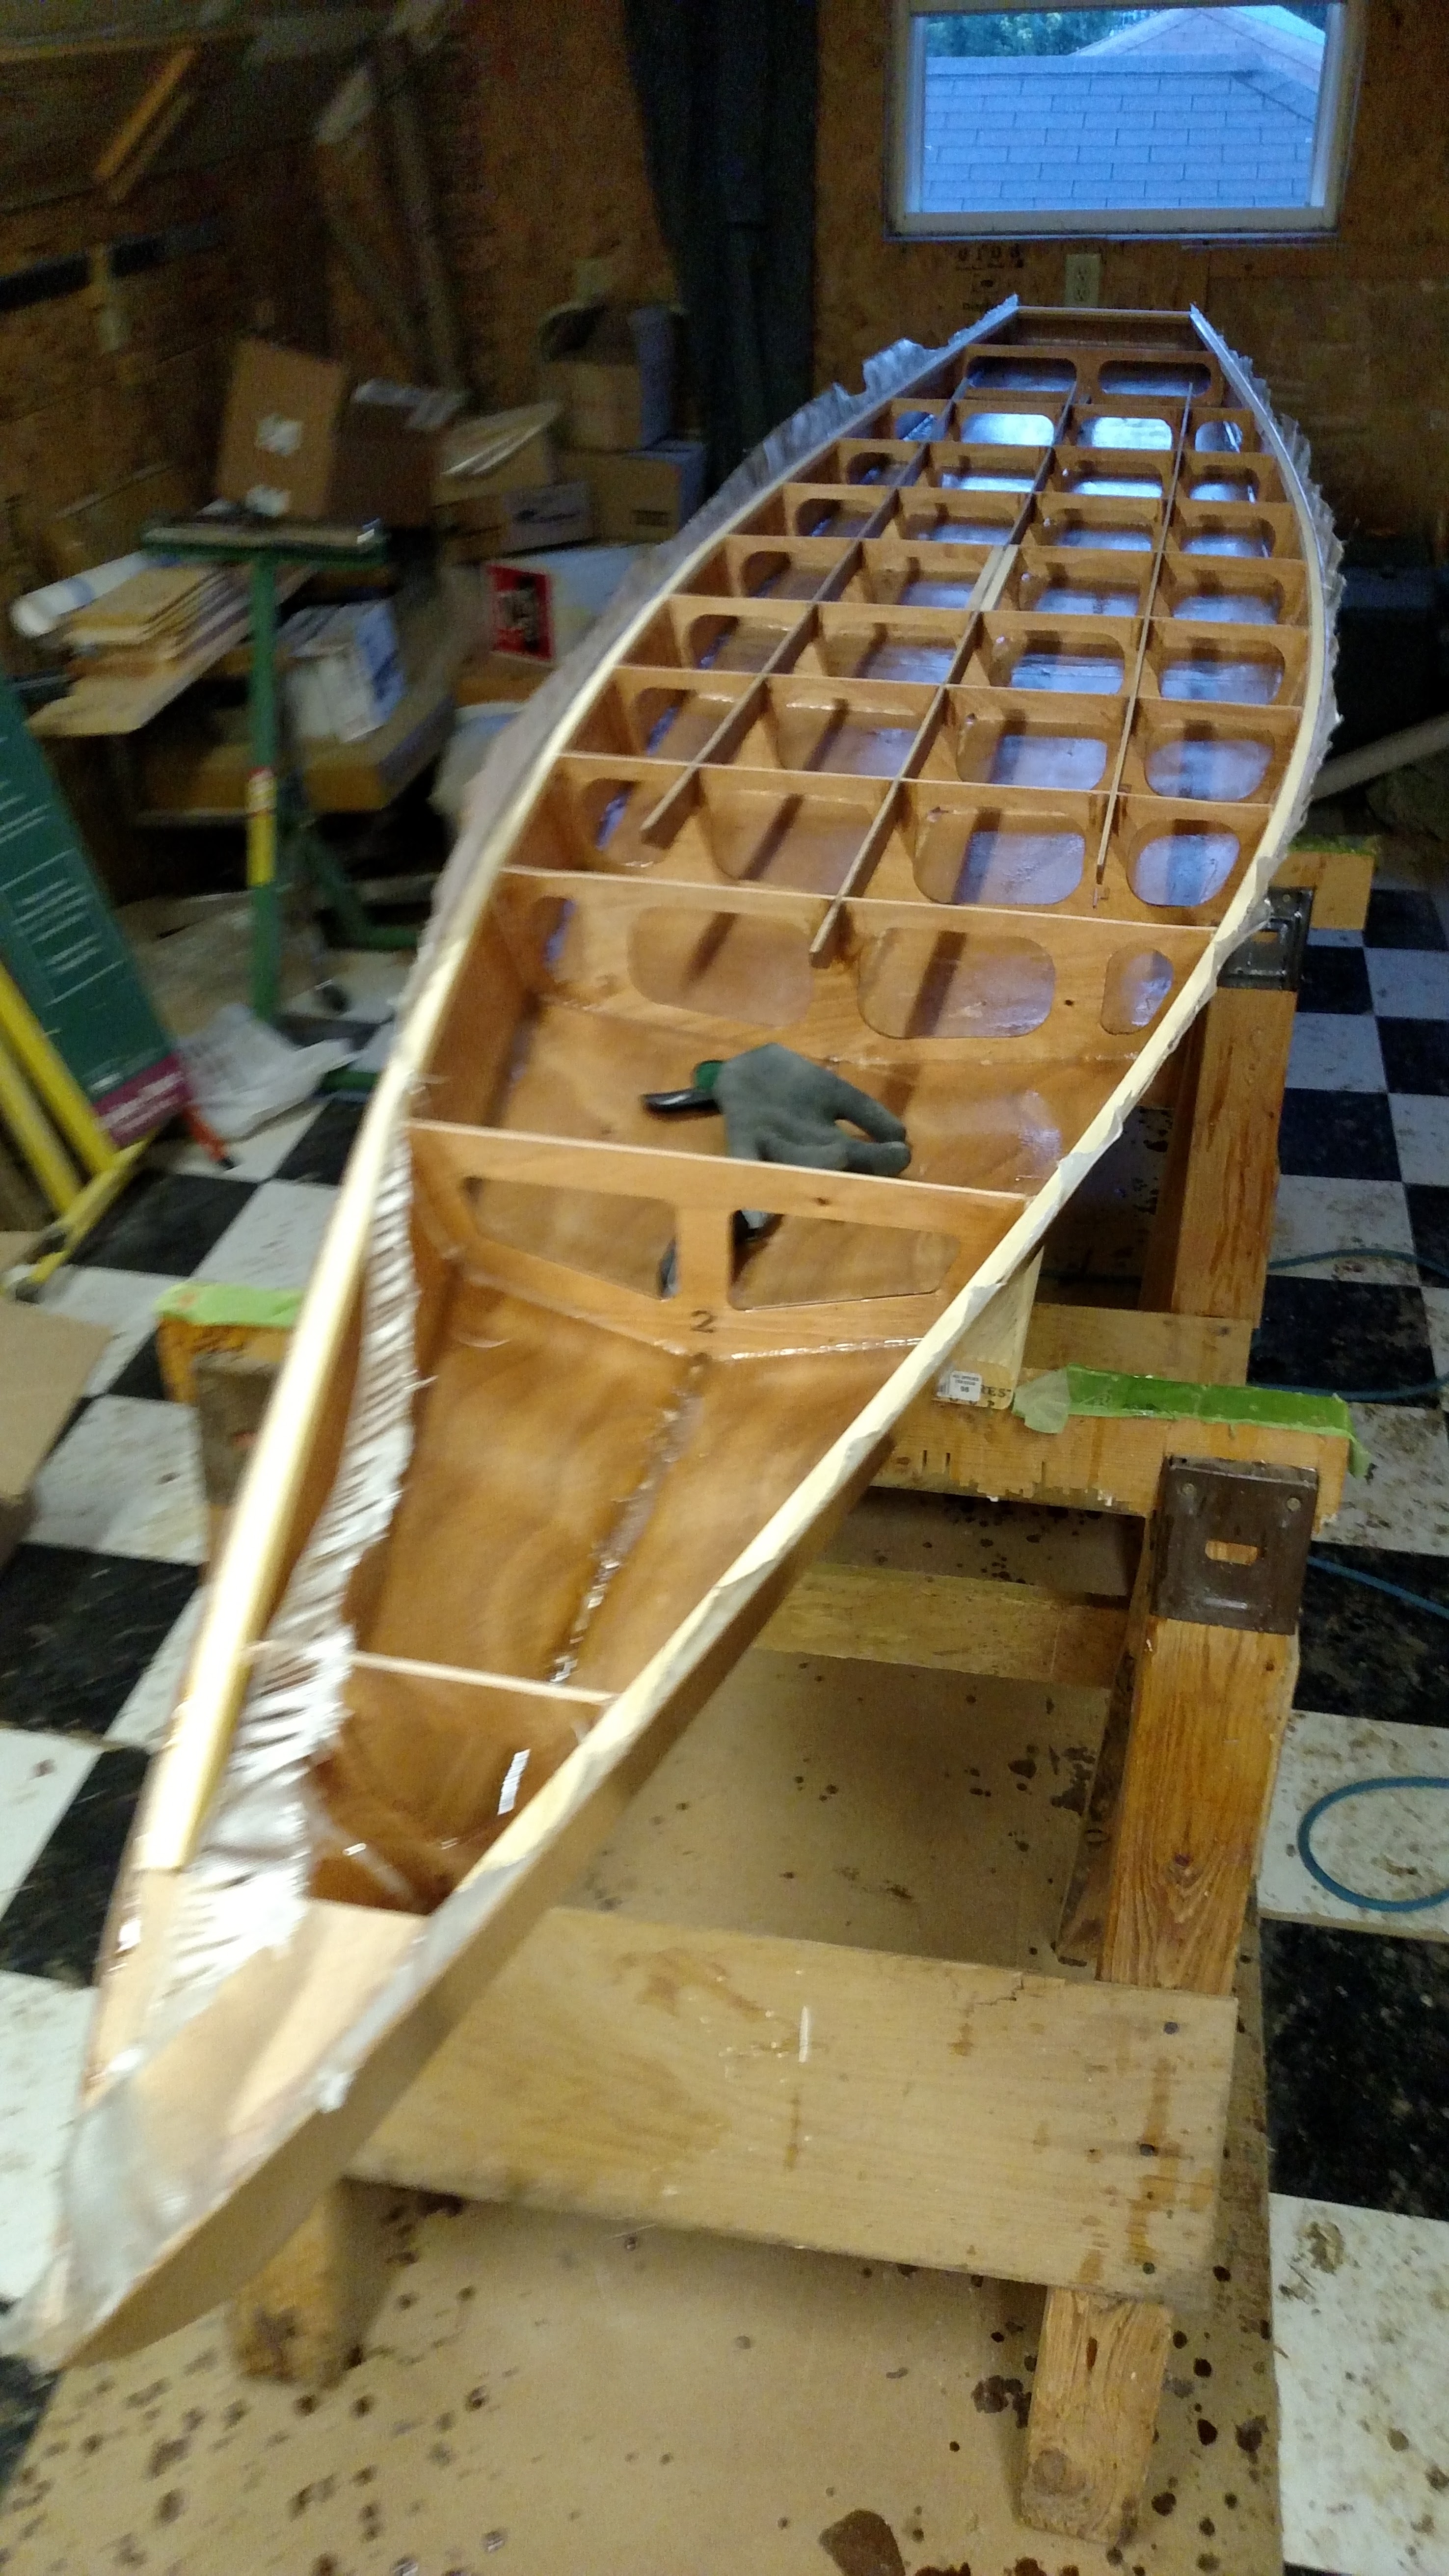
There are different ways to build boats, but also some basic similarities. Power boat hulls are usually built upside down using the permanent boat frames as shown by this speedboat frame. “Frameless” boats like canoes and kayaks are built on temporary building frames as shown by the canoe being “stripped” (below). The sides and bottom of the hulls are then covered with marine-grade plywood or cedar strips until the entire hull is planked. For a plywood boat, you get to fill hundreds of screw holes, for a stripper canoe or kayak, you get to pull thousands of staples.
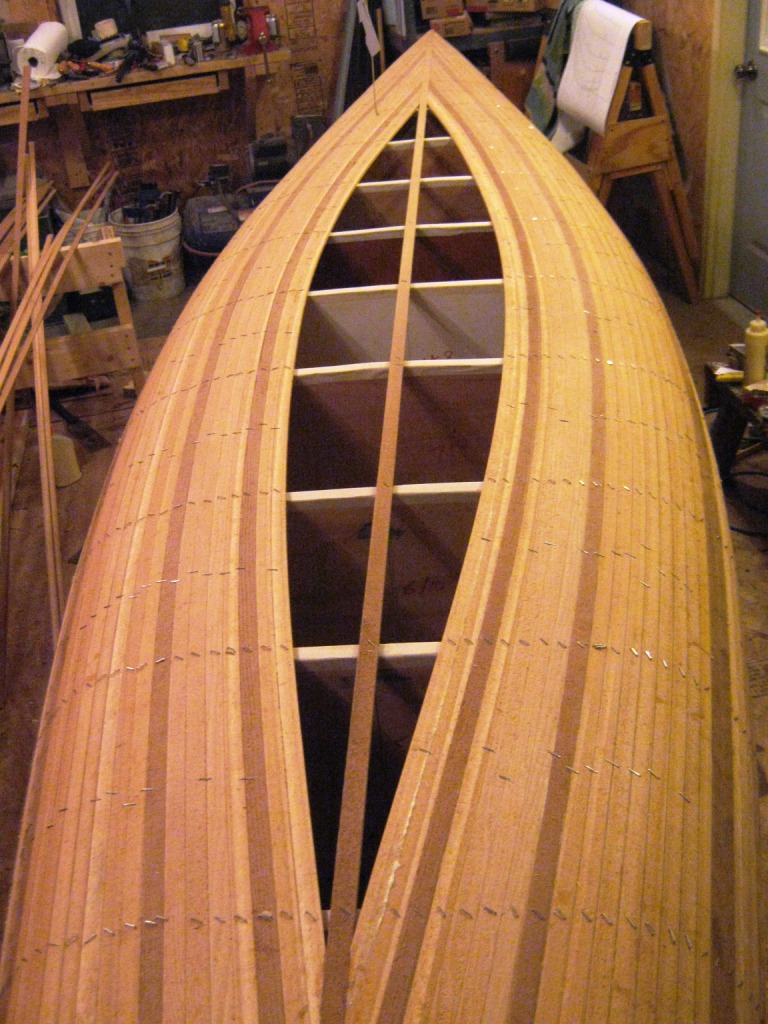
Canoes
Transverse building frames are carefully aligned since they will determine the shape of the final canoe. Cedar strips are then glued edge-to-edge until the entire hull is covered.
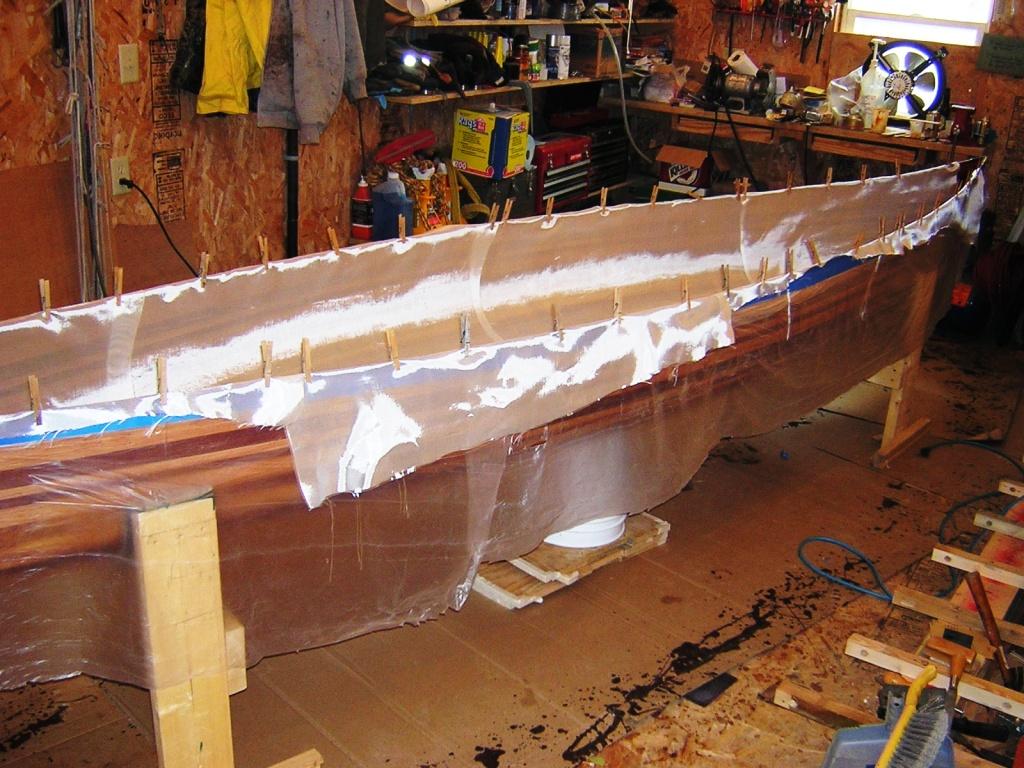
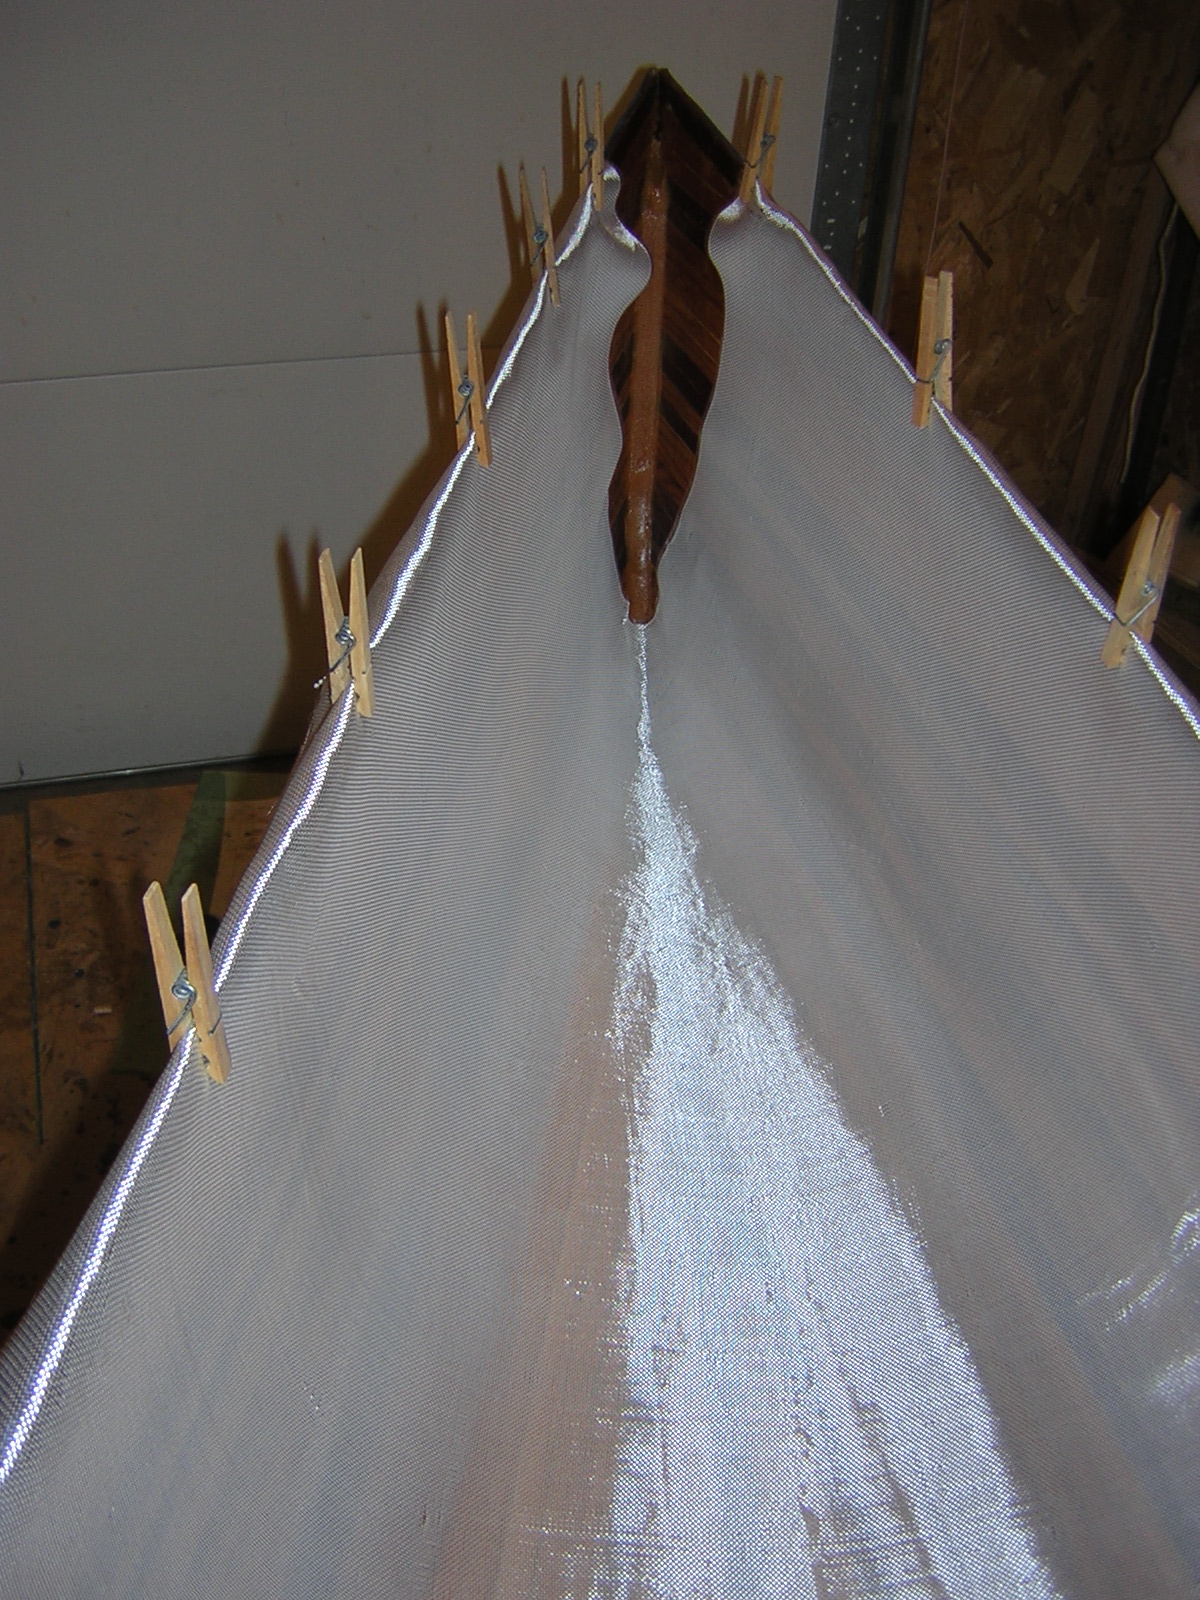
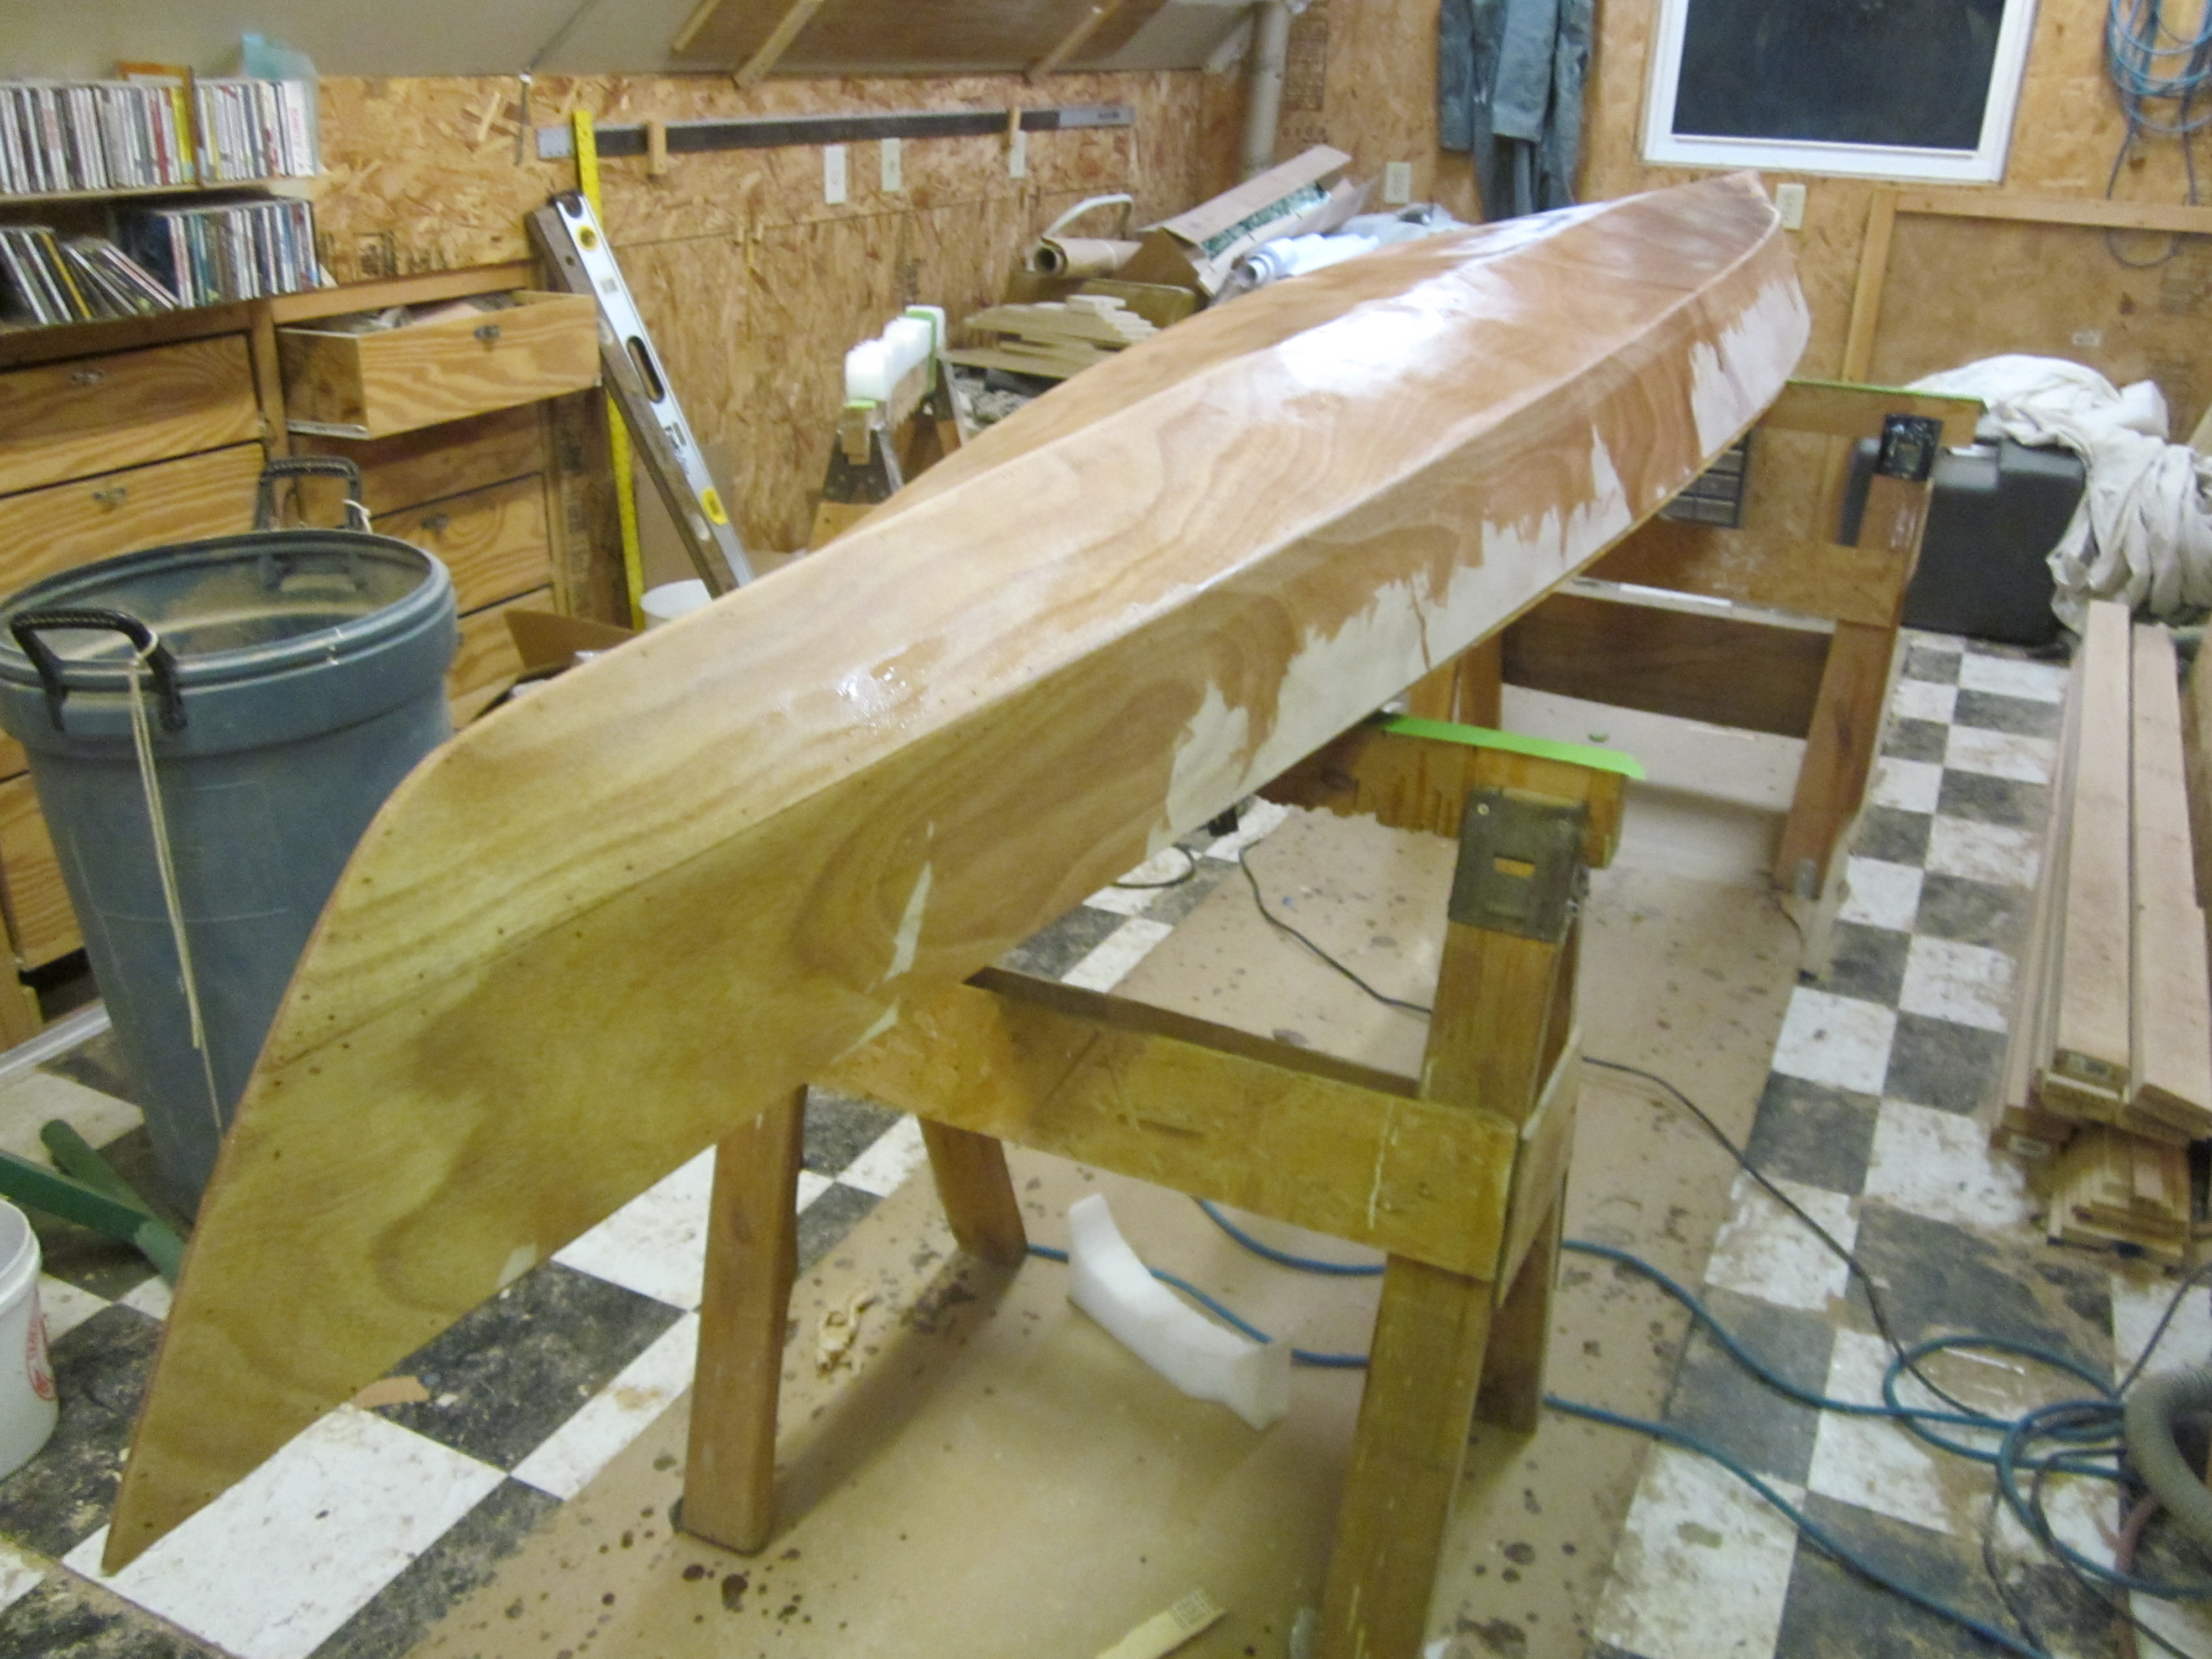
The hull is then sanded, glassed, sanded again, and painted/varnished before rolling over (much more exciting with a powerboat than a canoe!).
After rolling over, there is a lot of scraping and sanding followed by glassing, sanding again, mounting trim, varnishing, and finally take her paddling.
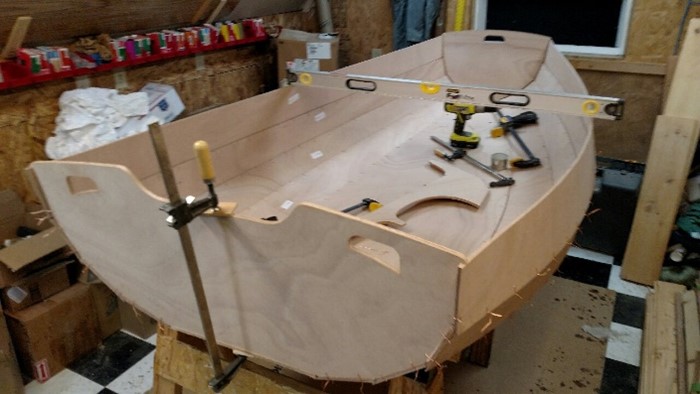
Powerboats
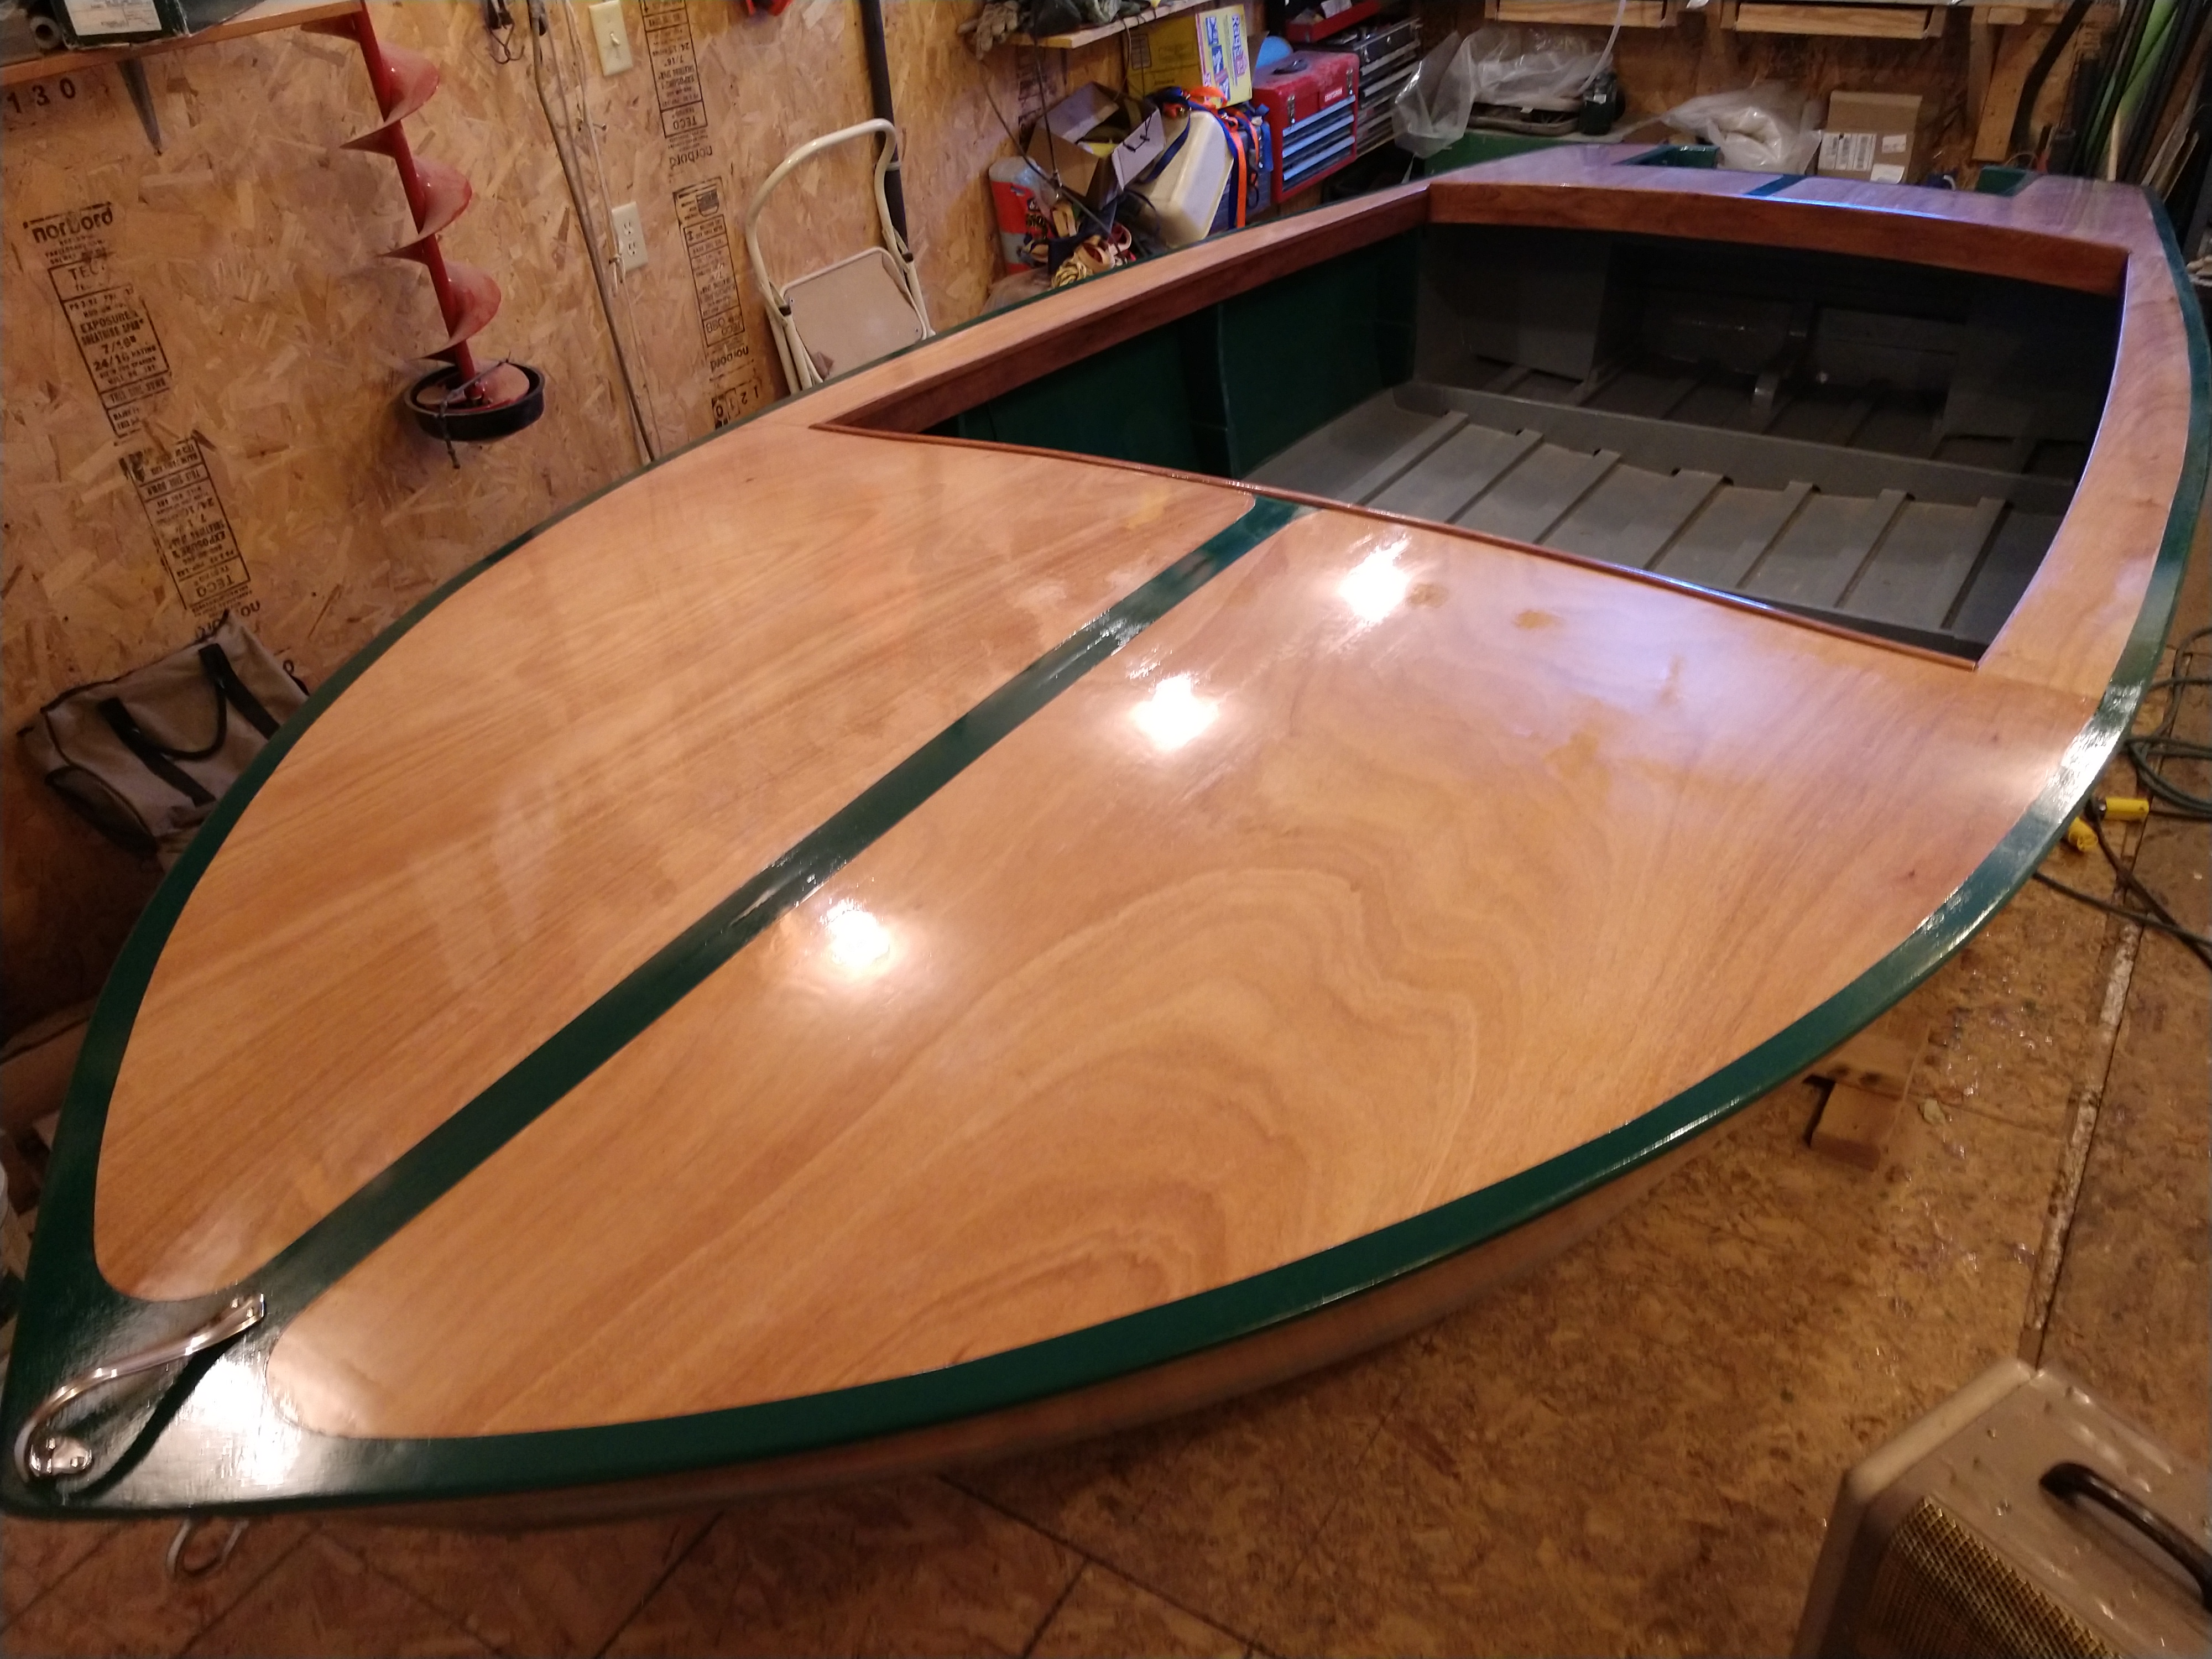
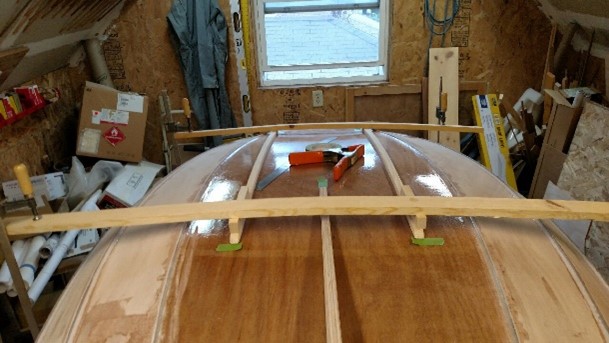
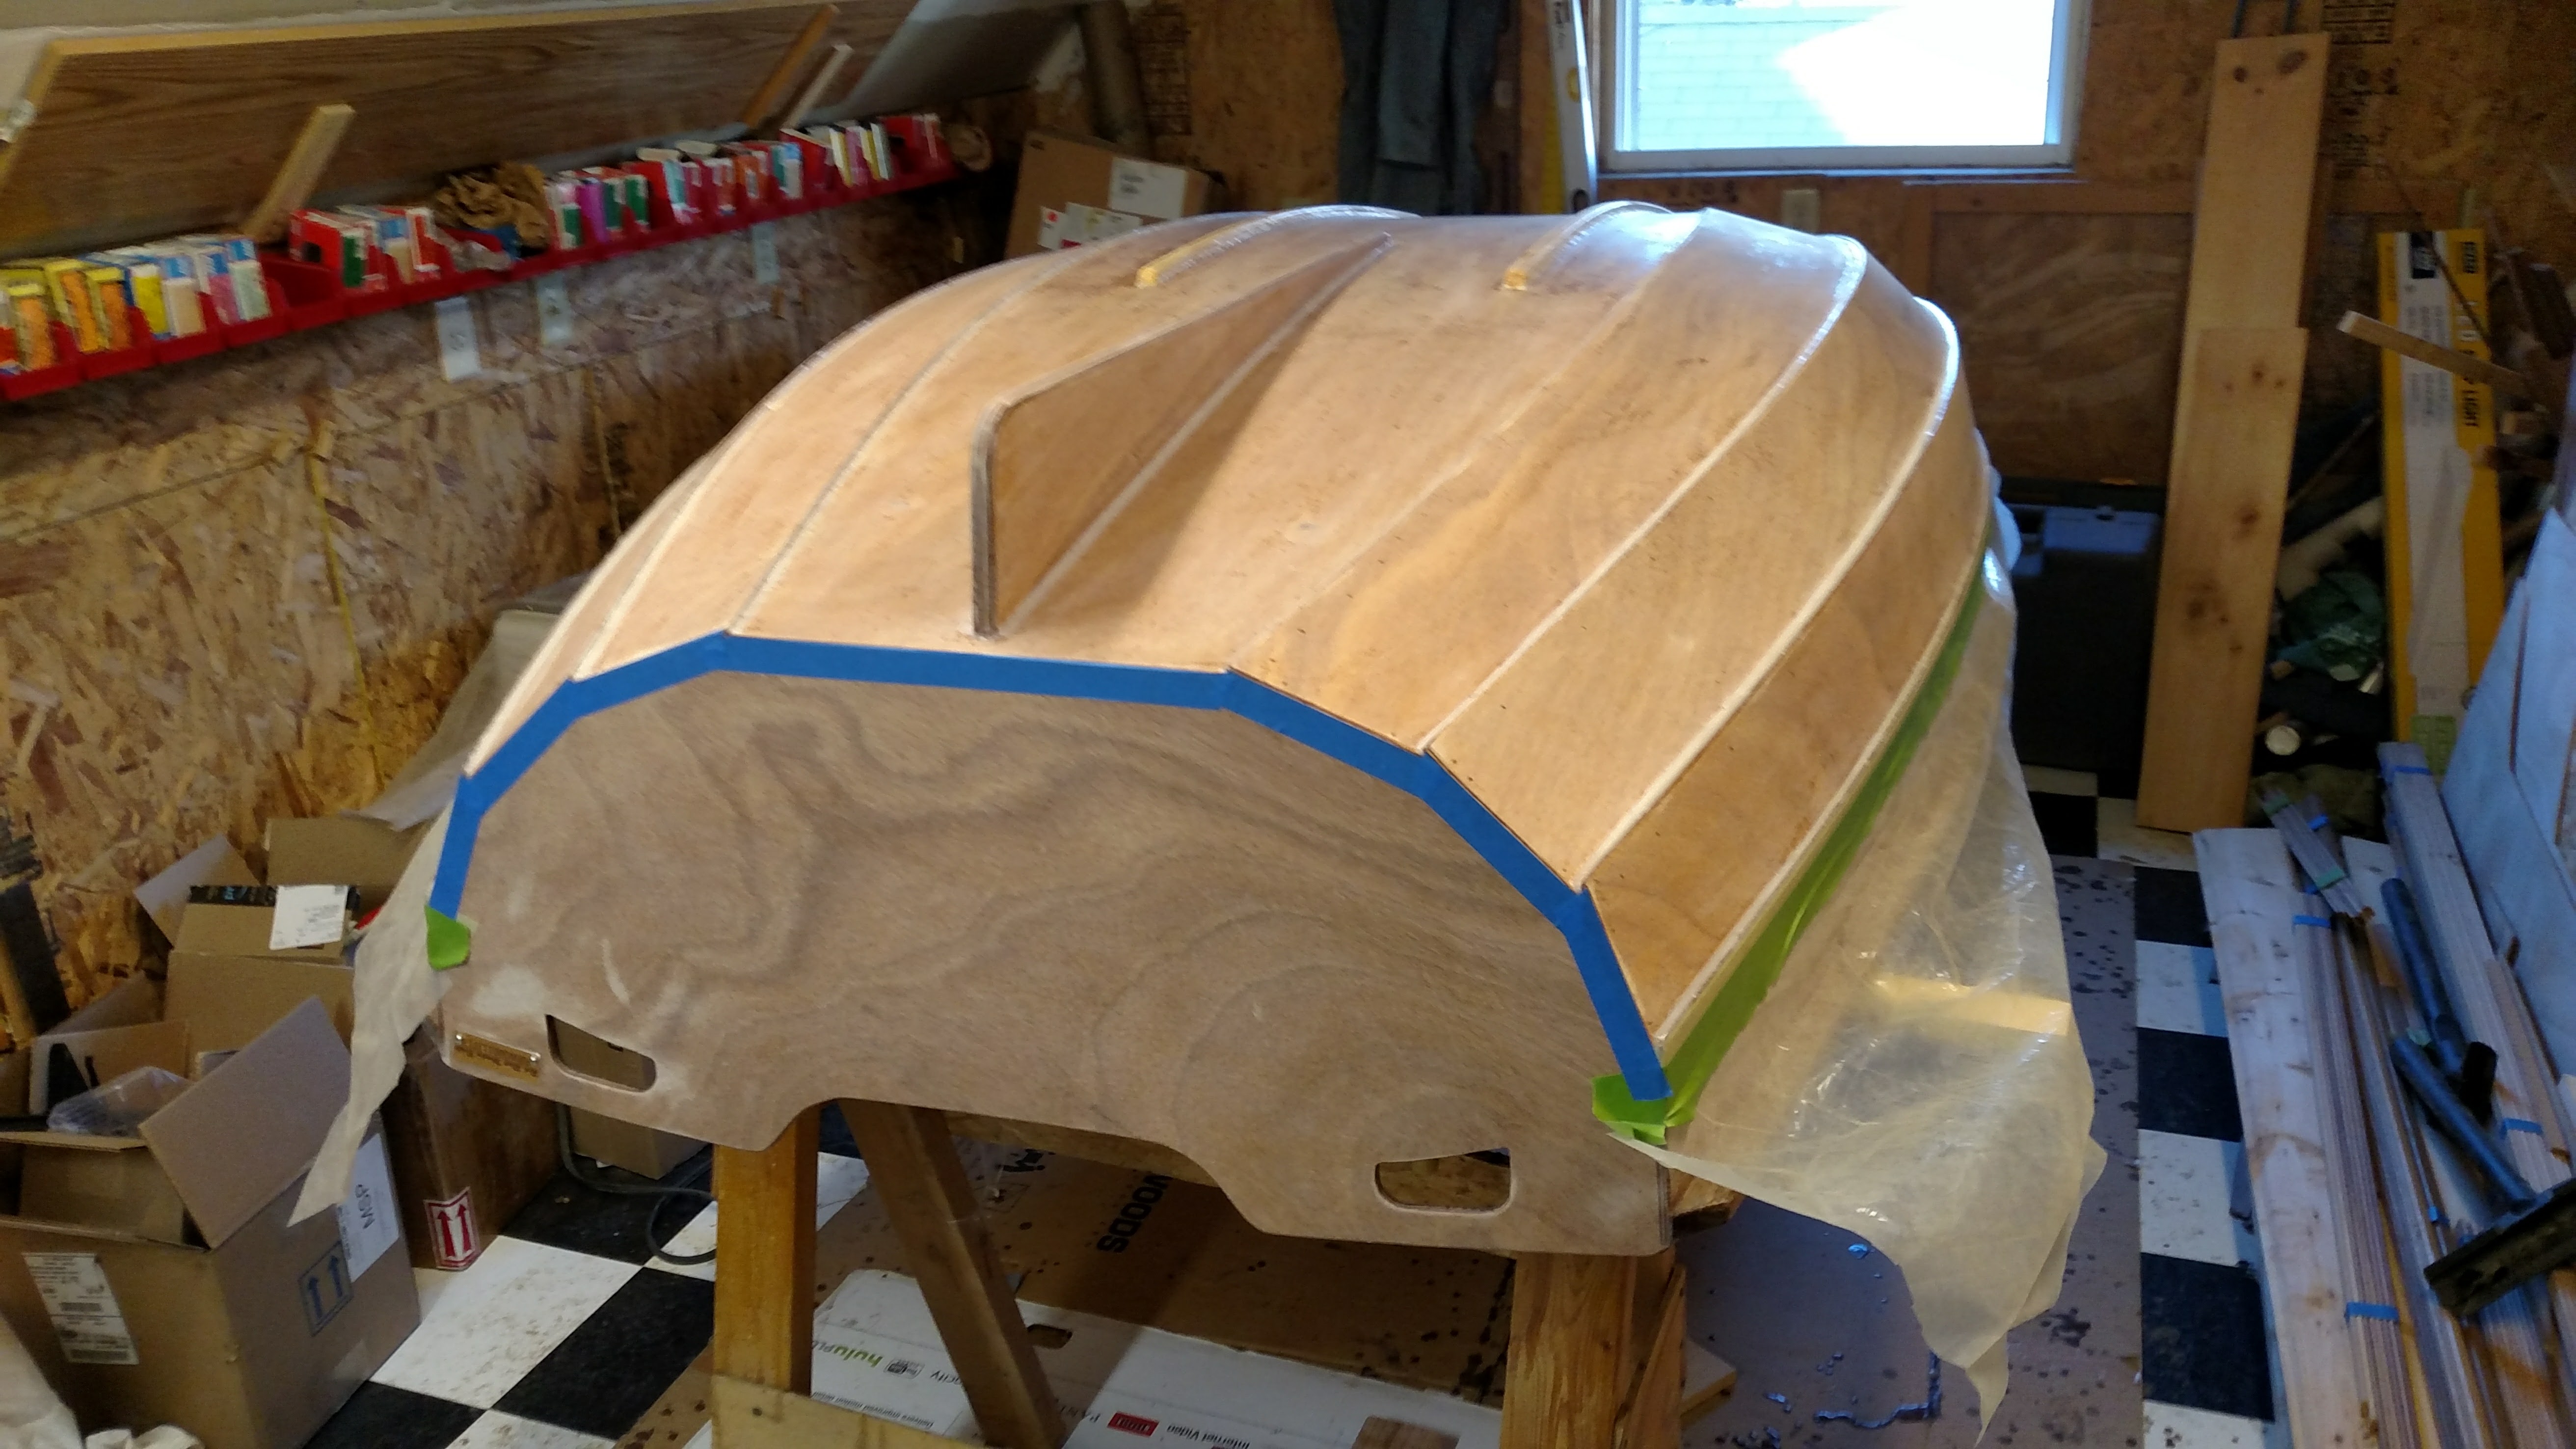
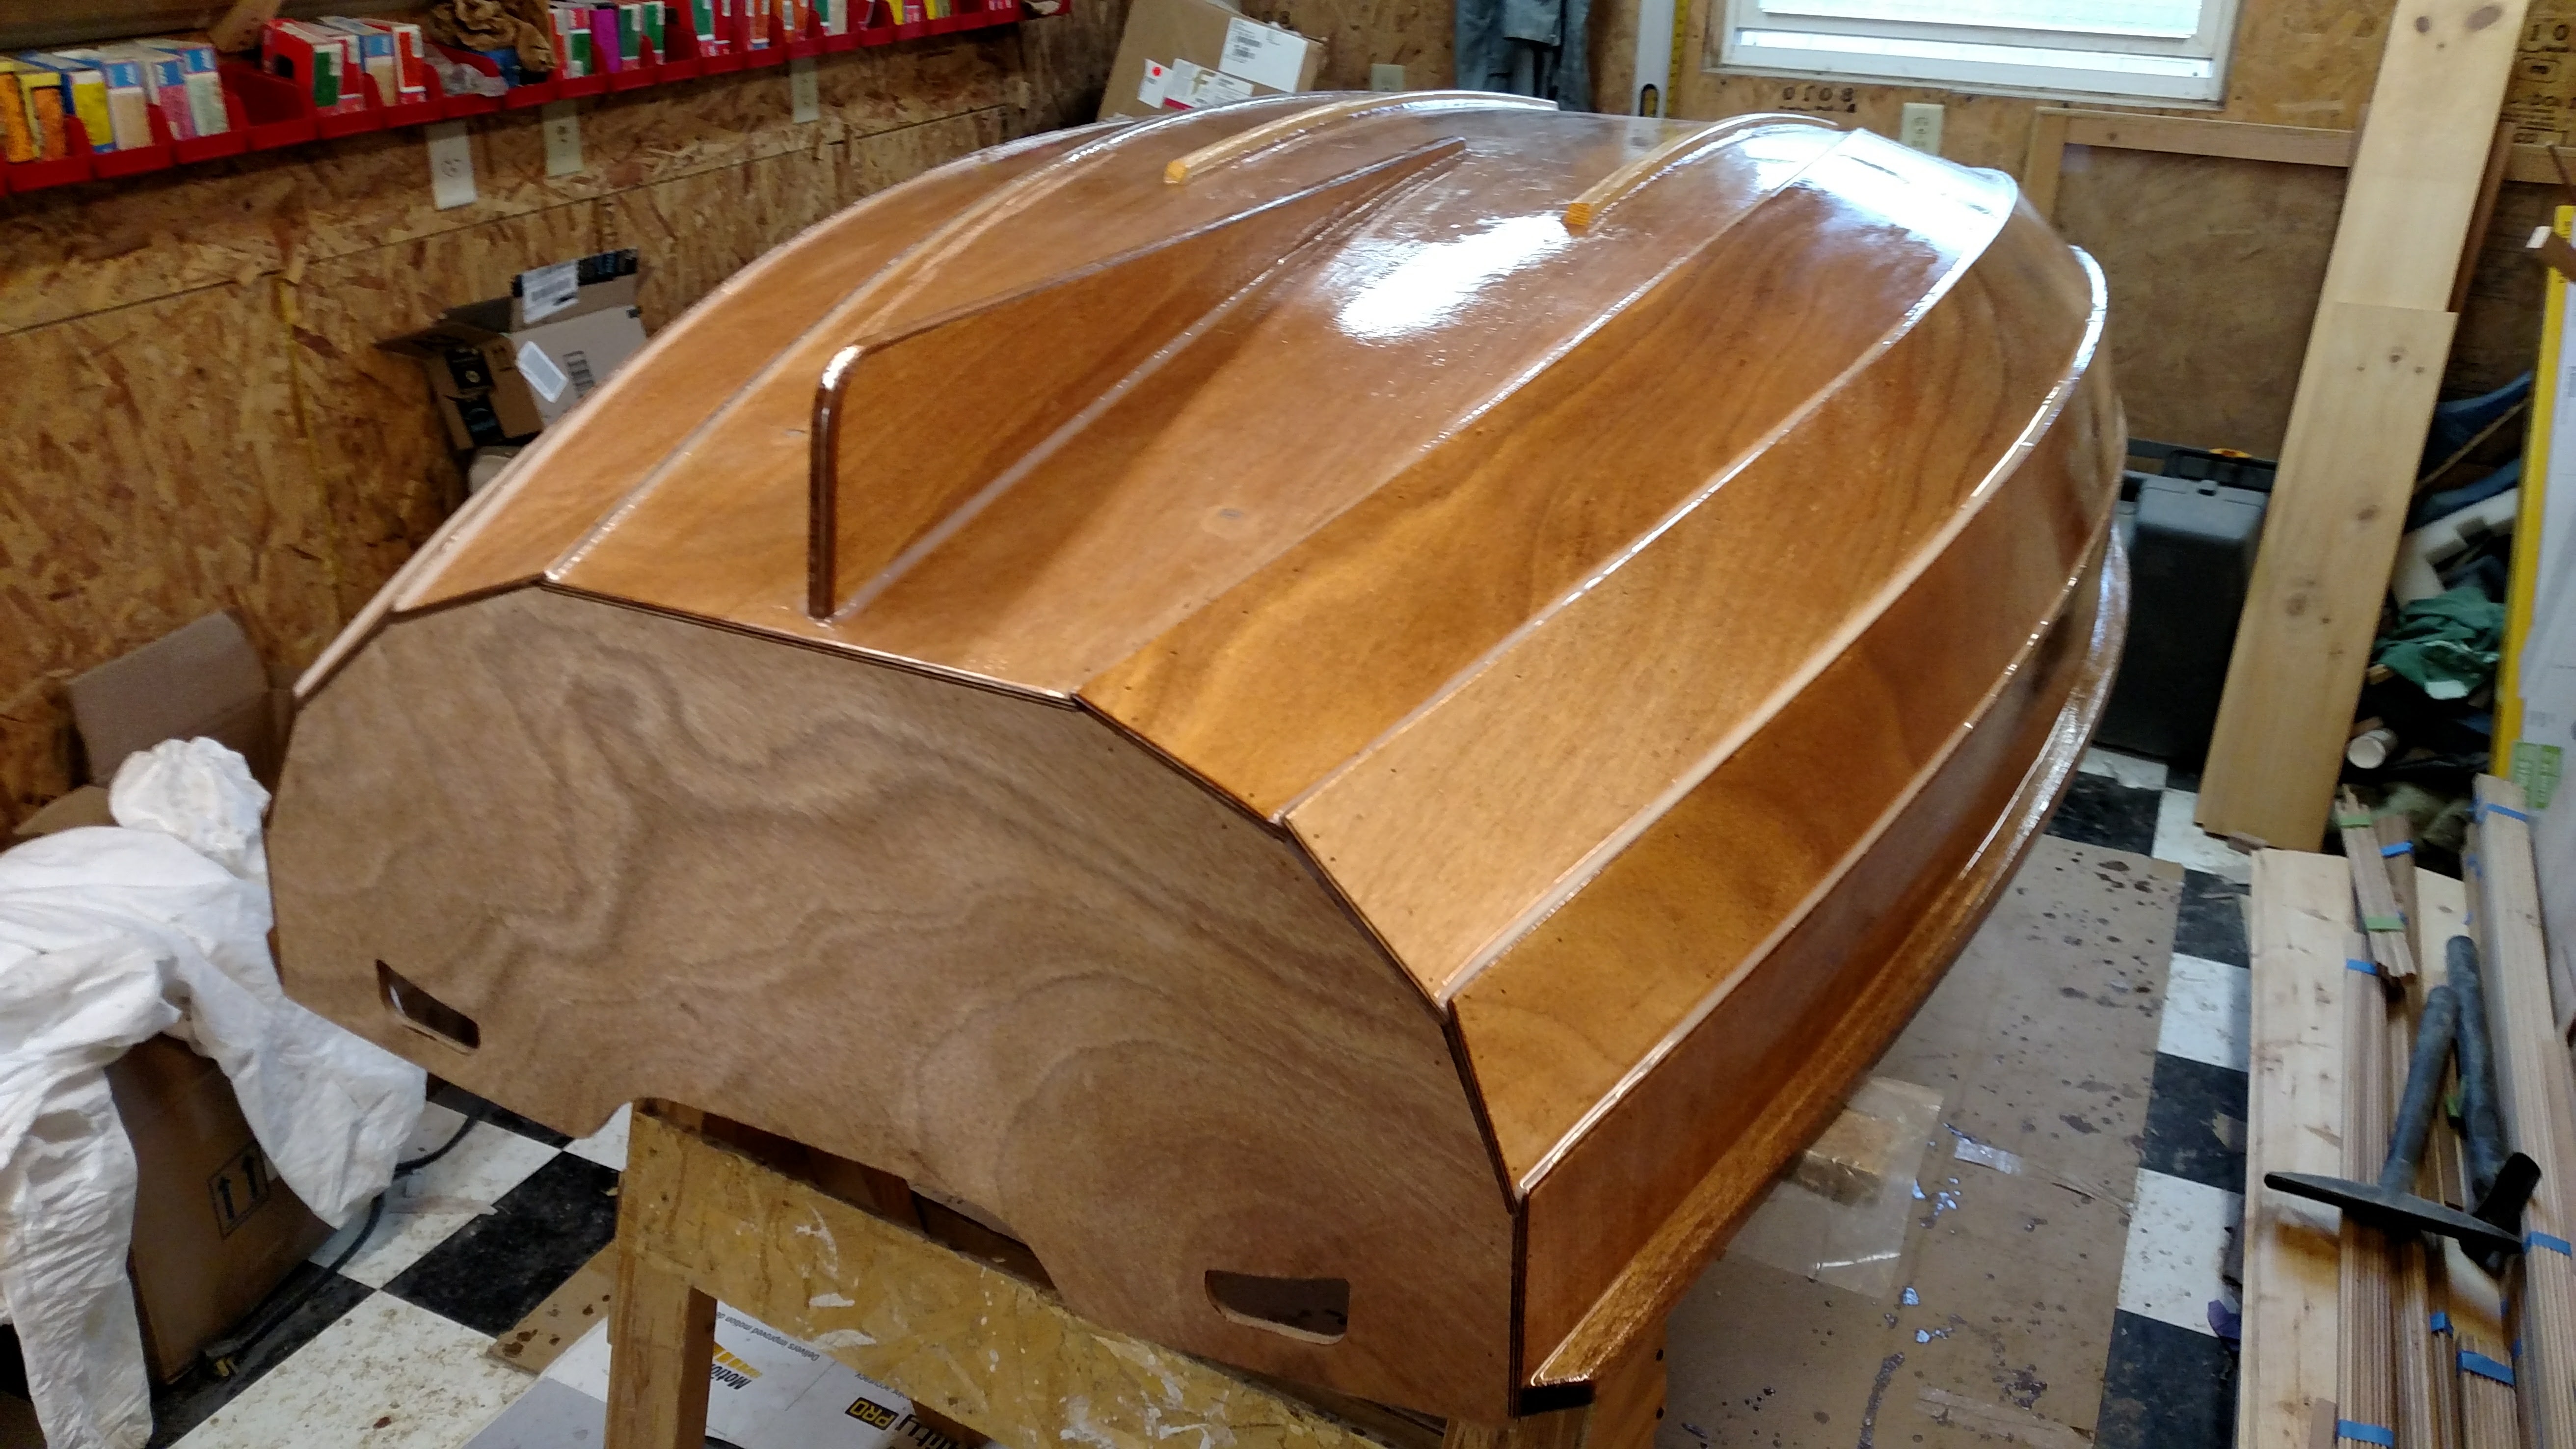
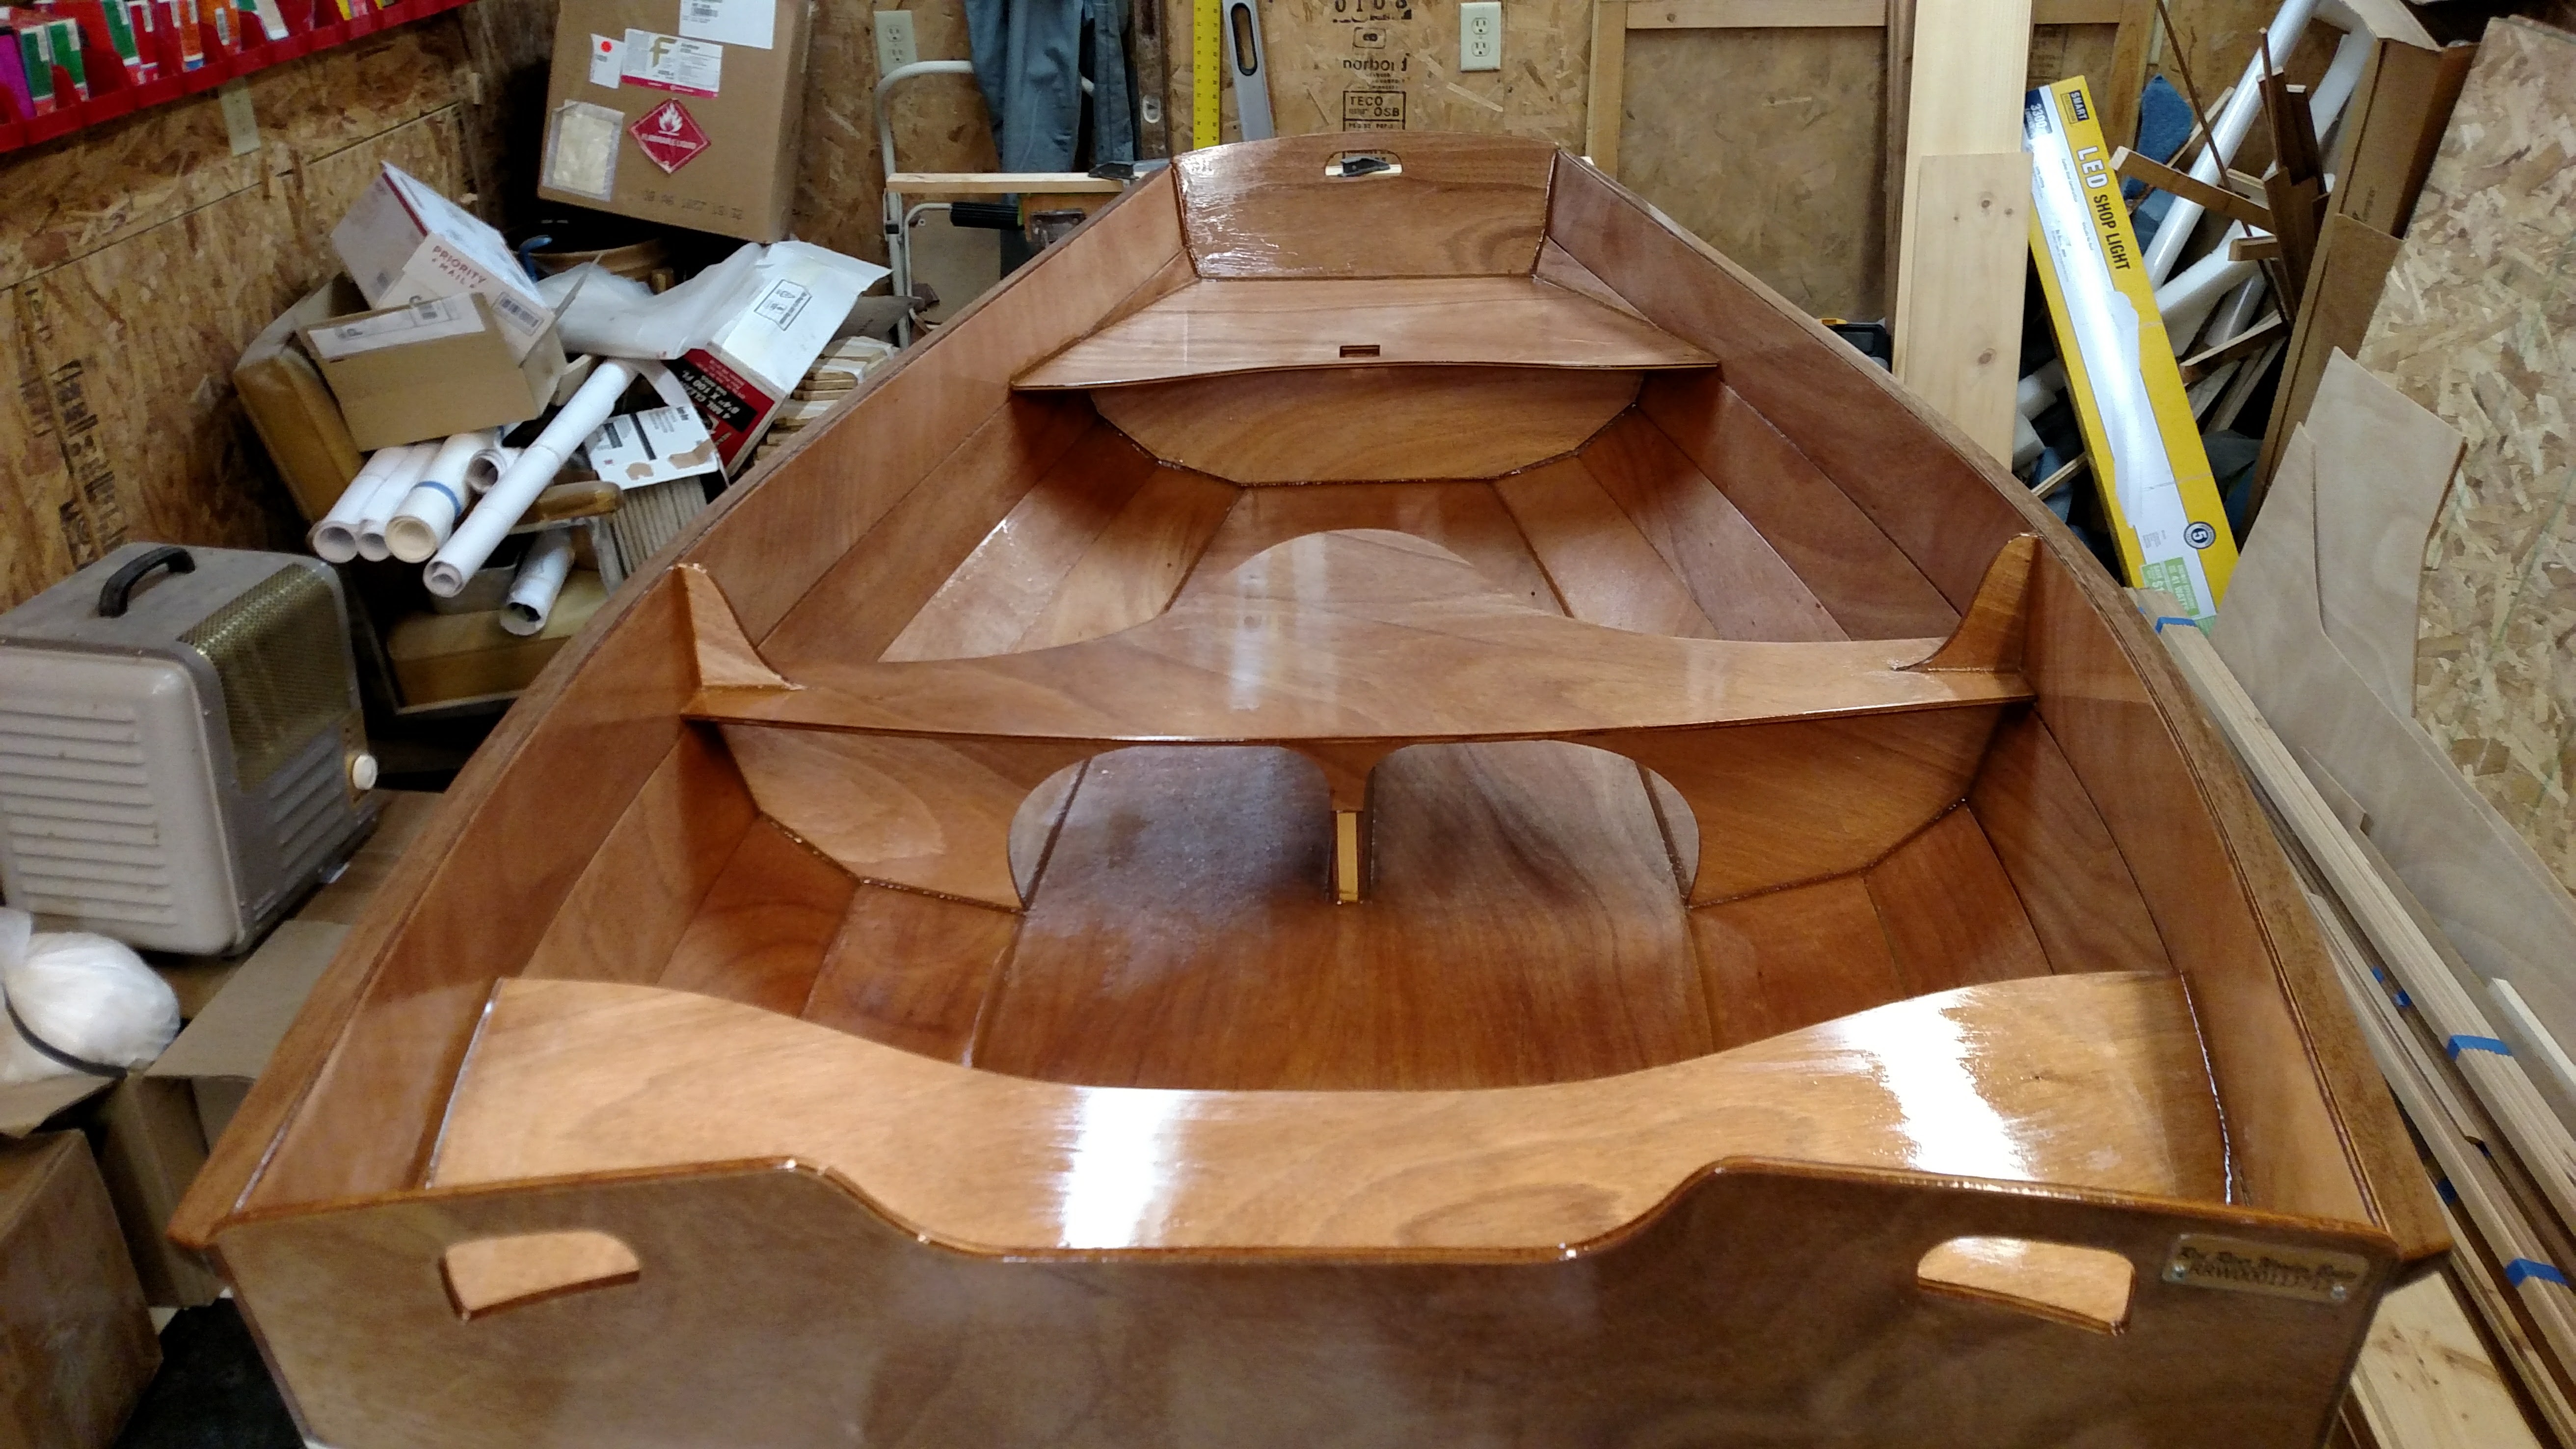
For powerboats, after rolling over the process is much different. It is time to frame the deck (if it has one), build the transom motor well, and mount the deck and side/stern panels, followed by sanding/glassing/ and painting the deck components.


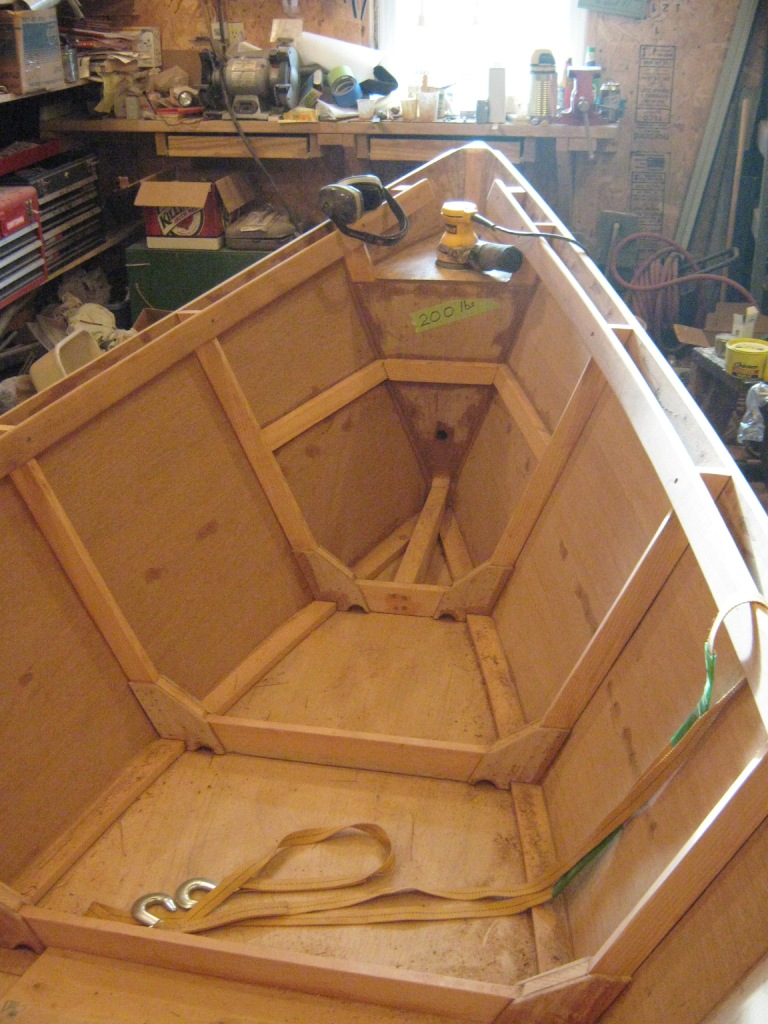
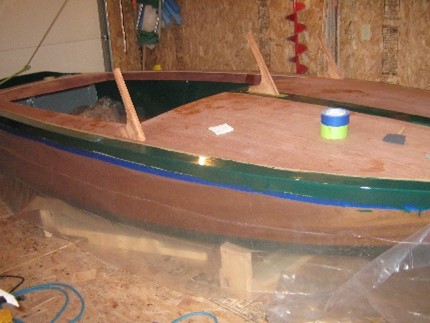


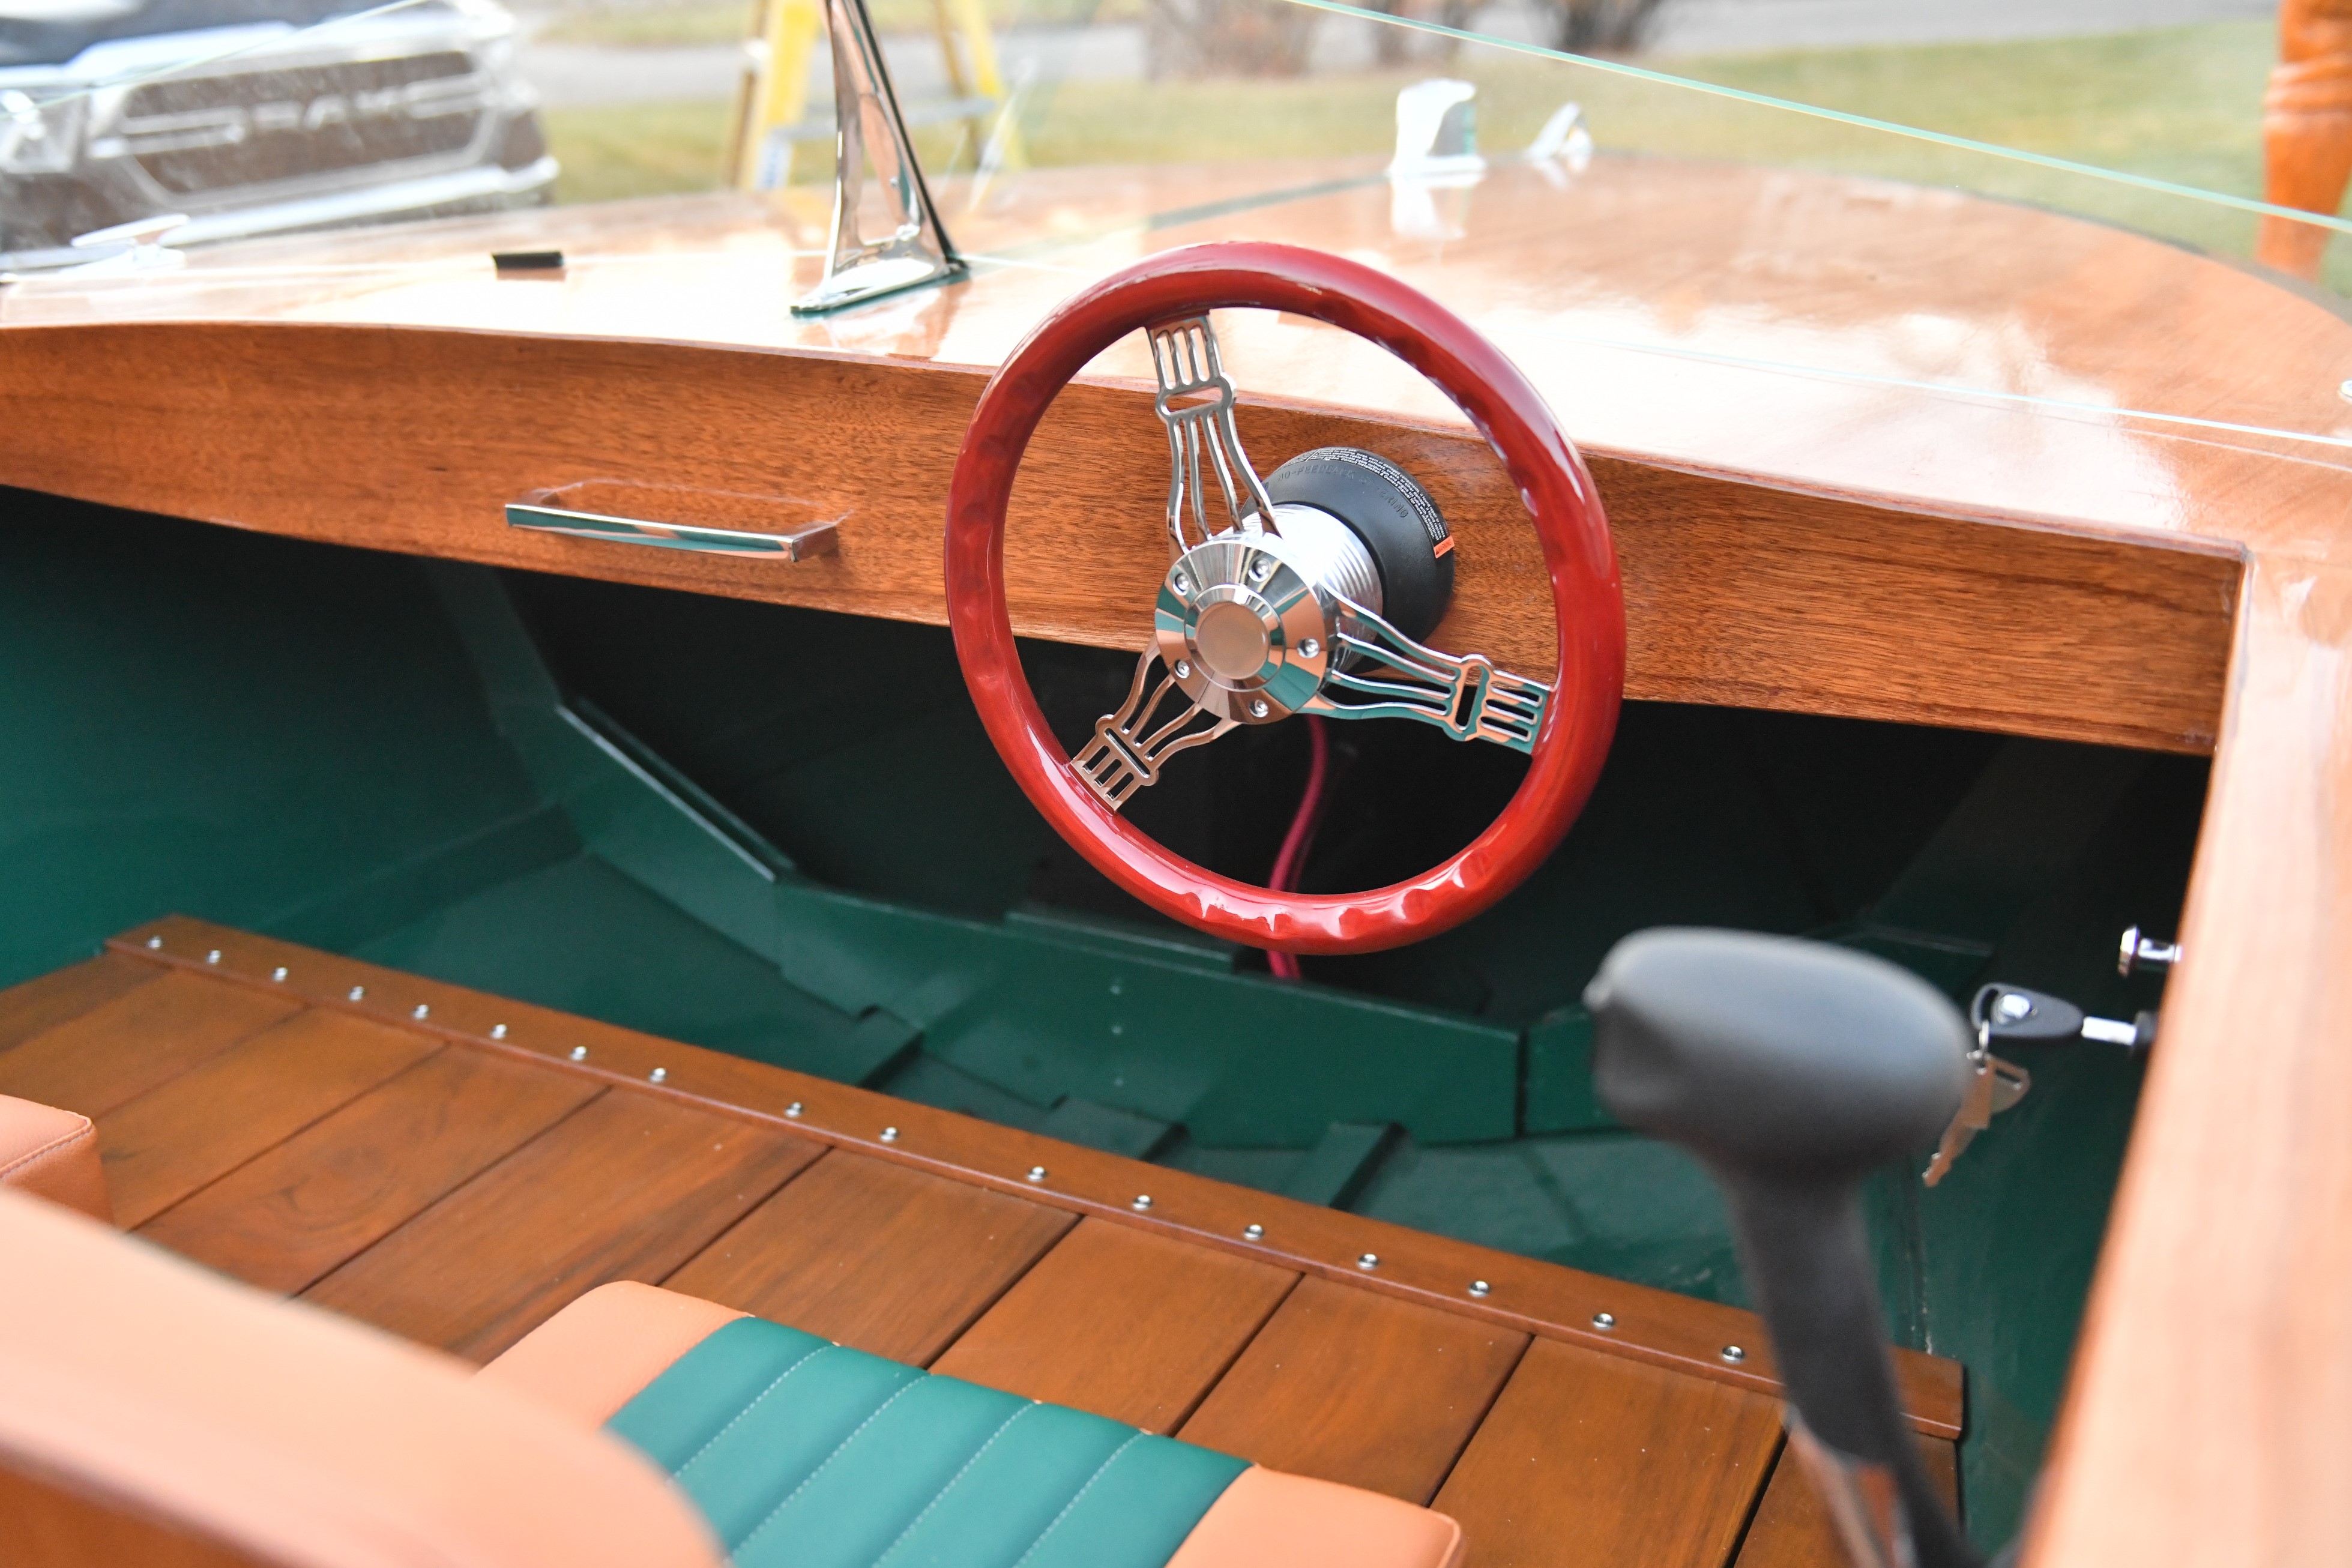
Finally, it’s time to and add the “details” like floorboards, seats, steering, lights, windshield, motor, and finally head for water!


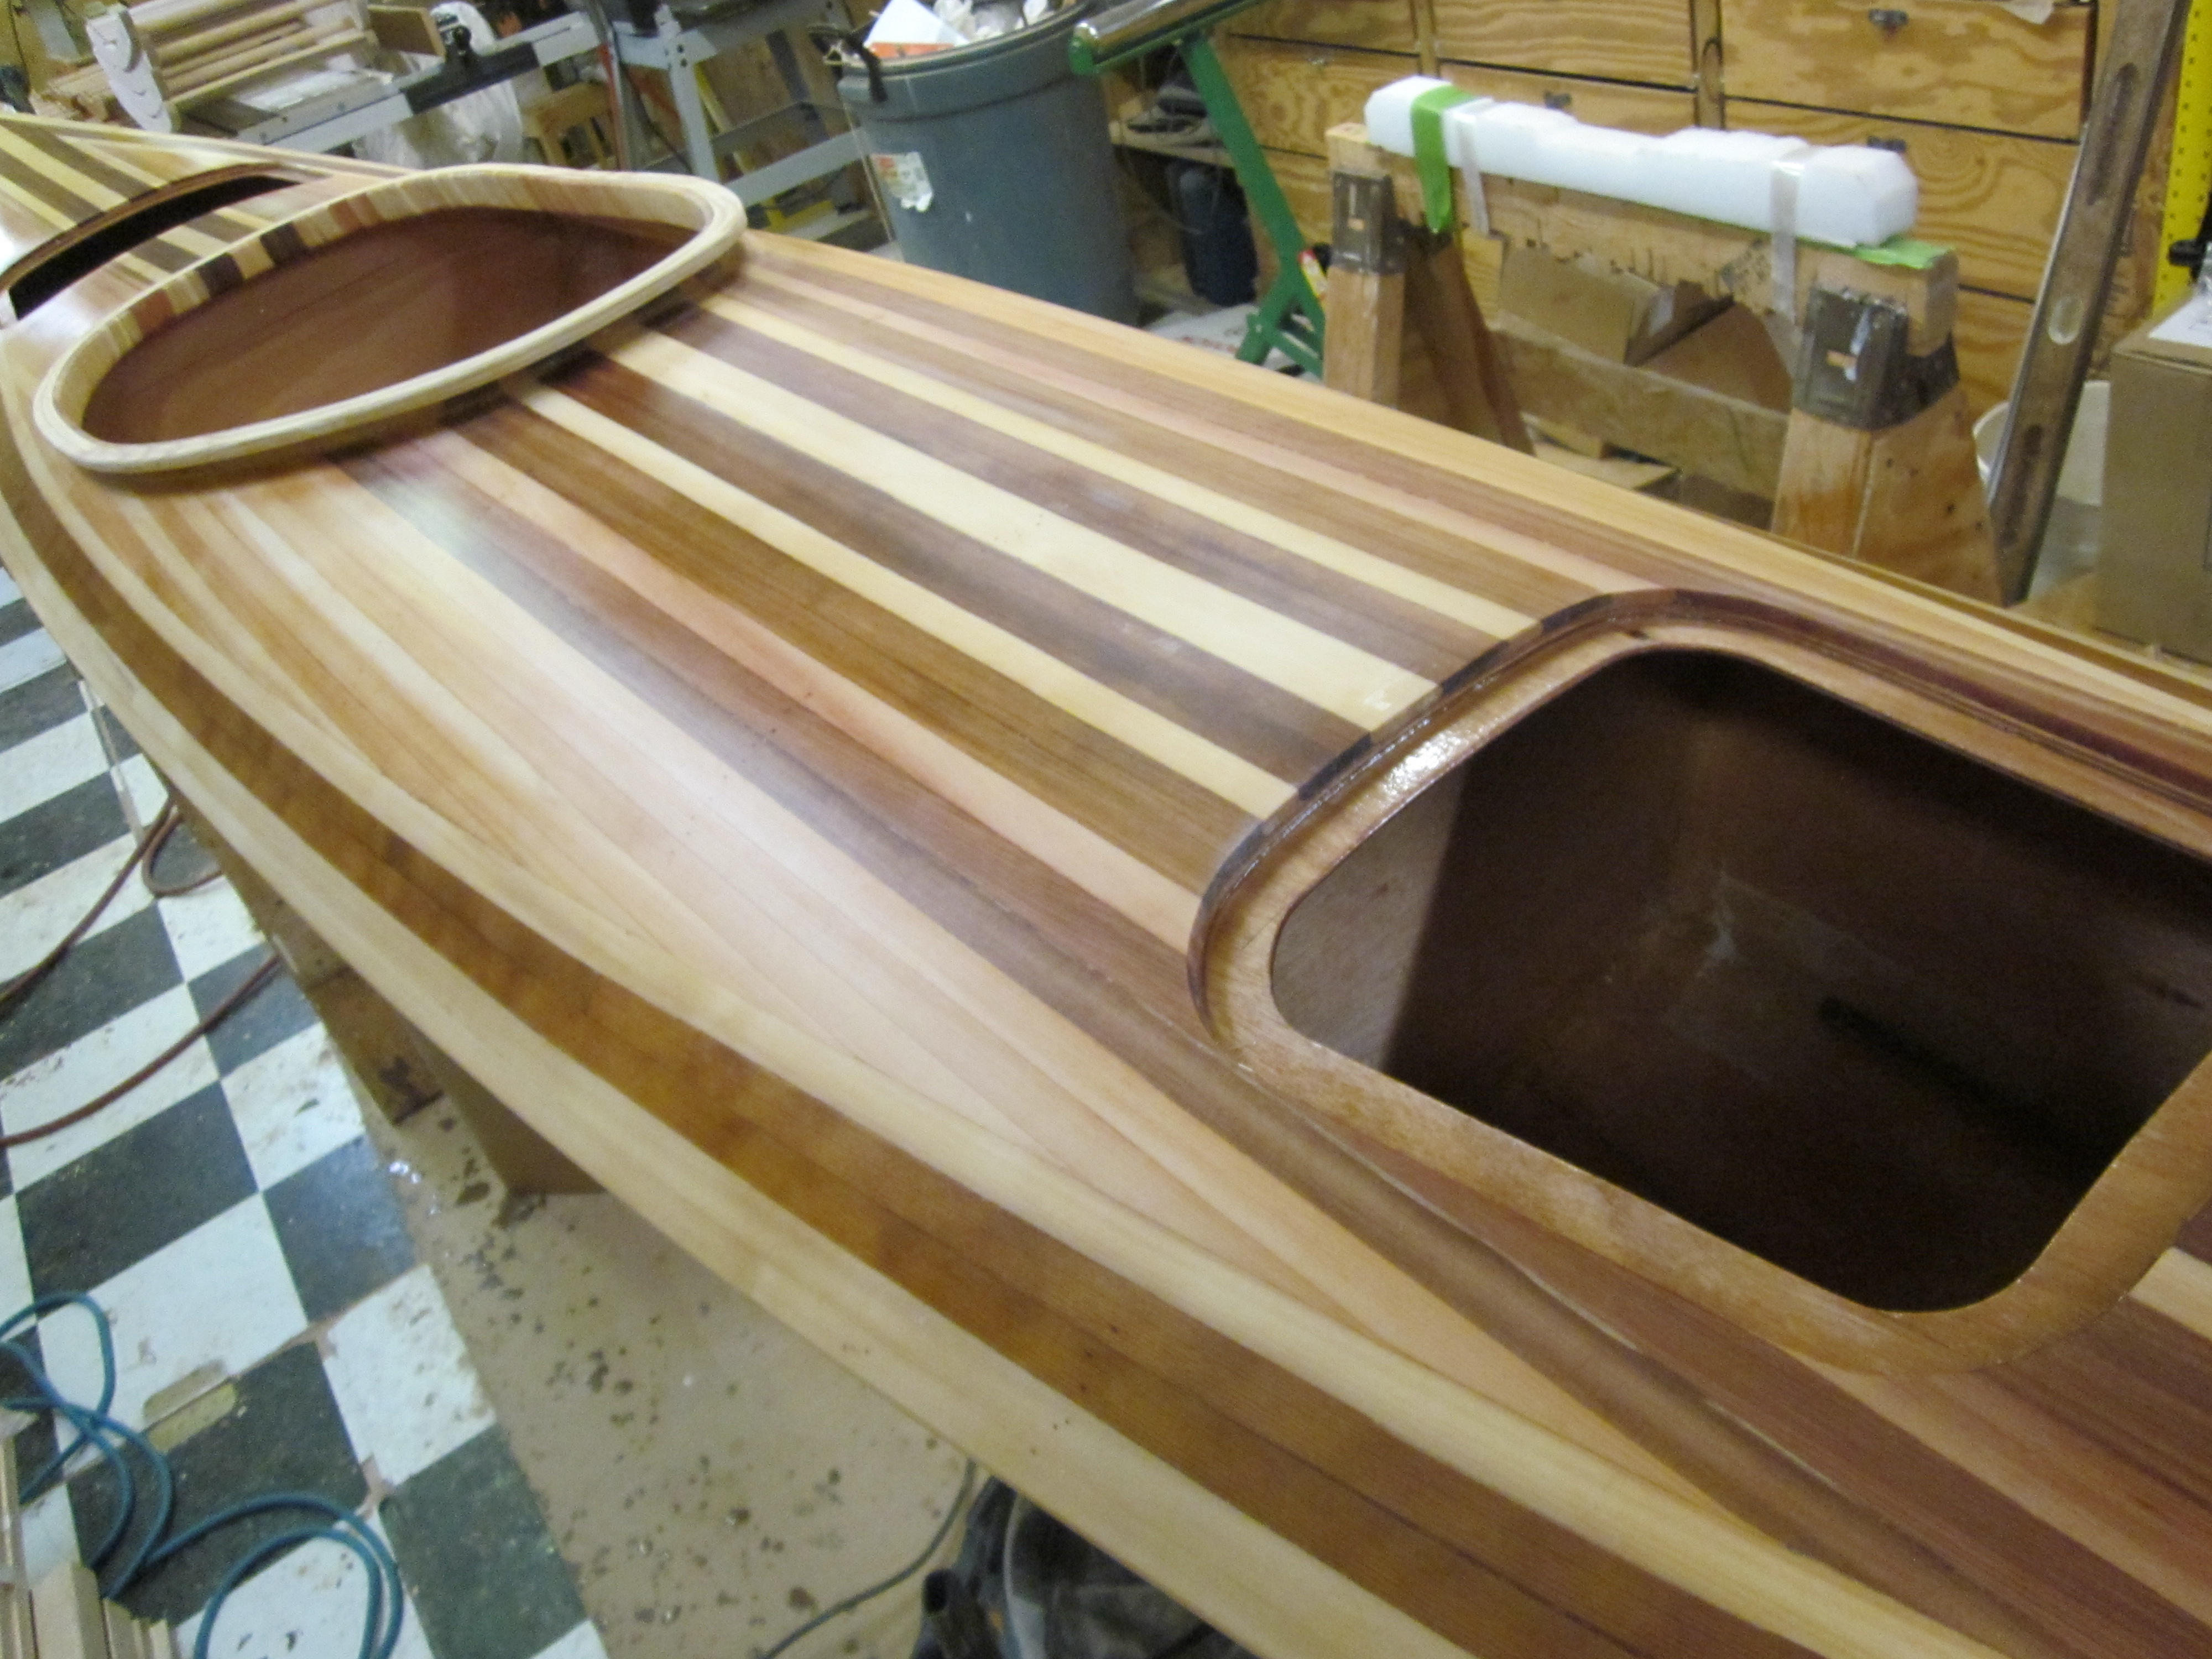
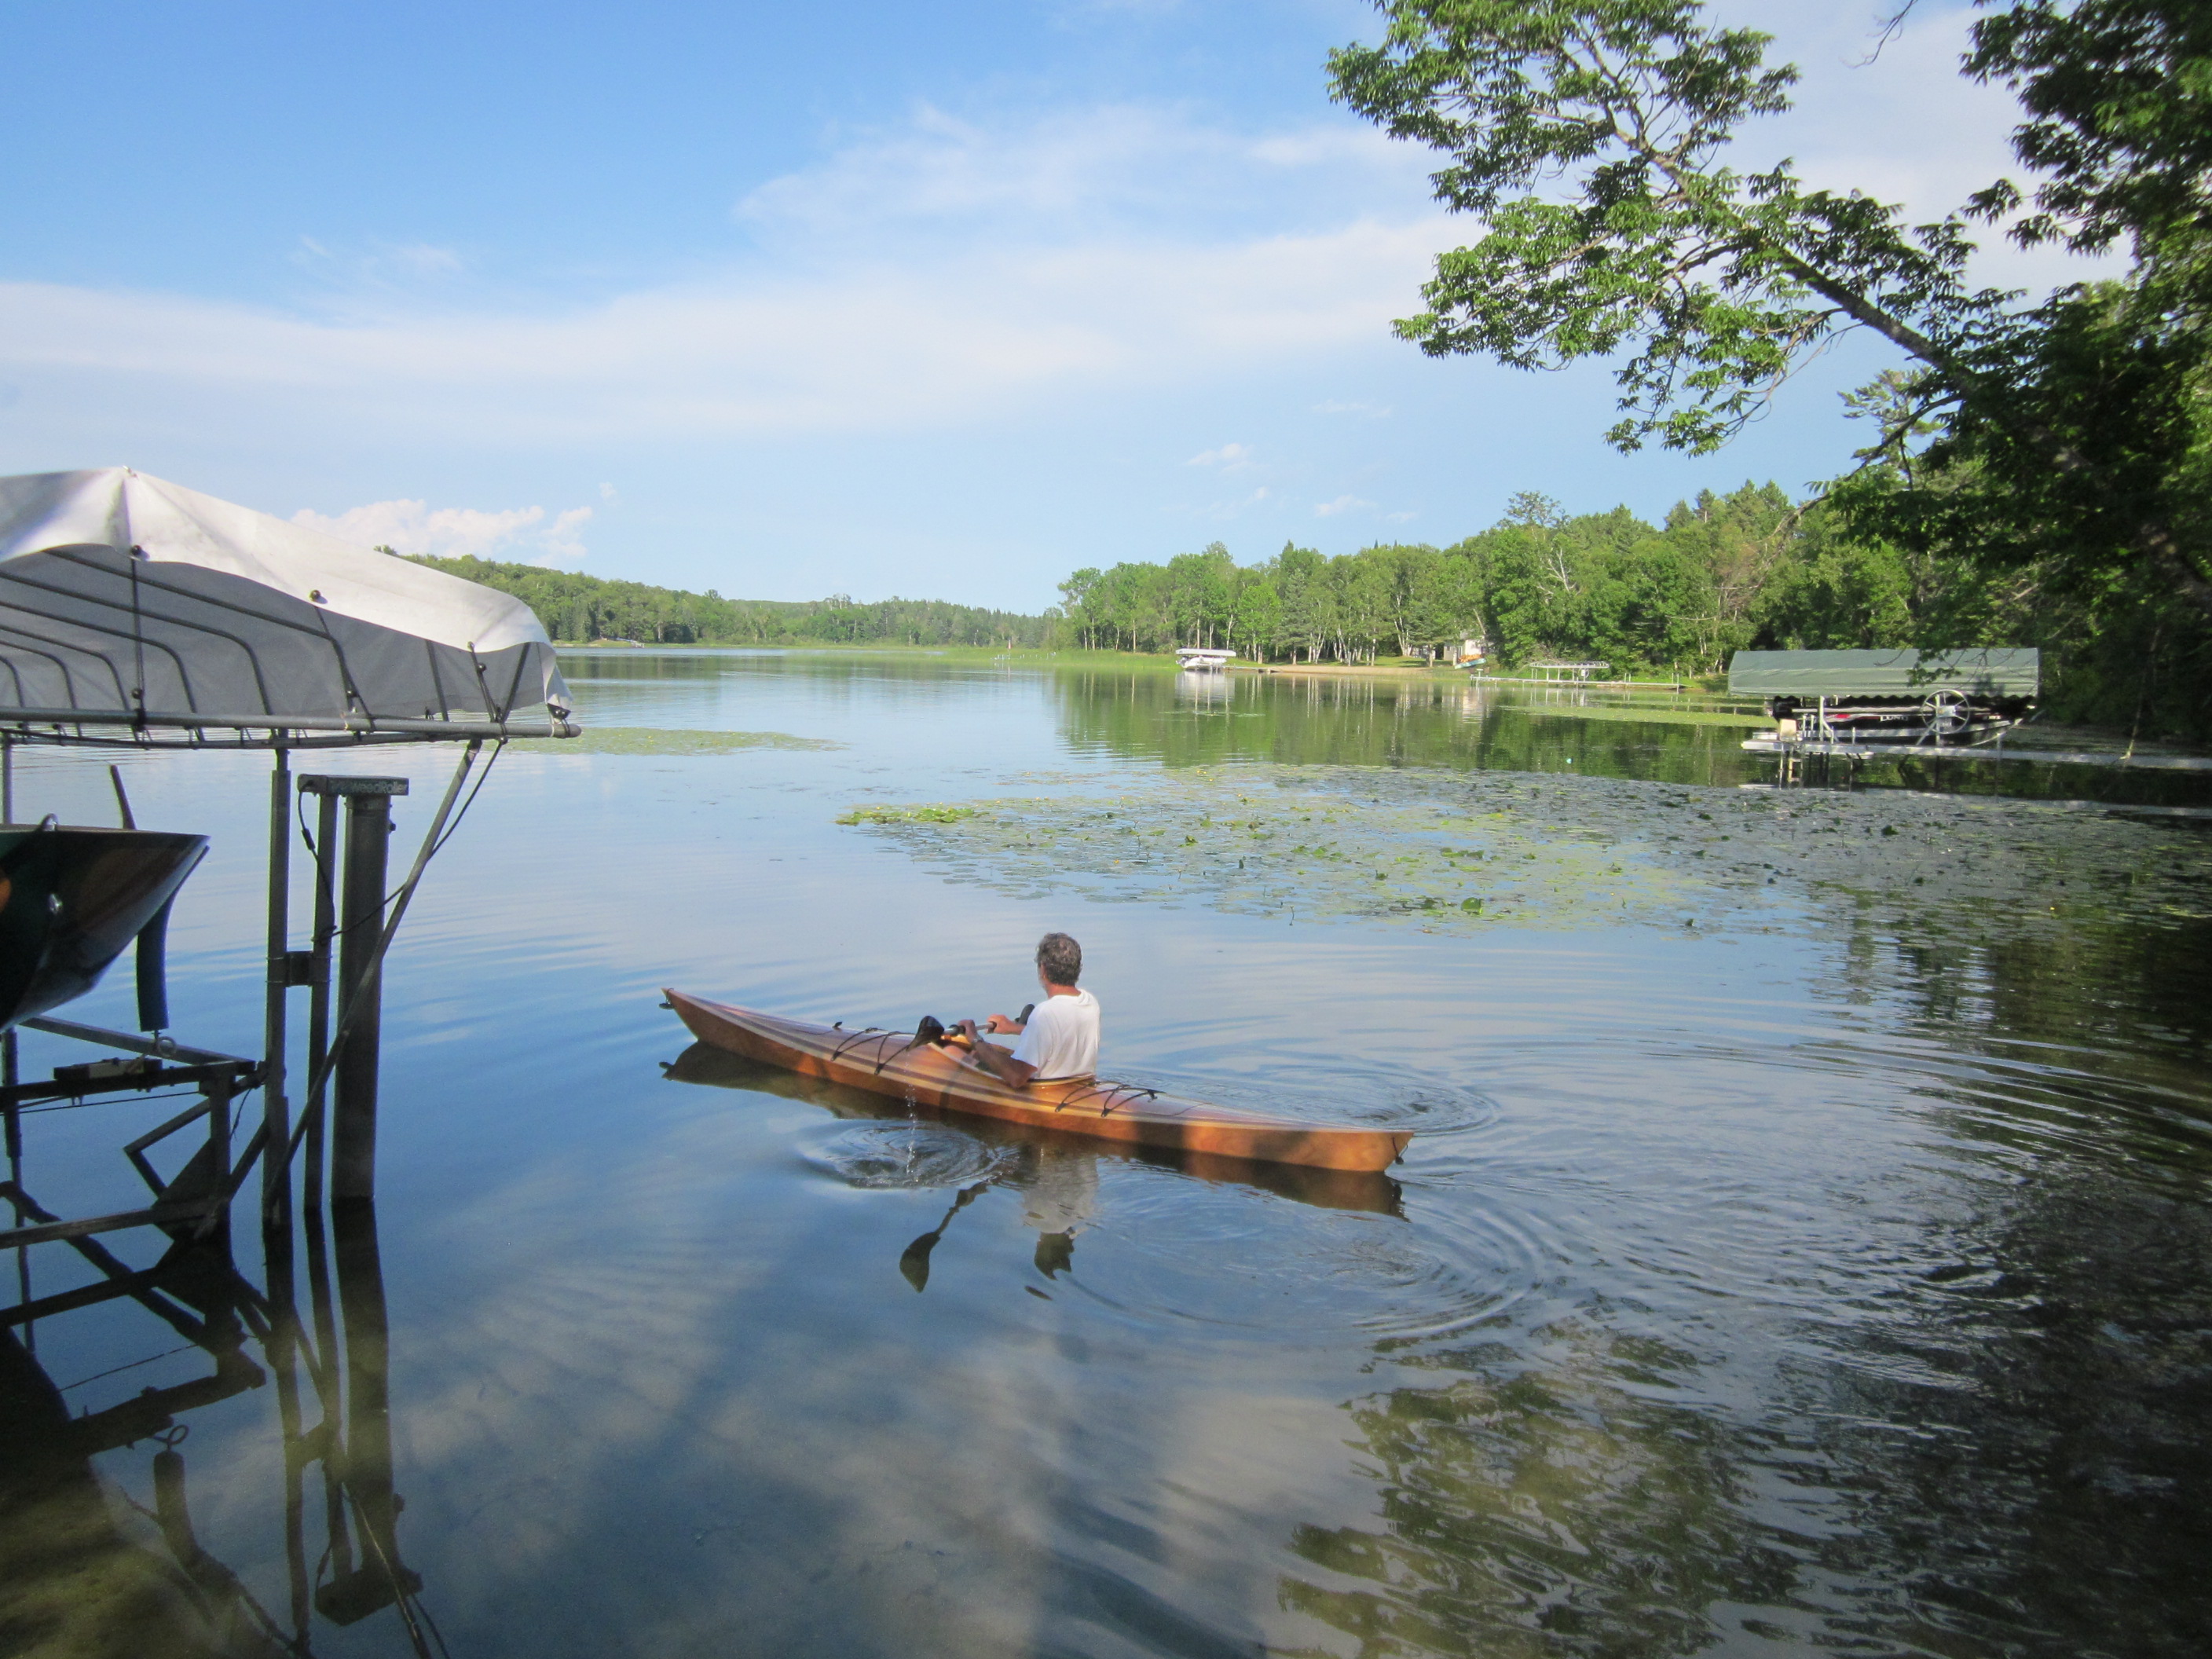
Kayaks
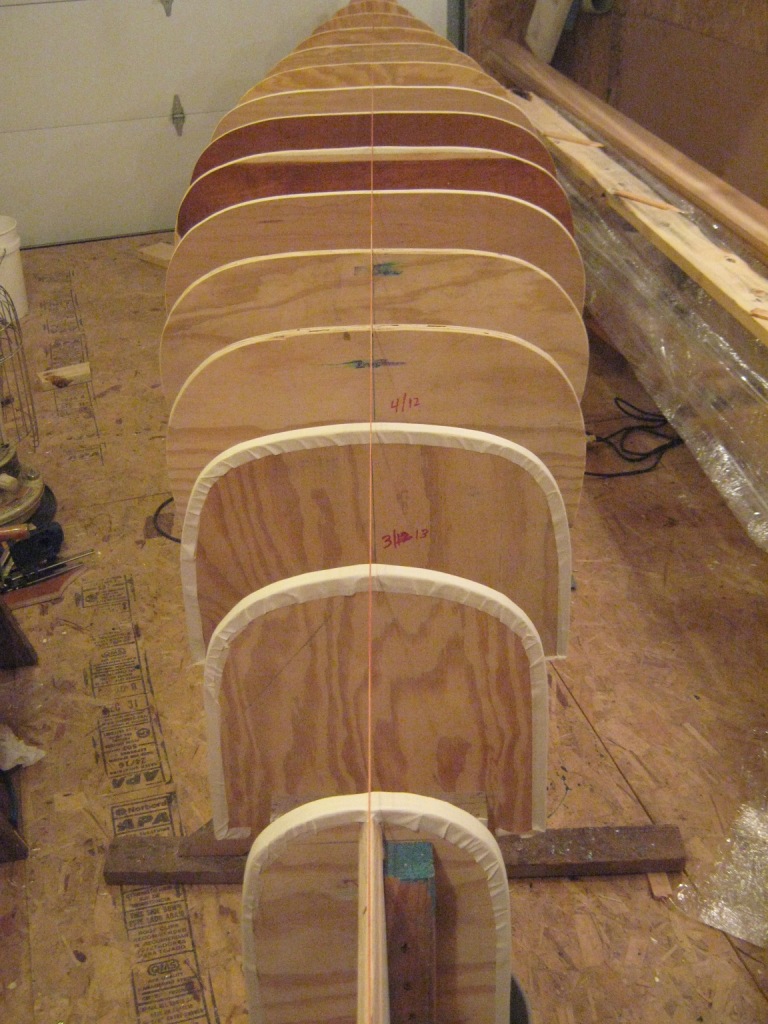
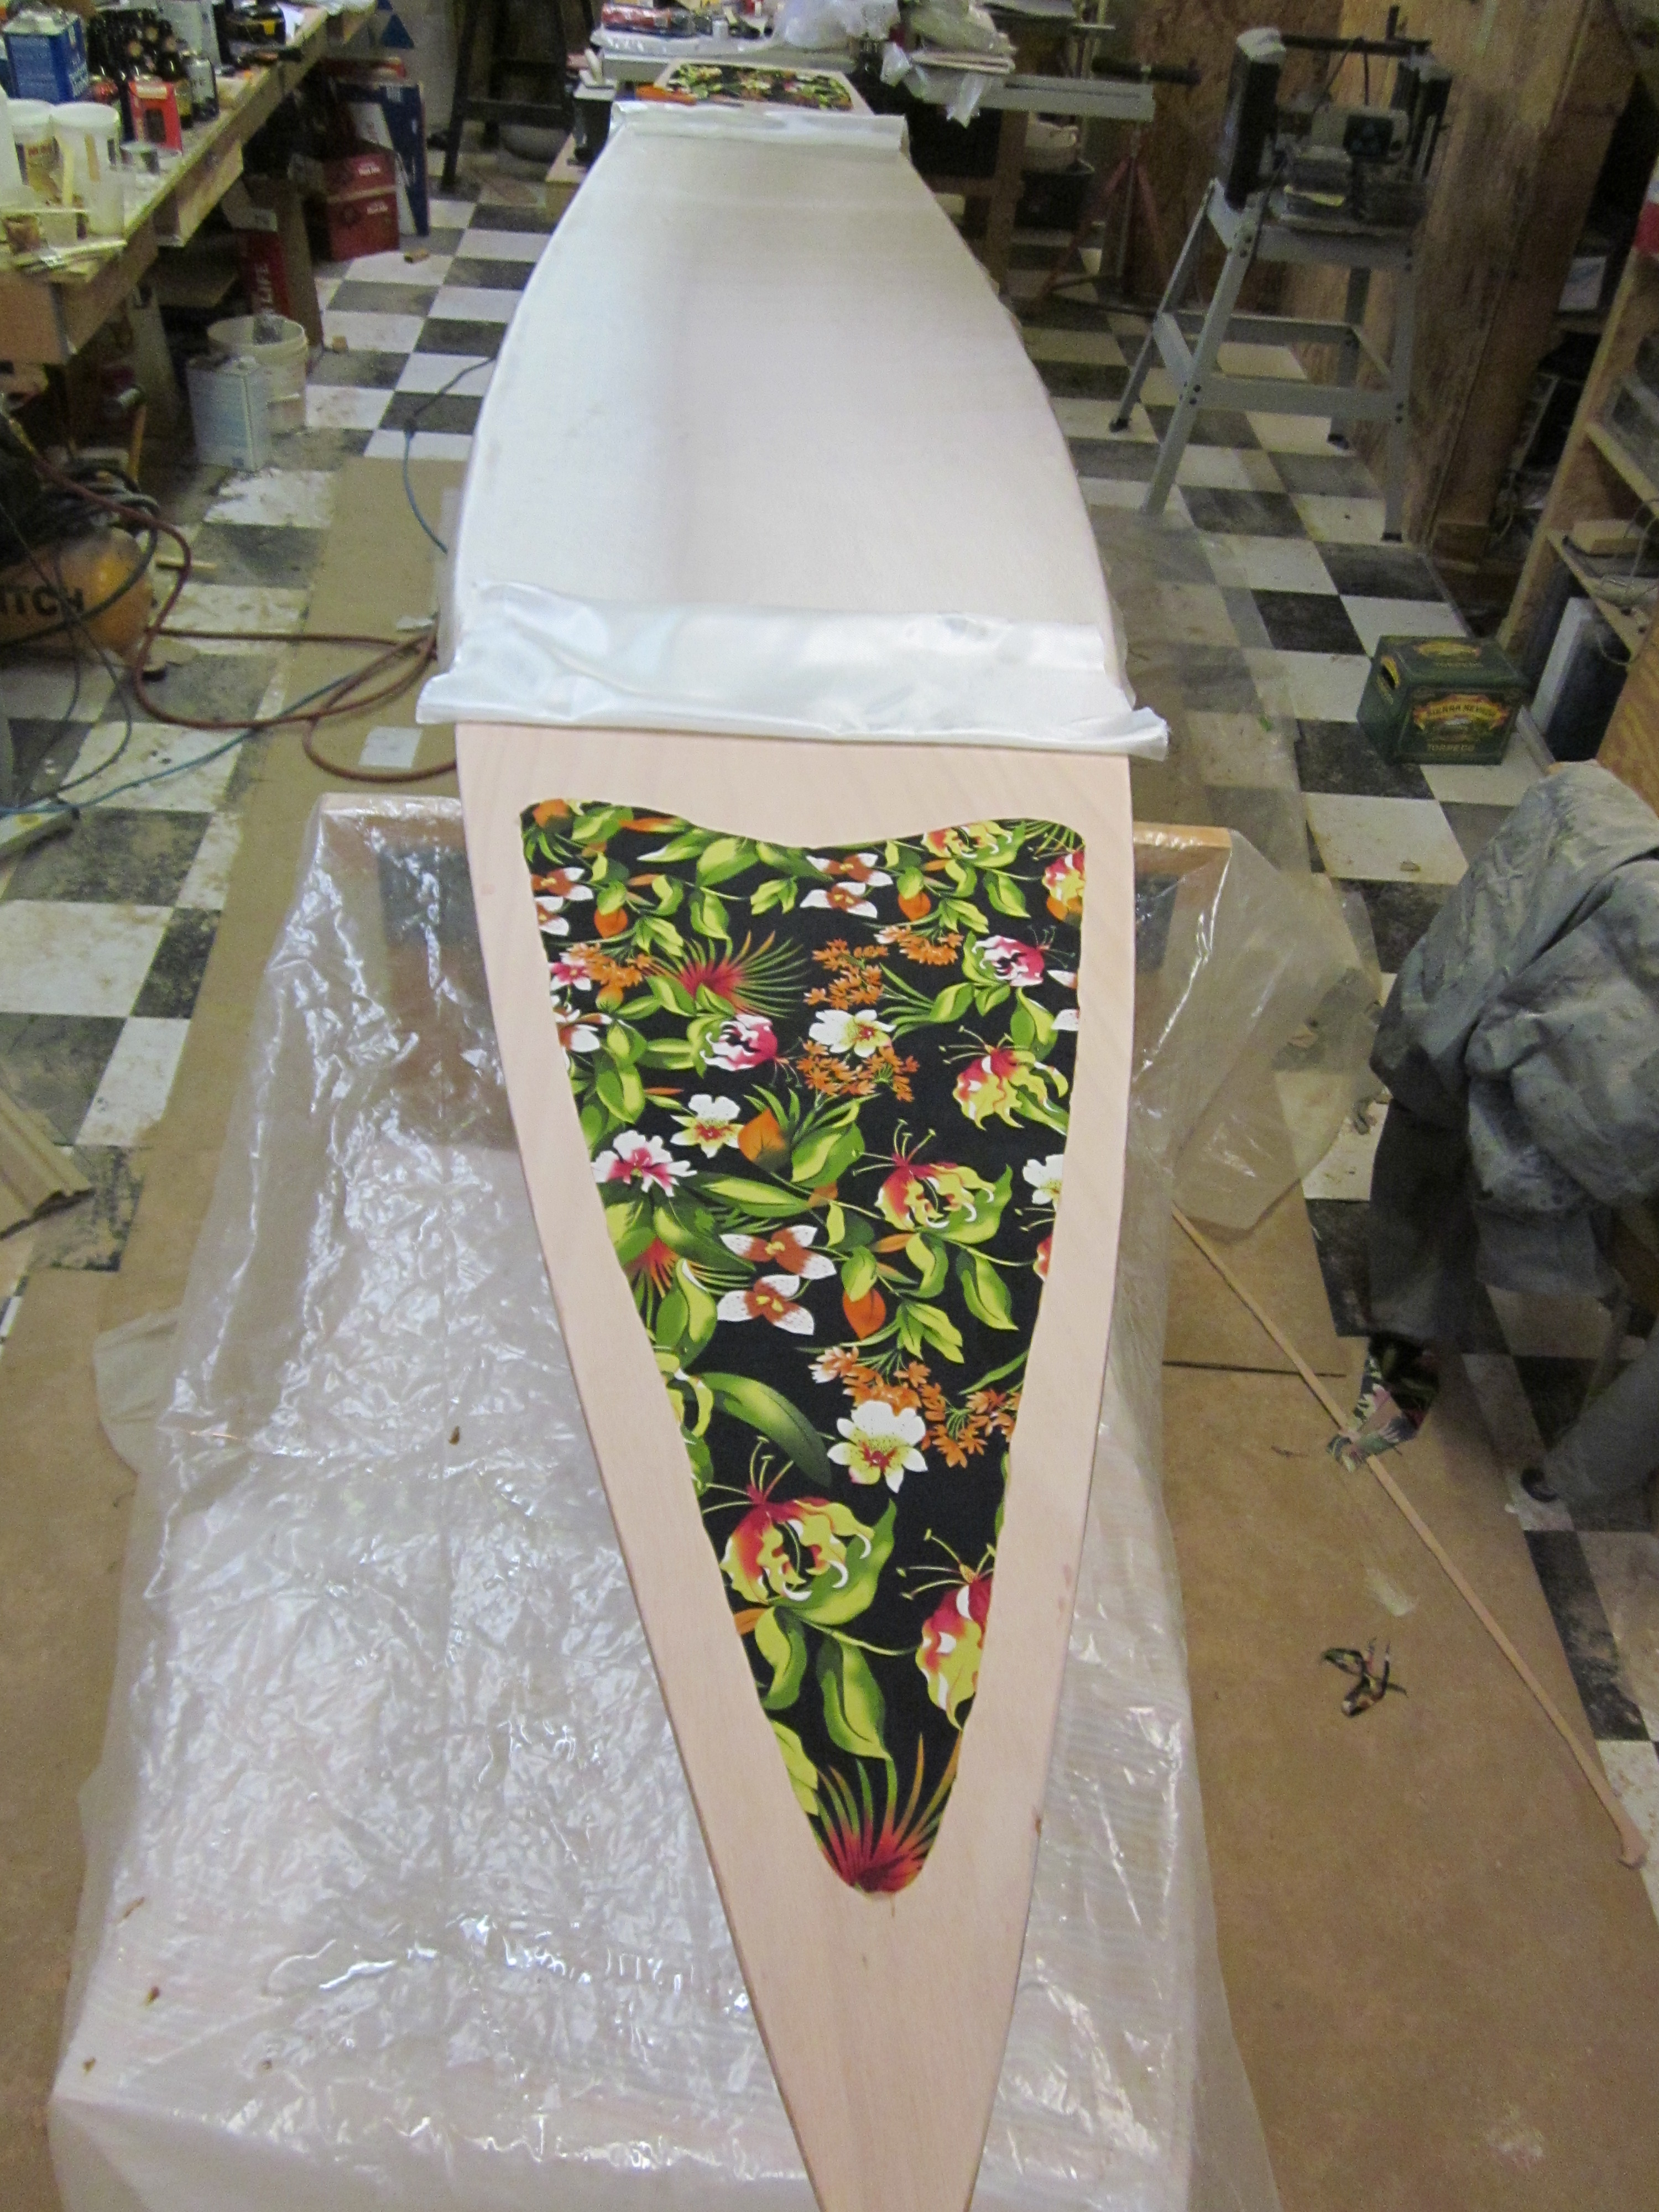
Kayaks are like building two canoes, then gluing one on top of the other! For our hybrid plywood/cedar strip kayaks, the “stitch and glue” method is used to form the hull. With this technique, a building frame isn’t needed. After the hull is assembled, it’s glassed, rolled over, and carefully checked to be square and straight.
Deck building forms are then temporarily mounted on the inside of the hull for stripping the cedar deck.

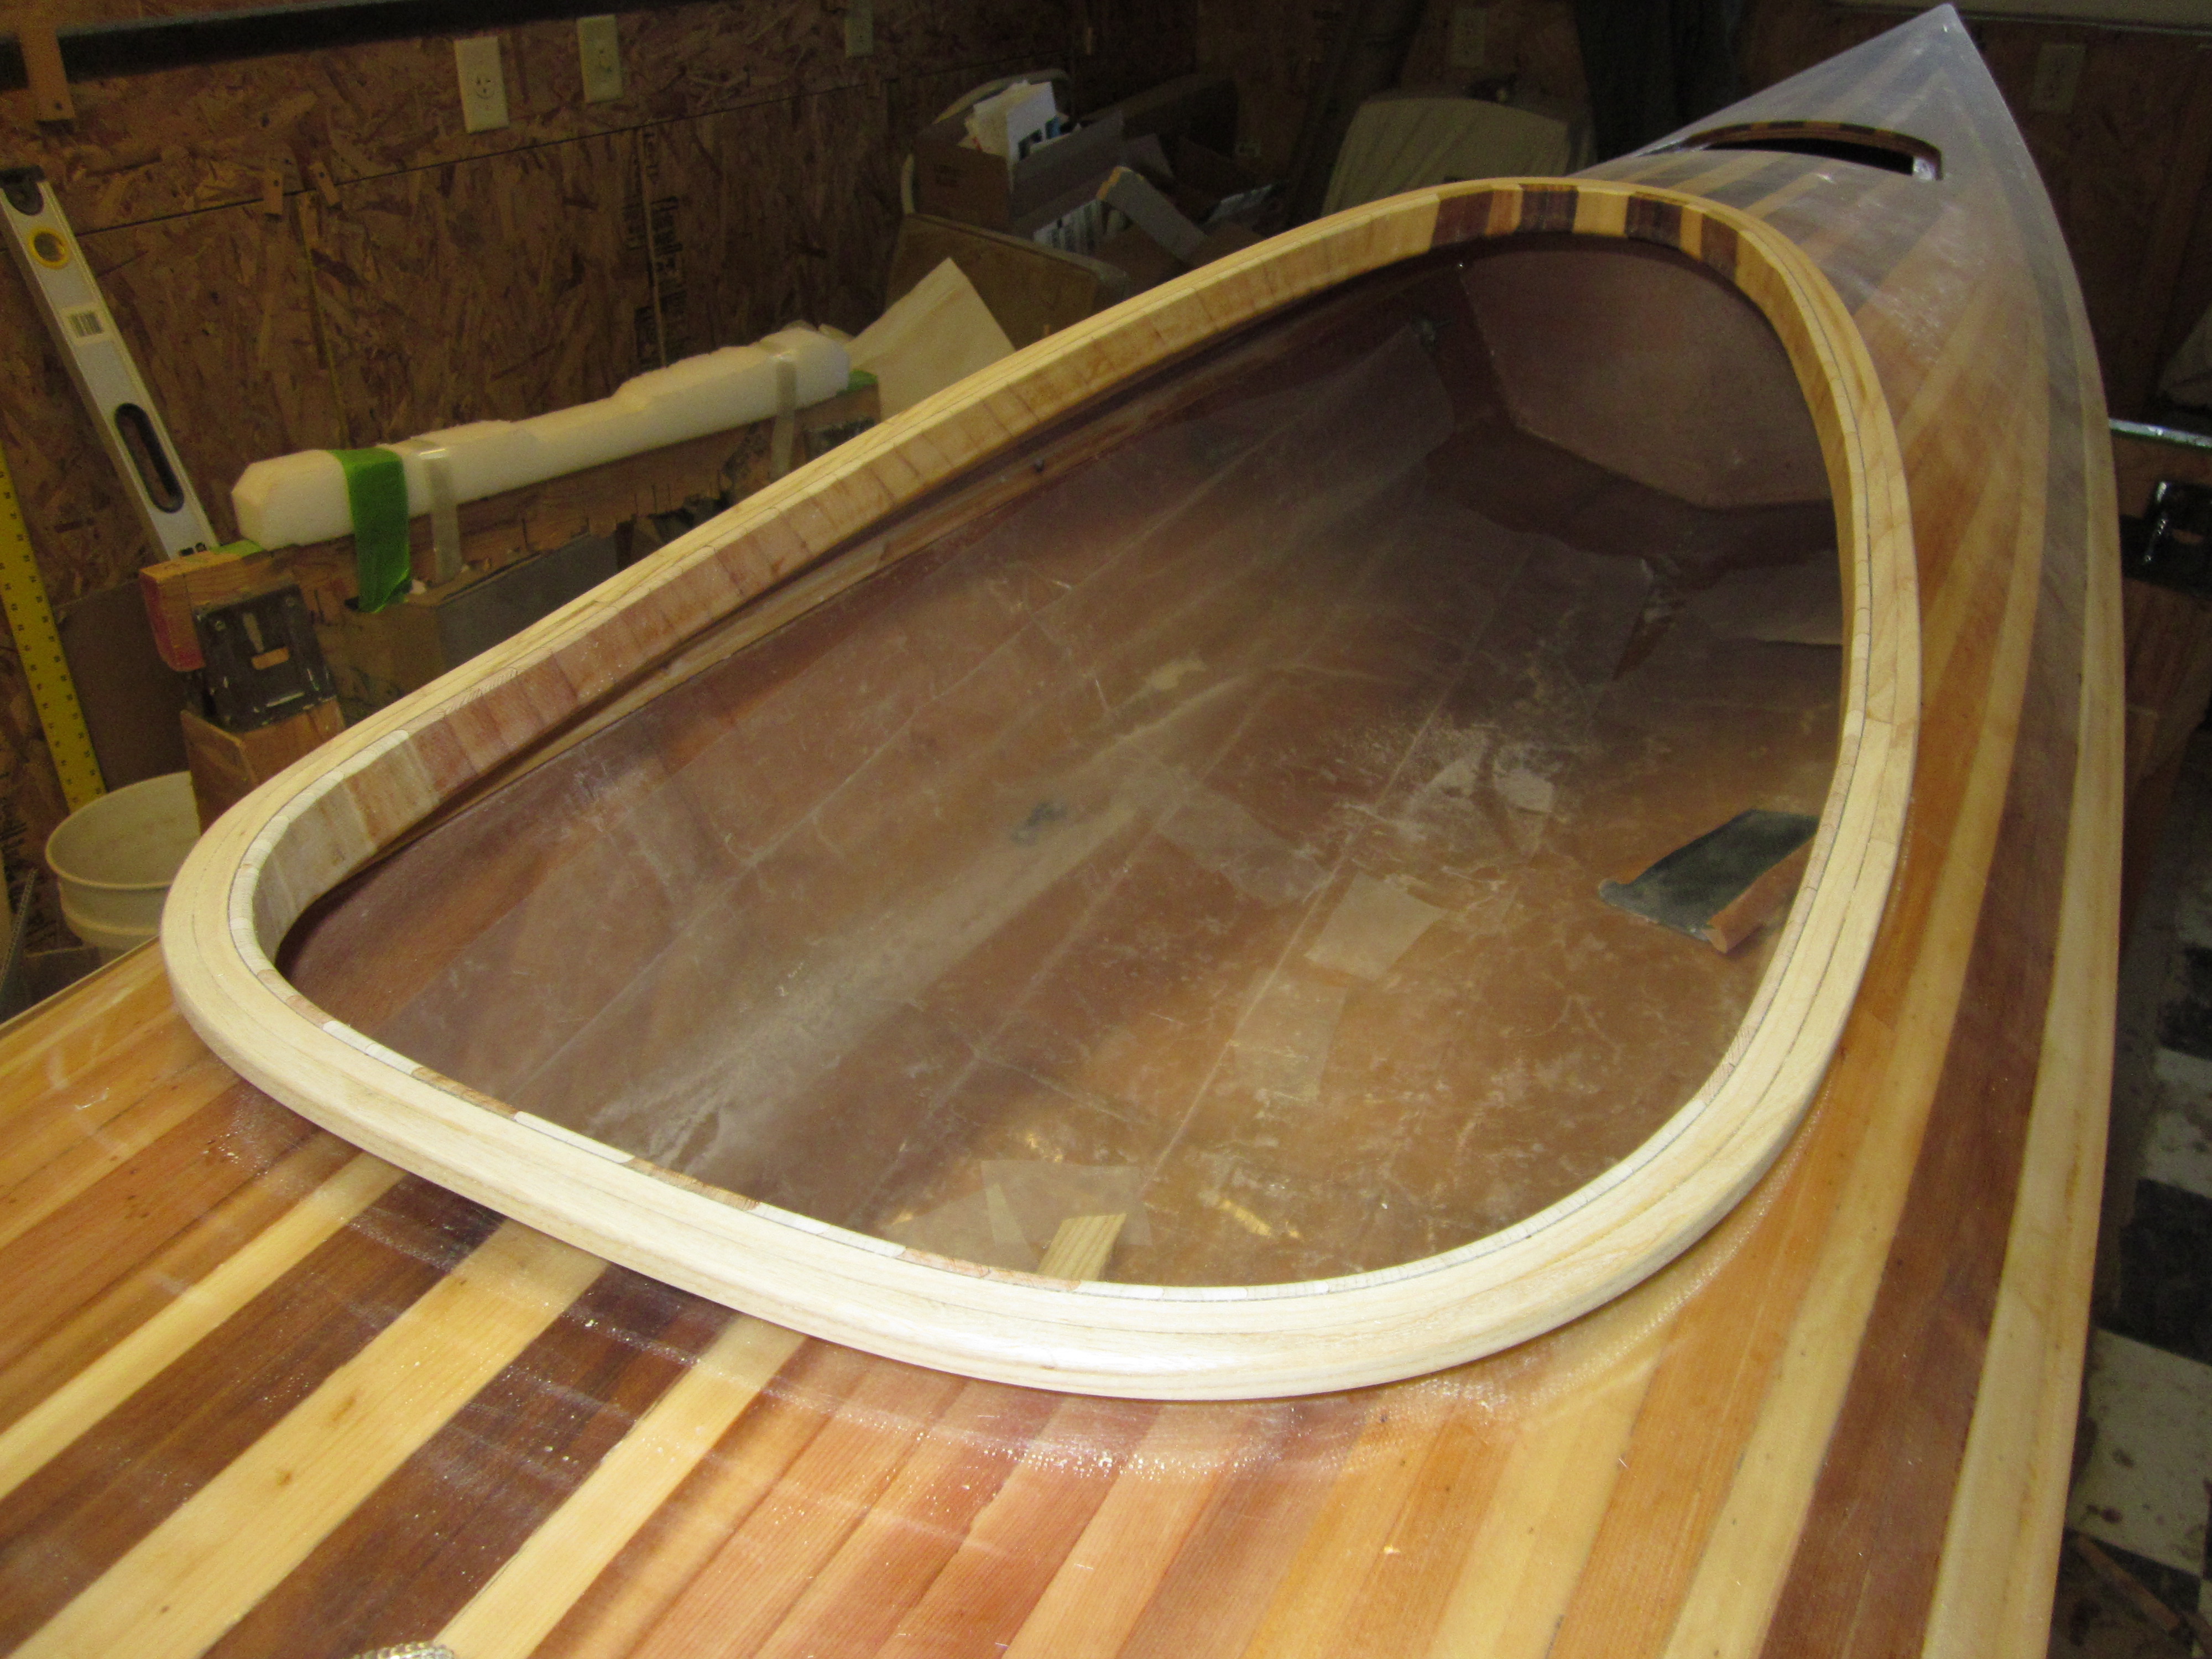
After sanding the outside (top) of the deck, it is carefully removed and the inside is sanded and glassed. Then the deck is mounted back onto the hull (an interesting process!) and glassed followed by sanding and varnishing the entire boat.
Holes are cut for cockpit and any hatches, support rings and the spray skirt are mounted (did I mention you can’t have too many clamps?), final varnishing is completed, the seat installed, and then see if she floats!
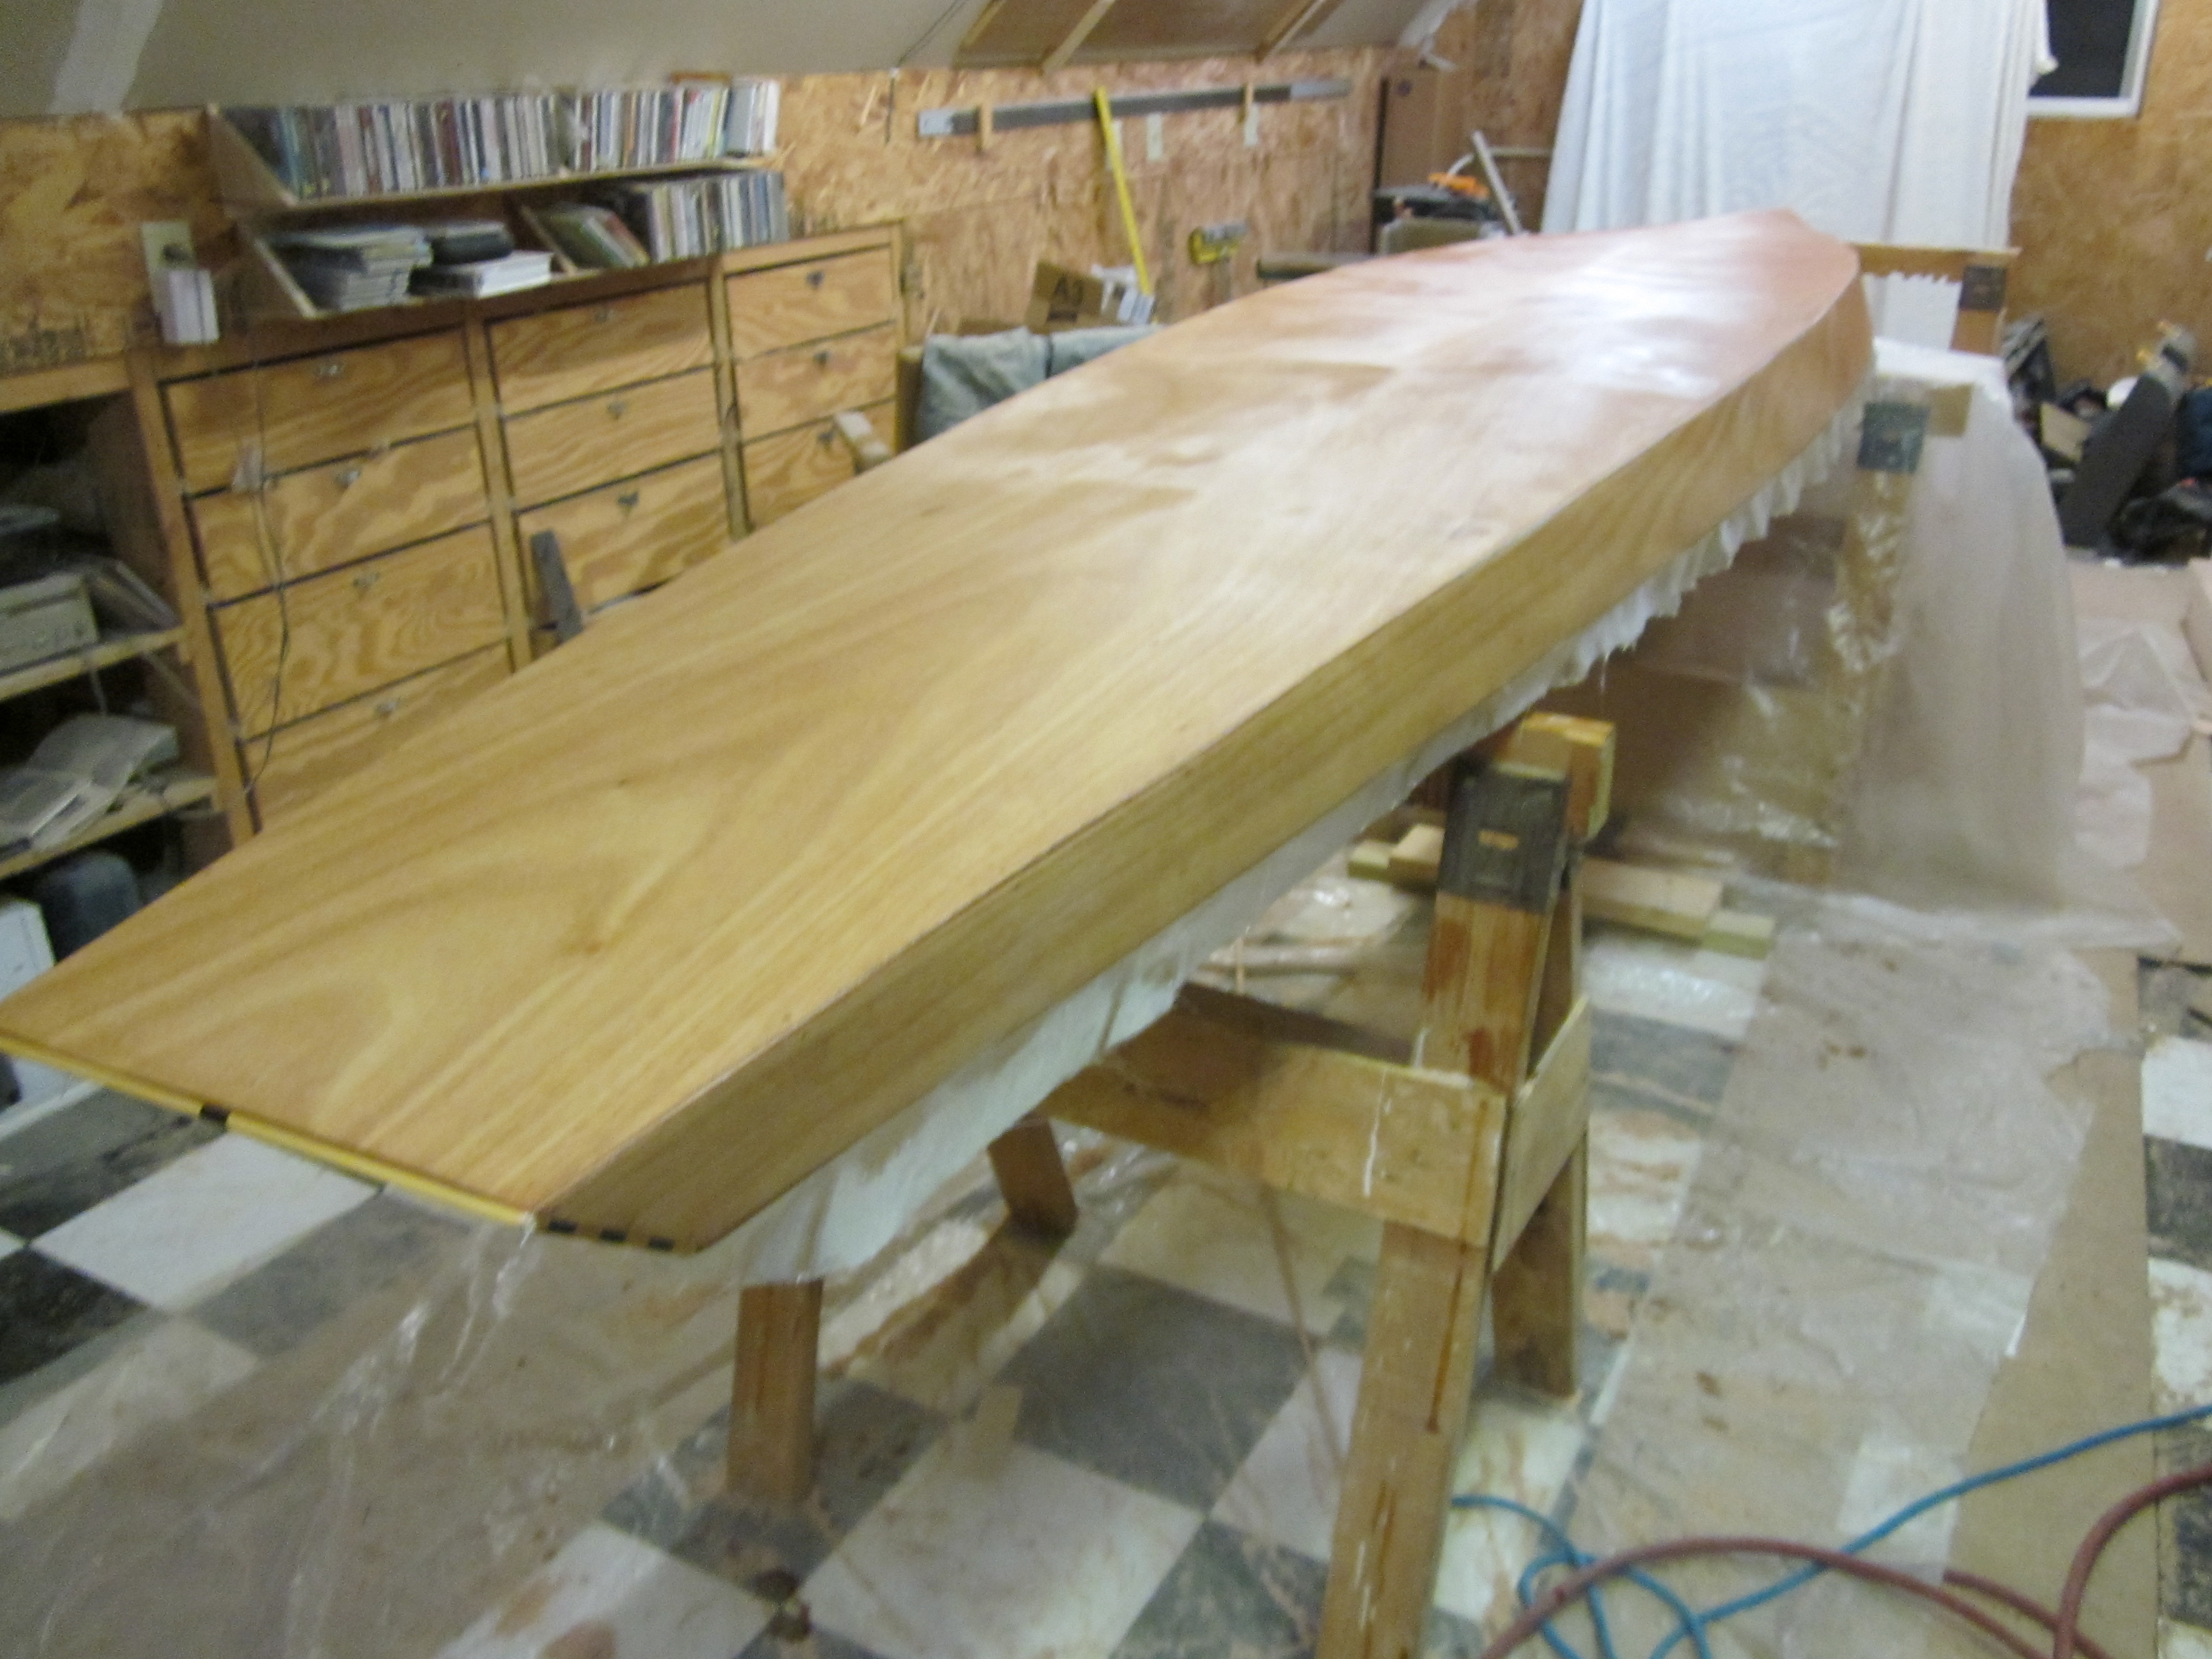
Paddleboards
Paddleboards (SUPs) also begin their life upside down, but it doesn’t take long for the hull to be righted, and permanent interior frames to be mounted (similar to the inside of an airplane wing). The cedar strip (or plywood) deck is then built to an outline of the hull on the building table, then sanded and glassed on the inside. The deck is then mounted on the hull with epoxy glue, followed by sanding and glassing the entire boat.


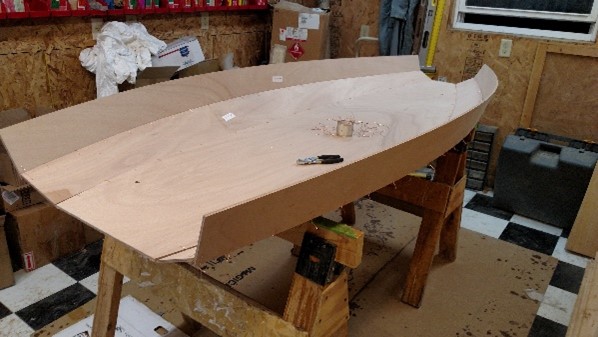
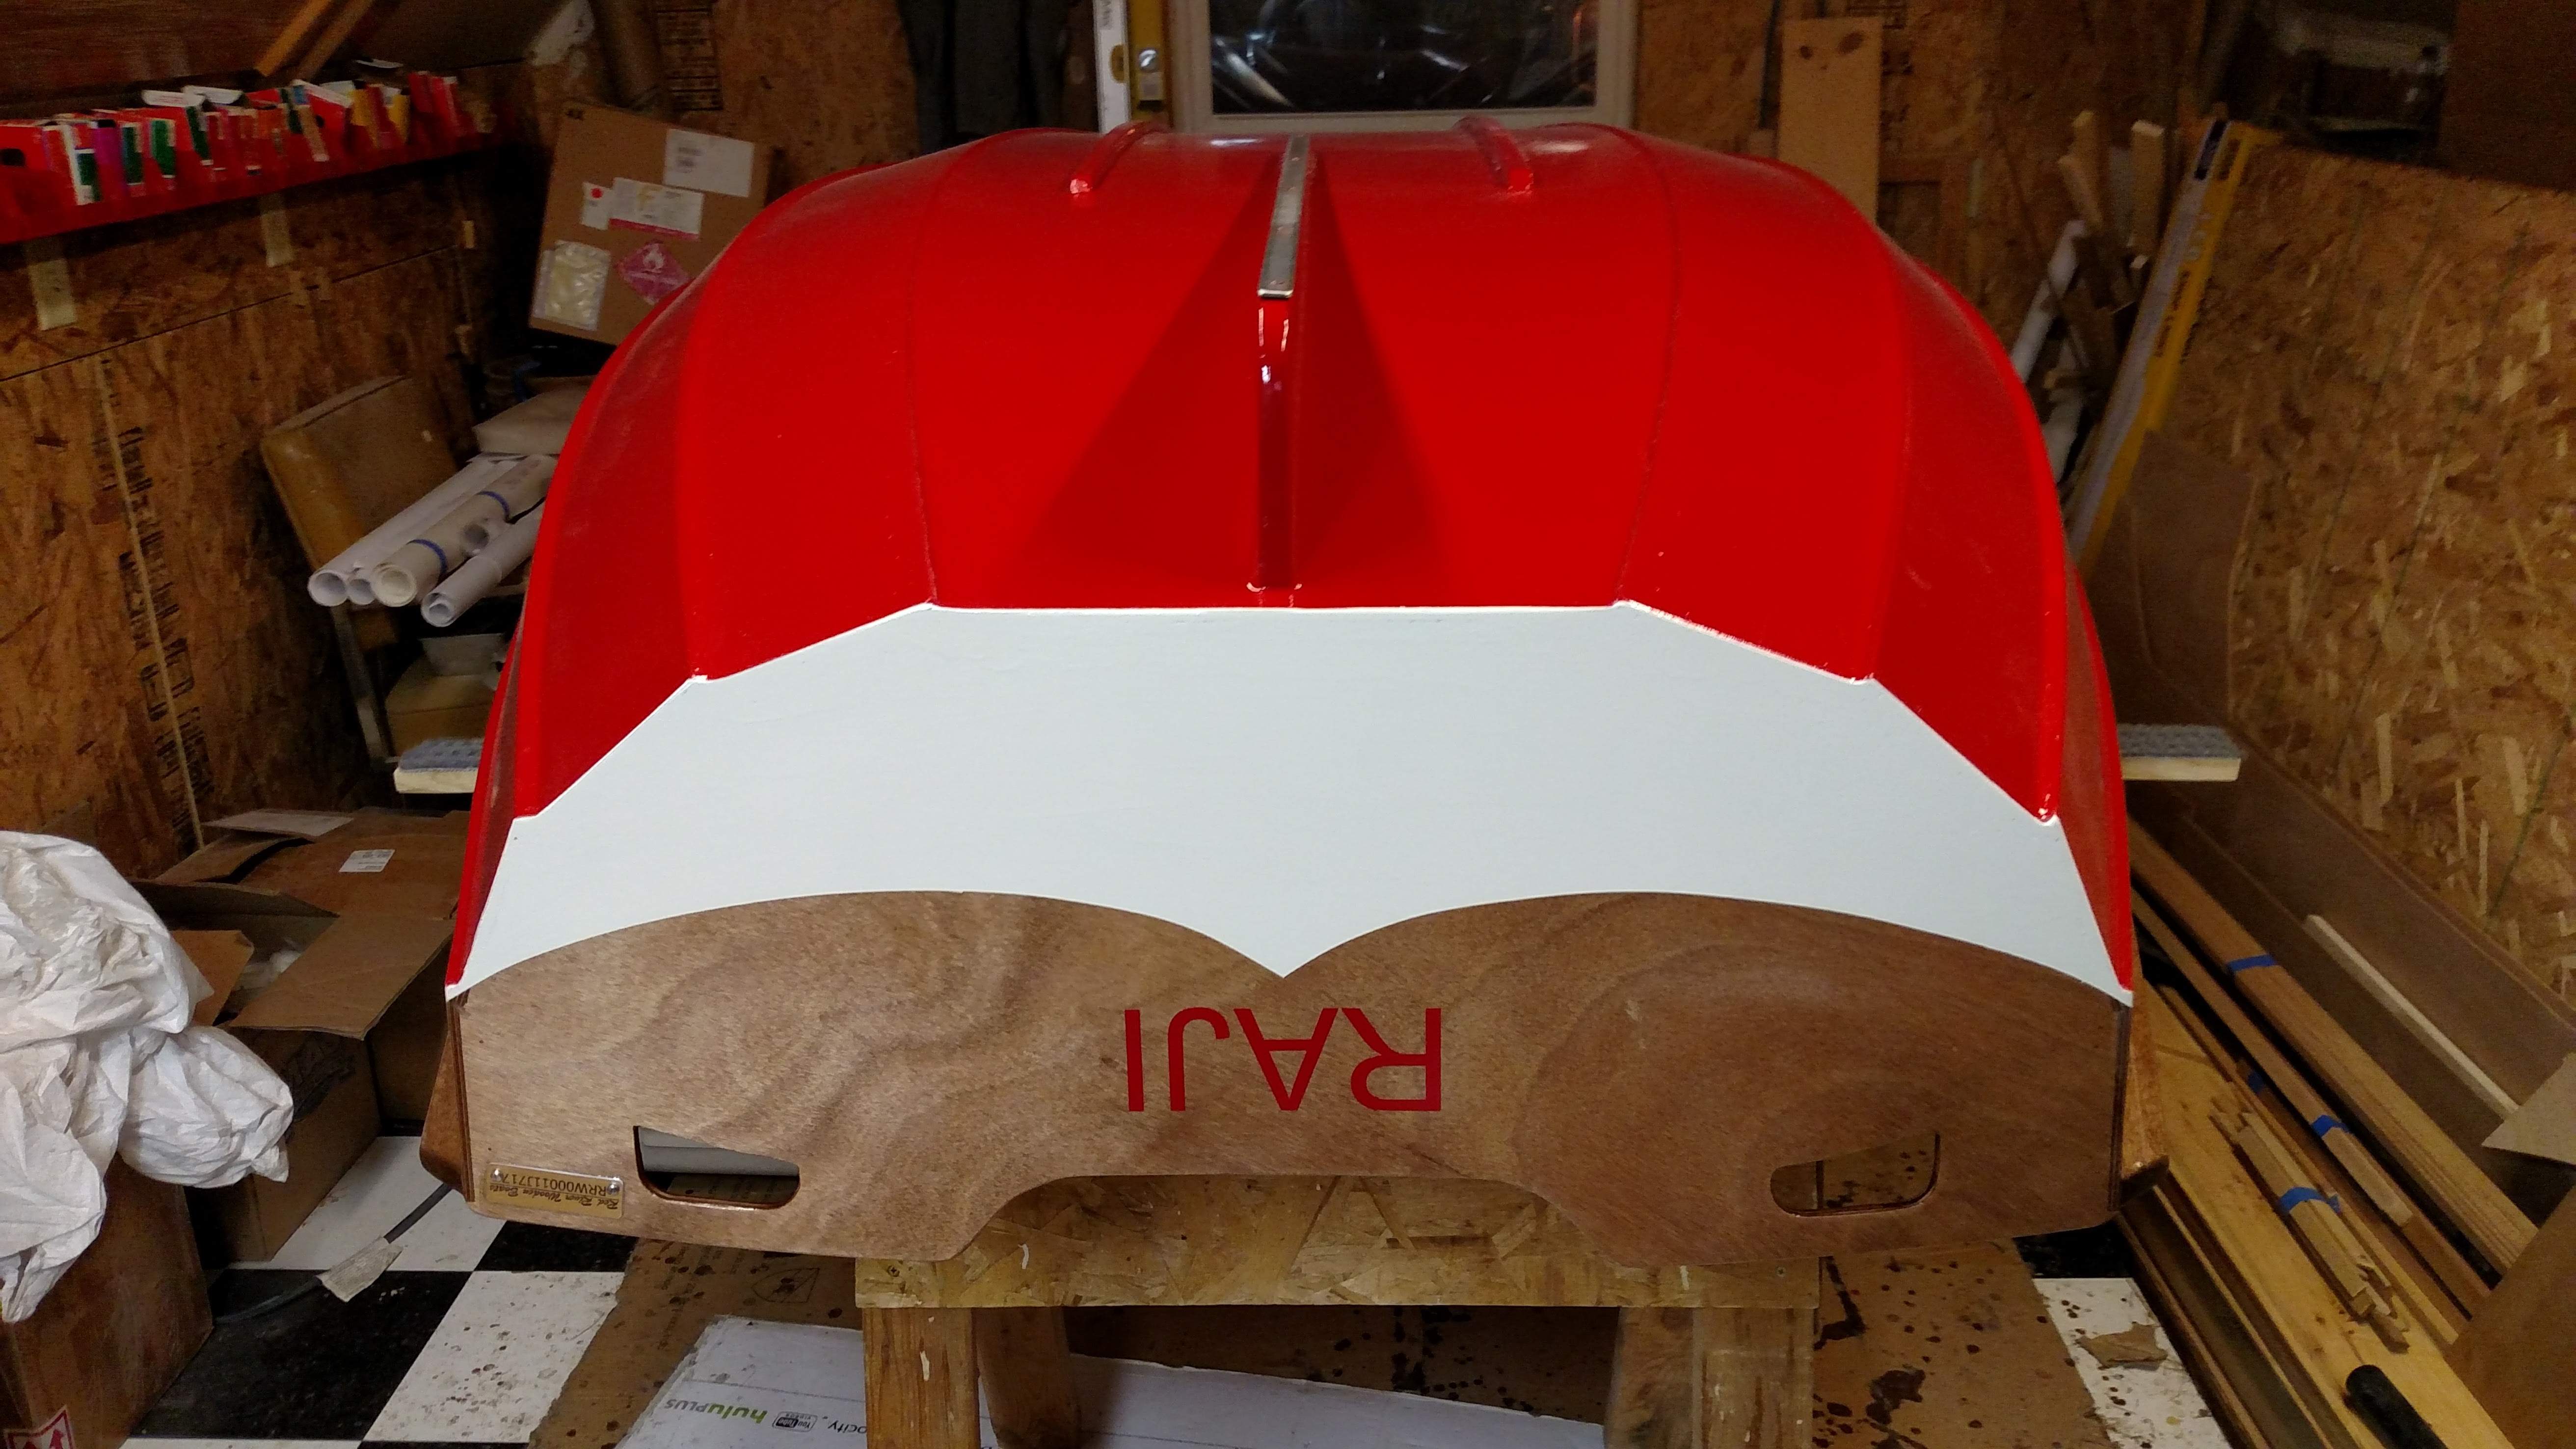
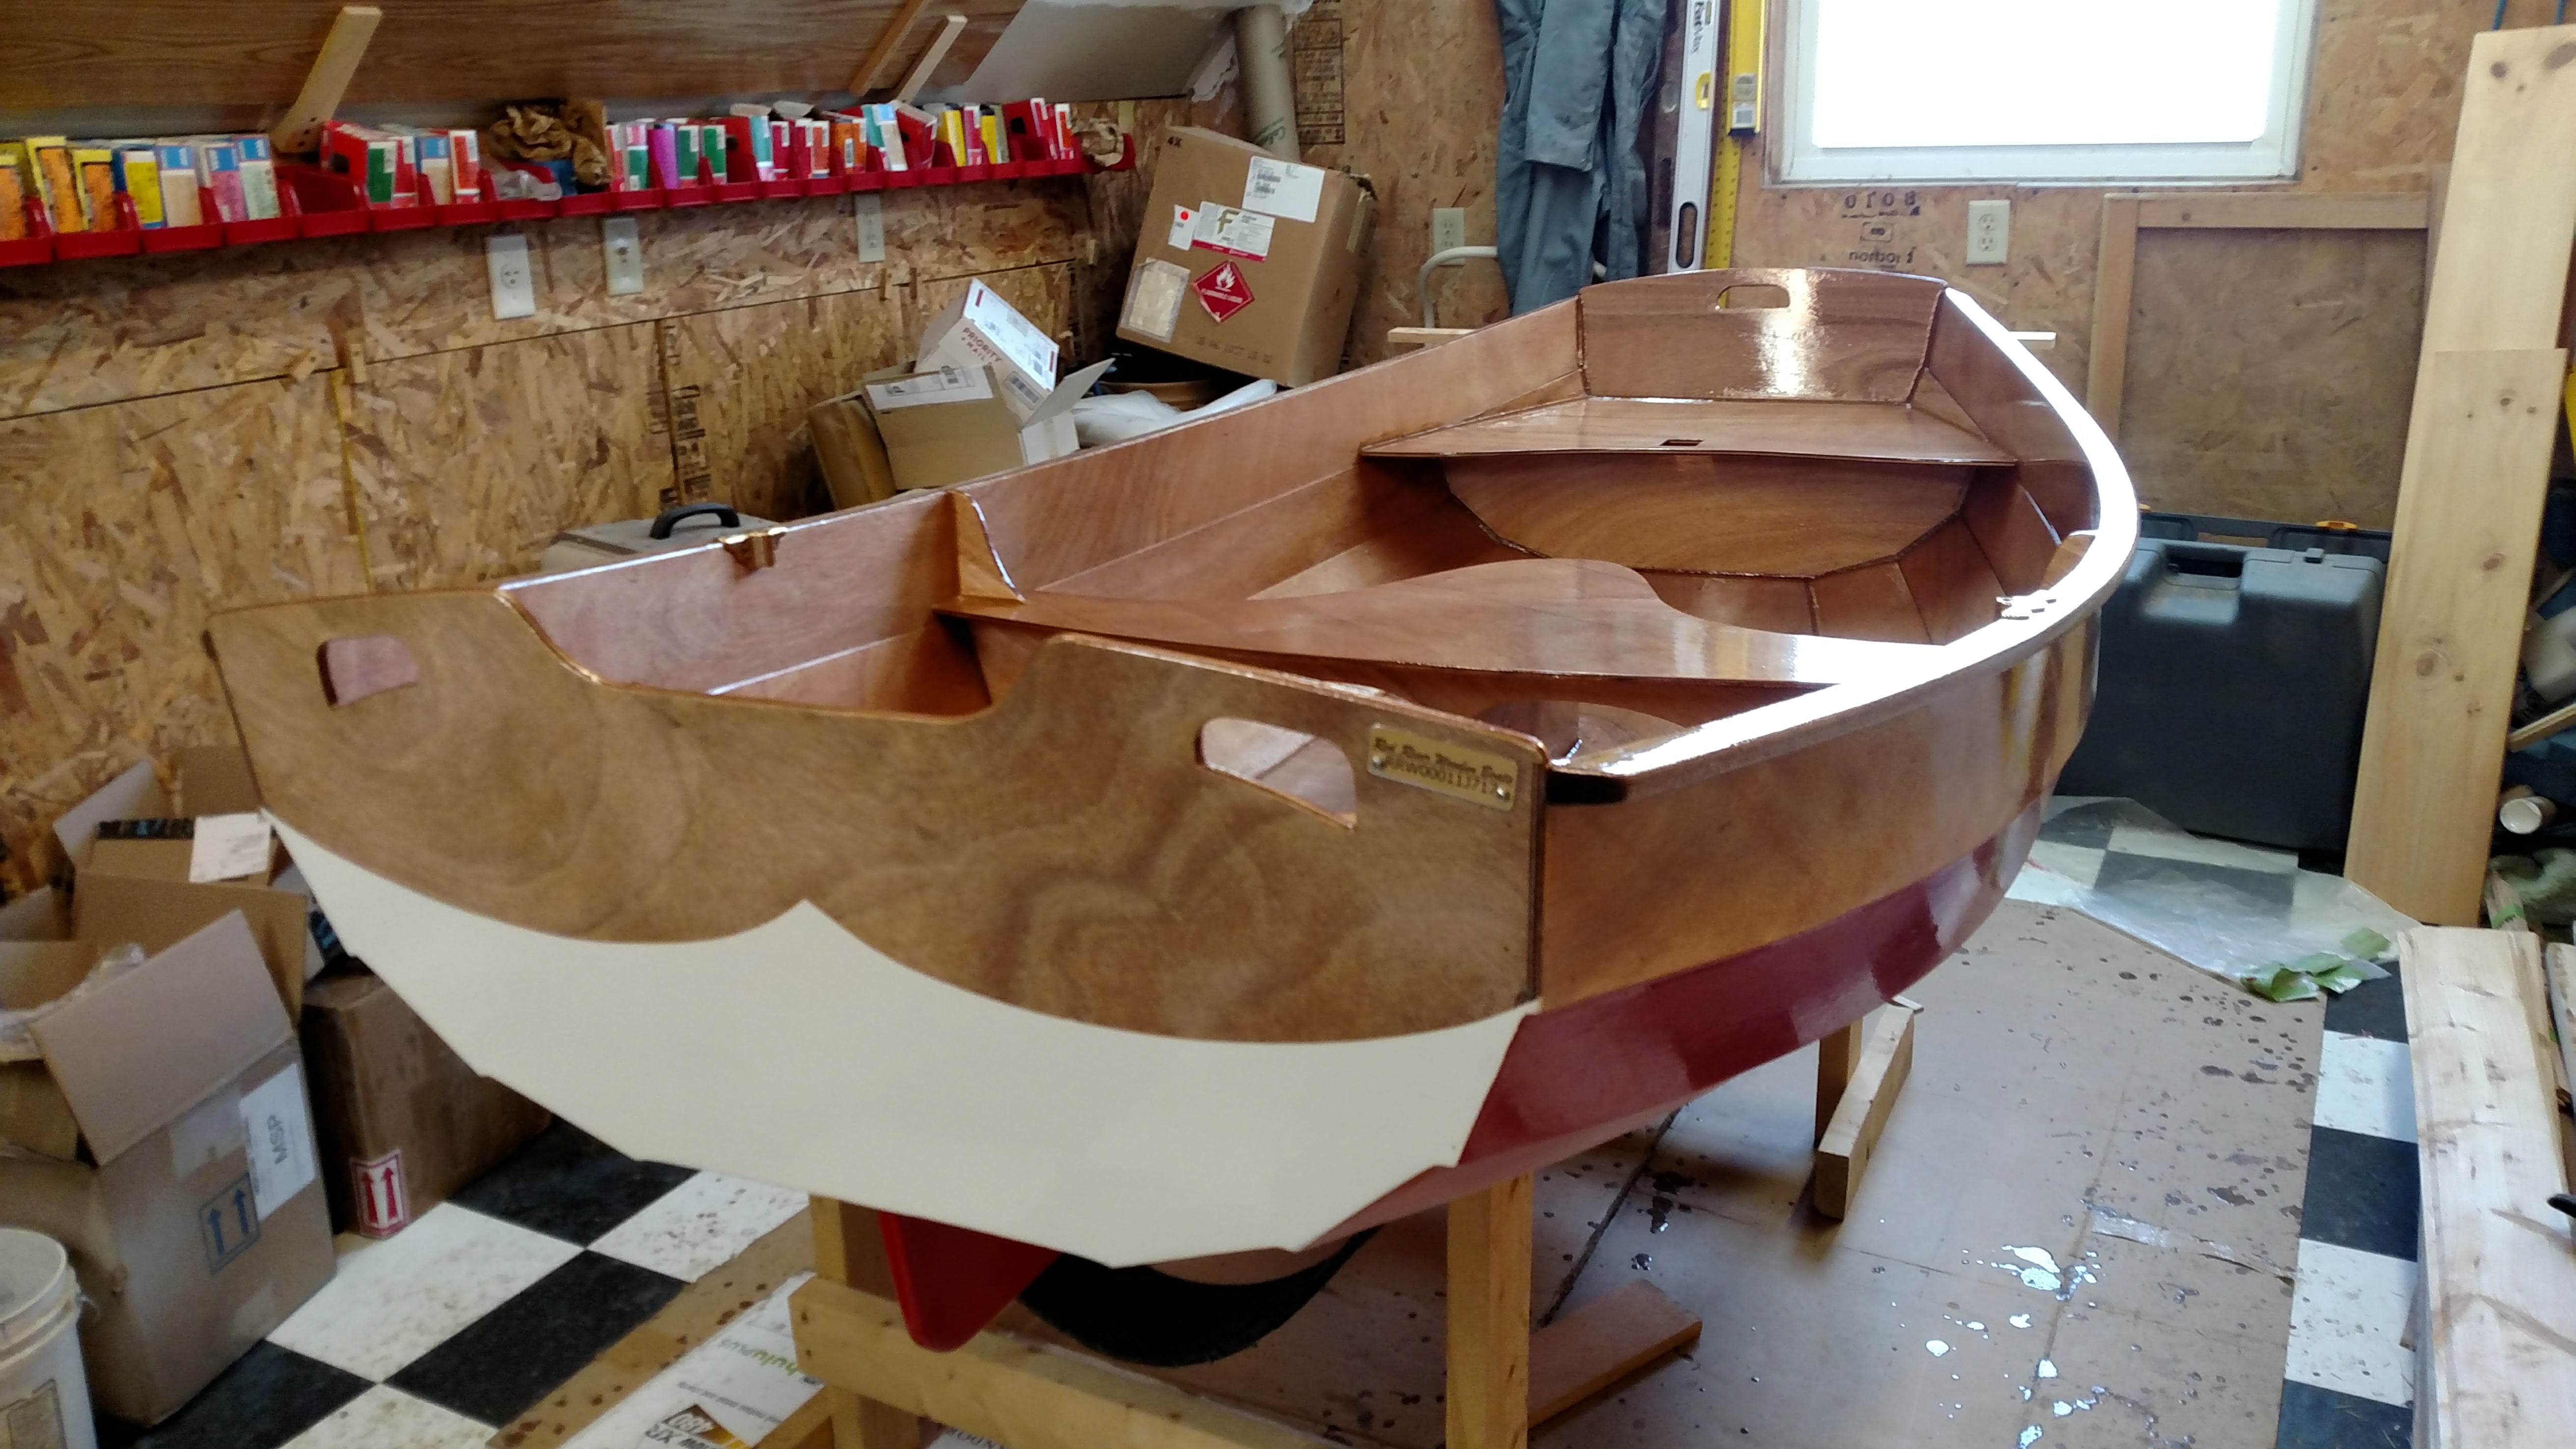
Rowboats
Many rowboats are small enough that it’s worth rolling them over several times during construction like this frameless pram. There are a huge variety of rowboat styles and styles, and construction approaches vary from those used for a framed powerboat to the methods used for a frameless “stitch-and-glue” kayak.
Custom Designed.
Customization is key to creating a piece of art that is truly unique to you.
